Introduction
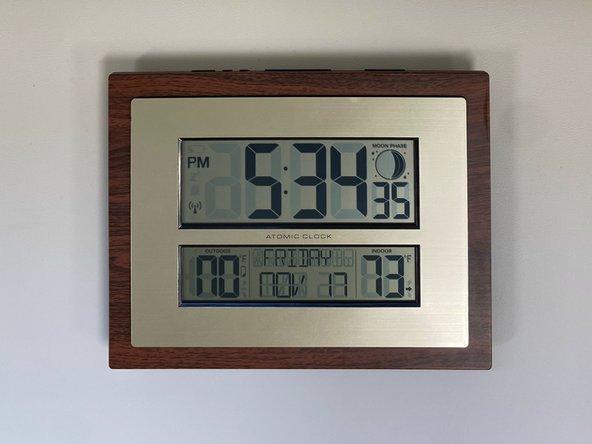
With digital clocks becoming more common, most people notice as time goes on, the numbers on the screen start to fade. They change the batteries but realize that the problem might be a result of the display screen being broken. Most people will just buy a new one but our guide will show how easy it is to replace the screen so your problem will be fixed and save you money.
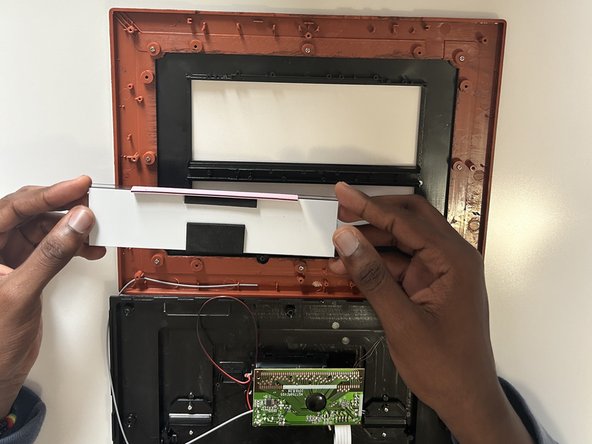
In this guide, you will learn how to replace a BHG digital clock screen. We will show a step-by-step procedure on how to carefully open the clock using a Phillips screw and take out the old screen to replace it with a new one.
Before starting, get a new display screen for the Better Home & Garden clock.
What you need
-
-
-
Unscrew the eight 10 mm Philips #1 screws in the back frame.
-
Remove the back frame.
-
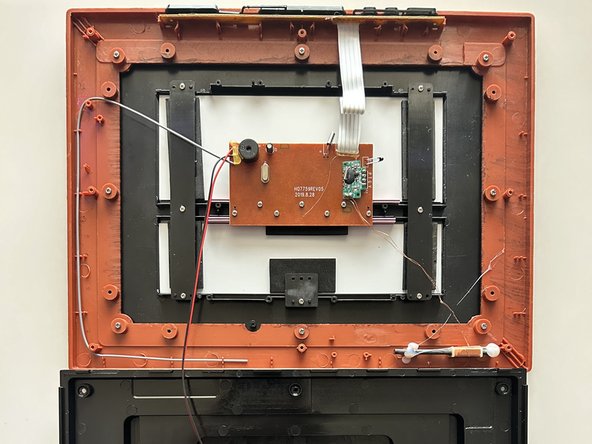
Take out the fourteen Phillips #0 8 mm screws on the circuit board and the plastic bars that hold the screens.
-
-
-
-
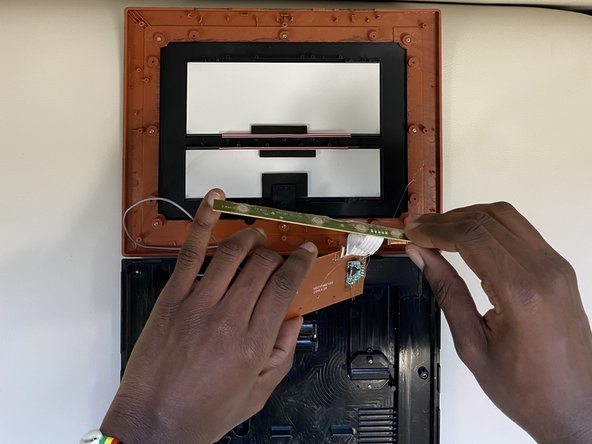
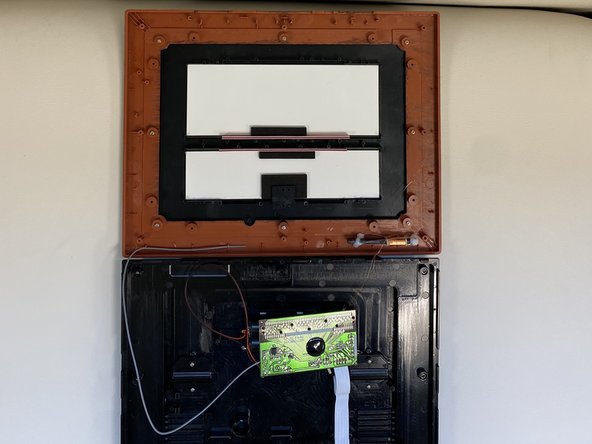
Carefully remove both the top and middle circuit boards together away from the screen.
-
-
-
Align the circuit board to the pink rubbery connectors.
-
Screw everything back together.
-


 Ask FixBot








Insert batteries to see if the new display works correctly.

Team

Sam Houston State, Team 2-8, Bennett Fall 2023 Member of Sam Houston State, Team 2-8, Bennett Fall 2023
SHSU-BENNETT-F23S2G8
2 Members
12 Guides authored
