
How to Repair a Loose Embroidery Stitch

Samantha Cook and 2 other contributors
Last updated on Jan 12, 2024
Views: 1.7K
View statistics:
- Past 24 Hours:
- 1
- Past 7 Days:
- 35
- Past 30 Days:
- 126
- All Time:
- 1,669
Comments: 0
No one has left comments on this guide. Will you be first?
Go to guide commentsCompleted: 0 1
No one has marked this guide "completed." Will you be the first?
1 person has marked this guide "completed." It's you — great job!
Favorites: 0 1
No one has favorited (and subscribed to) this guide. Will you be the first?
1 person has favorited (and subscribed to) this guide — and that's you!
Introduction
Go to step 1 ↓Have you noticed a snag or loose thread in one of your embroidery pieces? Don't get rid of it! This step-by-step guide will help you repair it. It is such an easy fix that only takes a few steps using the right tools.
What you need
Tools
-
-
Embroidery FlossAffiliate linkAvailable for sale on Amazon
Pick a color that matches the loose thread needing repair.
-
Embroidery HoopOptional Affiliate linkAvailable for sale on Amazon
Only necessary if using lightweight fabric.
-
-
-

-
-
-
Gather all the necessary materials for your fix following these guidelines:
-
Pick the proper embroidery needle size. Lightweight fabrics can use a smaller needle, while heavyweight fabrics will need a larger needle.
-
Ensure that you pick a color of embroidery floss that matches the color of the thread you are trying to fix.
-
If using a lightweight fabric (e.g. cotton), use an embroidery hoop to stabilize the fabric.
 Ask FixBot
-
-
-
Separate the strands and decide how many you will need to thread.
-
Pull the strand(s) through the eye of the needle and ensure that the needle is in the center of the strand(s).
-
-
-
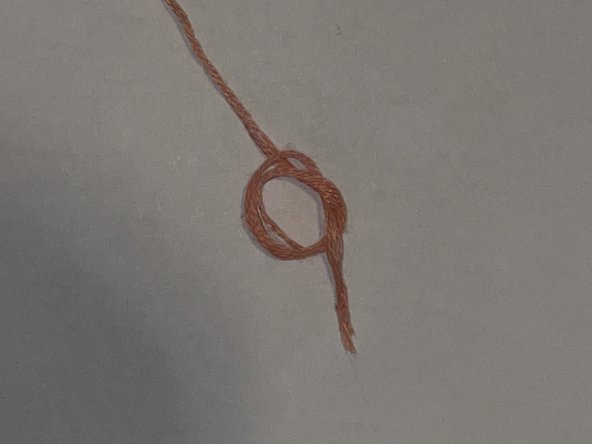
To tie the floss, wrap the end around your pointer finger three times.
-
Slip the wrapped strands off your finger, and then pull the needle through the center.
-
Pinch your fingers where the longest part of the strand meets the wrapped portion and pull towards the end of the thread.
-
-
-
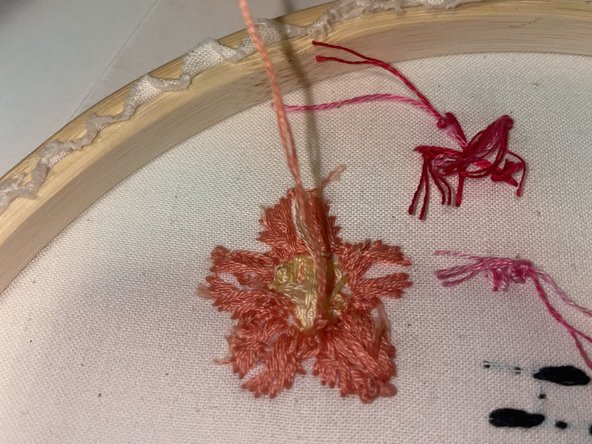
Pull the needle and thread through the fabric as close to the loose thread as possible.
-
Push the needle and thread down through the other end of the loose thread.
-
Repeat these steps 3 to 4 times going over the thread until it becomes flush with the rest of the embroidery pattern.
-
-
-
To tie the anchor knot, push the needle and thread through an existing stitch or fabric hidden under the pattern. This should form a loop when you pull the needle.
-
Place your needle through that loop and pull to create an anchor knot.
-
Repeat this step 1-2 times to strengthen the knot.
-
-
-
-
To use fabric glue, apply 1-2 drops everywhere that there is embroidery on the back of the fabric. Allow this to dry for at least 5 minutes.
-
If using a steamer, follow the instructions to turn it on for your particular model. Run the steamer over the back of the fabric two times. This will make the stitches taut.
-
-






Team

University of Arizona, Team 6-2, Cools Stephens Fall 2023 Member of University of Arizona, Team 6-2, Cools Stephens Fall 2023
ARIZONA-COOLS STEPHENS-F23S6G2
2 Members
12 Guides authored
