Introduction
This guide provides step-by-step instructions for repairing minor damage to a wooden cricket bat.
This guide is intended for minor cosmetic and structural repairs (such as surface cracks or light splintering). If your bat suffers from major splits, deep fractures, or a completely broken handle, do not attempt this repair at home, as the bat may be unsafe to use.
What you need
-
-
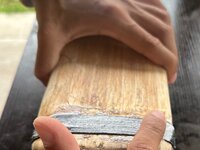
Examine the bat for damage and assess its severity. Look for common issues such as cracks, chips, dryness, or structural breaks.
 Ask FixBot
-
-
-
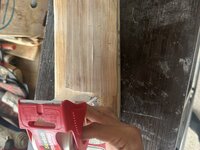
Smooth out the cracks and fractures on the front of the bat using a palm sander or sandpaper.
-
Run your hand over the sanded area. It should look lighter in color and feel smooth.
-
-
-
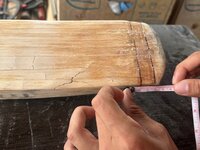
Measure 3cm from the bottom of the bat (also known as the "toe").
-
Draw a straight line across the bat at the 3cm mark.
-
Measure 5cm from the bottom of the bat.
-
Draw a straight line across the bat at the 5cm mark.
-
You will have two parallel lines, no more than 2cm apart.
-
-
-
-
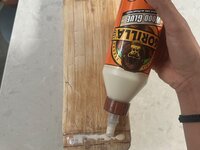
Apply Gorilla Wood Glue between the 2 parallel lines.
-
Spread it out evenly on both the front and back of the bat.
-
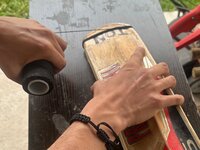
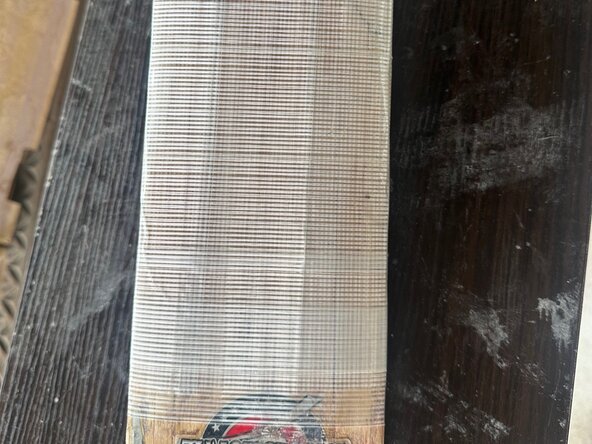
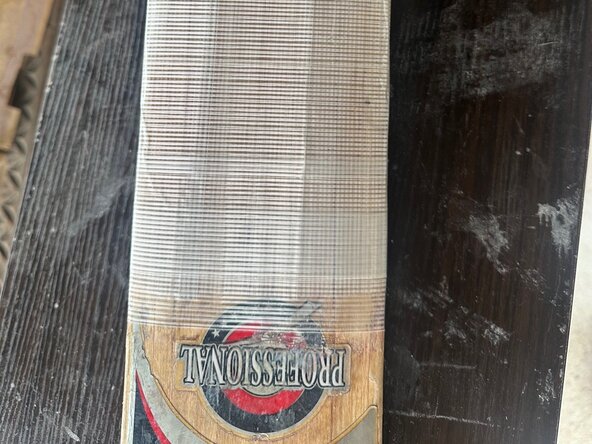
Wrap the nylon thread on top of the glue, starting at one parallel line and making your way toward the other line.
-
Be sure to thread the area so it's evenly dispersed.
-
Pull tightly so the nylon thread is snug.
-
-
-
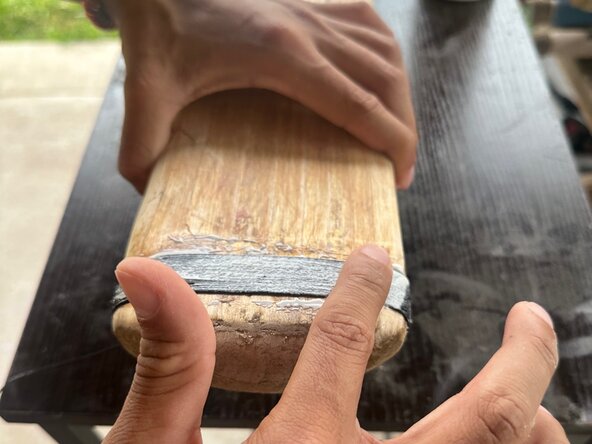
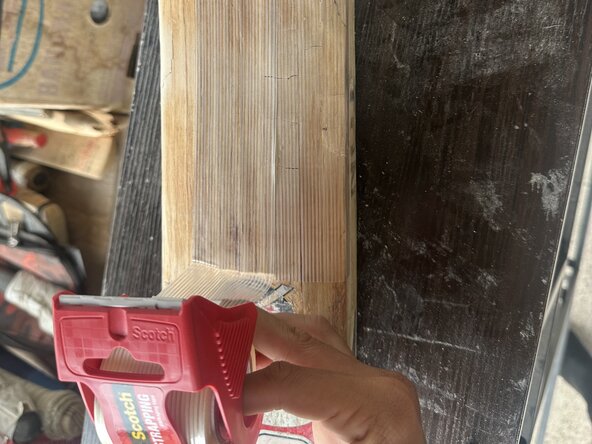
Mark with your finger where we ended our thread at the 5cm point.
-
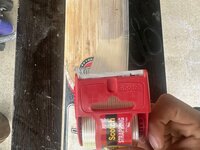
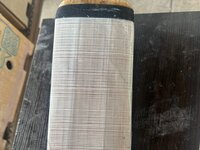
From where your finger is, place the edge of the scotch tape beneath the threaded area and continue pulling it down towards the handle.
-
Do this repeatedly until the face of the bat is covered.
-
-
-
Check your bat for these three flaws: loose nylon thread, overhanging tape, and sharp corners.
-
If there are no flaws, you have successfully repaired the minorly damaged cricket bat.
-


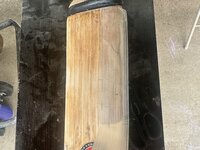


Hopefully, this guide will have helped you maintain the life of your cricket bat for many more games to come!
Team

Austin Community College, Team 2-8, Kapoor Spring 2025 Member of Austin Community College, Team 2-8, Kapoor Spring 2025
AUSTINCC-KAPOOR-S25S2G8
1 Member
1 Guide authored