Introduction
This guide will help and assist you in repairing a backpack with a hole or tear at the base/bottom of it. As students who constantly are using our backpacks that hold our laptops, notebooks, etc., it is common for the base to tear. With that, we were inspired to not only repair it but also reinforce the structure of the base of the backpack to avoid it tearing again.
Steps 5 and 7 require Basic Sewing to fix the hole and reinforce it. Take care with the needles used to avoid piercing your fingers while repairing.
The bottom is often the weakest part of the backpack due to holding the most weight when carrying items, and we hope that this guide is helpful and proactive in preventing any future wear and tear.
What you need
-
-
-
Thread your needle with a similar color thread to your backpack.
-
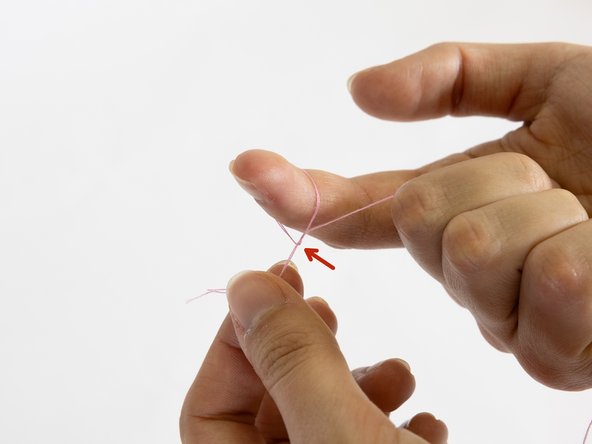
Tie a knot at the end of the thread.
-
-
-
Sew the hole shut, removing pins as you go.
-
Tie a knot at the end to close off the stitch.
-
Cut any excess thread.
-
-
-
Trace an additional piece of lining with ¼” seam allowance in the shape of the backpack bottom.
-
Cut the fabric for the lining.
-
Pin the fabric around the perimeter to the base of the backpack.
-
-
-
Sew the lining to the base of the inside out backpack using the same process in Step 5.
-

 Ask FixBot




Congratulations you have now reinforced and repaired your backpack! Good as new if not better.
Cancel: I did not complete this guide.
2 other people completed this guide.

Team

UC Davis, Team 4-4, Andersen Winter 2024 Member of UC Davis, Team 4-4, Andersen Winter 2024
UCD-ANDERSEN-W24S4G4
3 Members
2 Guides authored
