
How to Reinforce a Microbead Plush

Oscar Olivares and one other contributor
Last updated on Jun 7, 2022
Views: 1K
View statistics:
- Past 24 Hours:
- 1
- Past 7 Days:
- 17
- Past 30 Days:
- 89
- All Time:
- 1,041
Comments: 0
No one has left comments on this guide. Will you be first?
Go to guide commentsCompleted: 0 1
No one has marked this guide "completed." Will you be the first?
1 person has marked this guide "completed." It's you — great job!
Favorites: 0 1
No one has favorited (and subscribed to) this guide. Will you be the first?
1 person has favorited (and subscribed to) this guide — and that's you!
Introduction
Go to step 1 ↓In this repair, we will be reinforcing a microbead plush by creating a bag for the microbeads. Using this repair, we can extend the duration of items a loved one has given or keep these items in near-perfect condition. Before starting this repair, you should have a spool of a thread in the plush's color to make any repairs unnoticeable. This repair will take a while and can get messy; for example, when flipping the plush casing, use an area that is easy to clean.
What you need
Tools


-
-
-
Look for seams in the microbead plush that you can tear to remove its contents.
-
Using a seam ripper, make a hole the size of your thumb.
 Ask FixBot
-
-
-
Dump out the contents of the plush into a large container using that hole you made.
-
-
-
Fold the inside-out casing in half.
-
Place it on a piece of fabric folded into fourths. The loose ends of the fabric should be facing you.
-
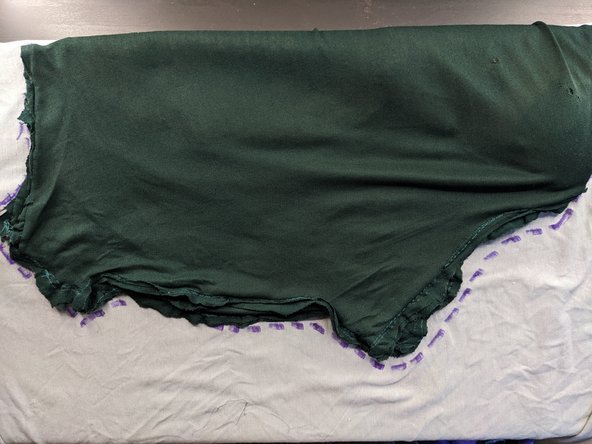
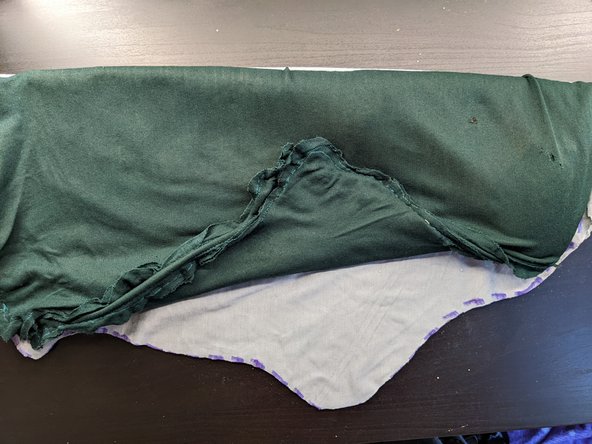
Trace the outline of the casing with a marker.
-
-
-
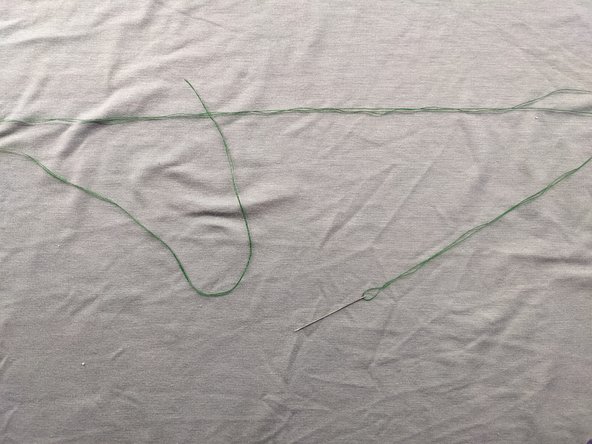
Measure about 20 times the length of the plush in thread.
-
Push the thread through the eye of the needle until both sides of the needle have an equal amount of thread.
-
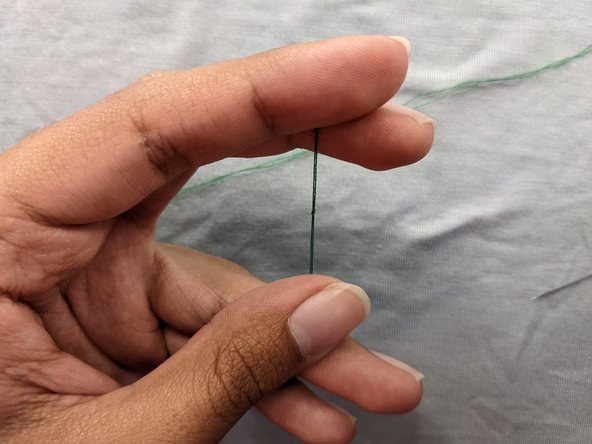
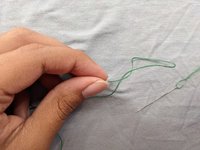
Create a small loop using the loose ends, leaving about 2 centimeters to wrap around the base of the loop. Push the excess through the loop to create a knot.
-
-
-
-
Unfold the material keeping both outline sheets together.
-
After unfolding, use a different color marker to note where the hole made in step one is on your plush.
-
Start stitching along the edge of the outlines, weaving the needle every centimeter to close any gaps.
-
-
-
Stuff the bag into the plush, leaving the openings together.
-
Sew the edges of the openings onto the plush to prevent the bag from slipping when refilling.
-
Insert the funnel in the opening and begin refiling the plush.
-
-
-
After refilling the plush, sew the opening closed.
-
After closing the opening press down on the plush to spread around the microbeads.
-
-


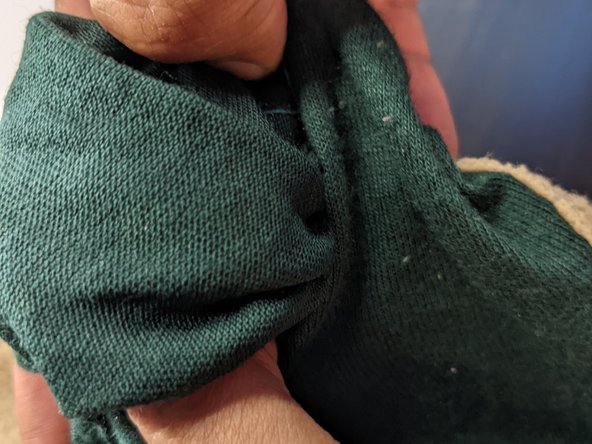
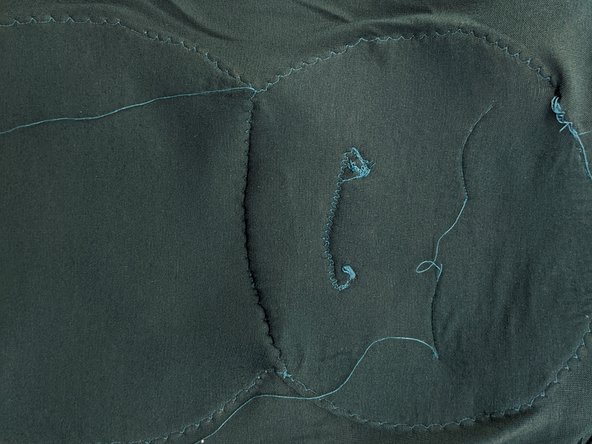









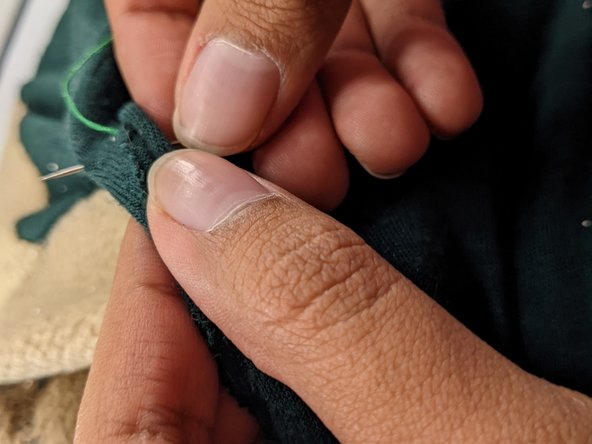

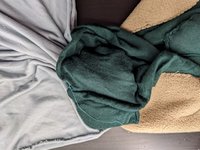



With those final stitches, your microbead plush shouldn’t spill anymore.

Team

CSU Los Angeles, Team 4-1, Briggs Spring 2022 Member of CSU Los Angeles, Team 4-1, Briggs Spring 2022
CSULA-BRIGGS-S22S4G1
1 Member
12 Guides authored
