Introduction
Cat Trees are expensive and wear down due the the nature of their use. Their individual pieces wear down at different rates. Cats might prefer a specific post or ramp above all others. Due to that, you may need to replace a part of the cat tree, but the rest of the tree may be in perfect shape.
Replacing an entire tree is costly. It can cost anywhere from $50 - $300 depending on the tree. Instead of replacing the entire tree when one ramp is torn, it's far more cost effective to replace a single ramp instead of the entire tree.
Refurbishing a ramp may seem like a daunting task, but with a little bit of patience, time, and preparation, you can make your cat tree as good as new. All you need to get is some replacement scratching mat and some fabric for the side and you have what you need to replace the old.
What you need
-
-
-
Use an allen wrench to unscrew the ramp from the cat tree and remove the bracket from the ramp.
 Ask FixBot
-
-
-
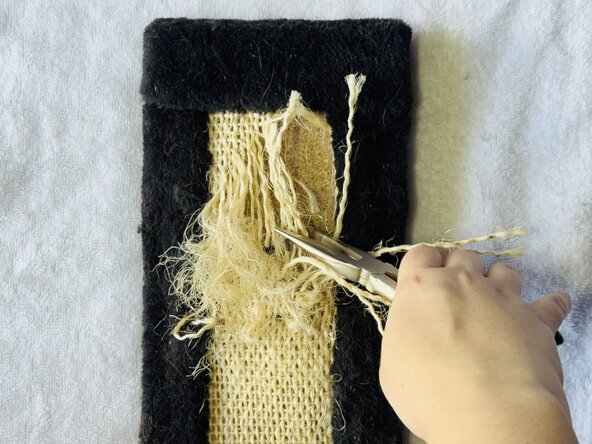
Using scissors, cut the scratch material out from the ramp.
-
Pull out the fibers from ramp using pliers.
-
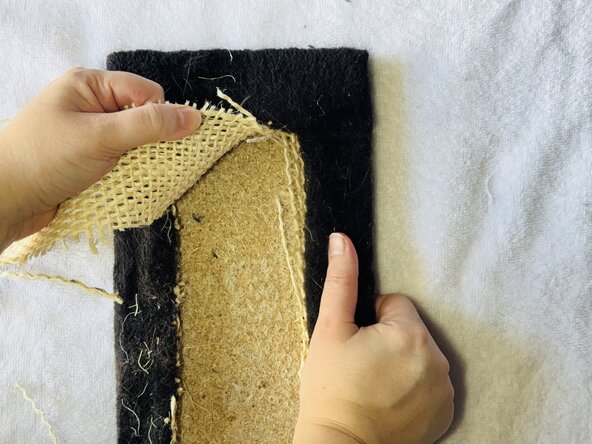
Remove the scratching material from the ramp.
-
-
-
Use scissors or a utility knife to cut through the outside fabric.
-
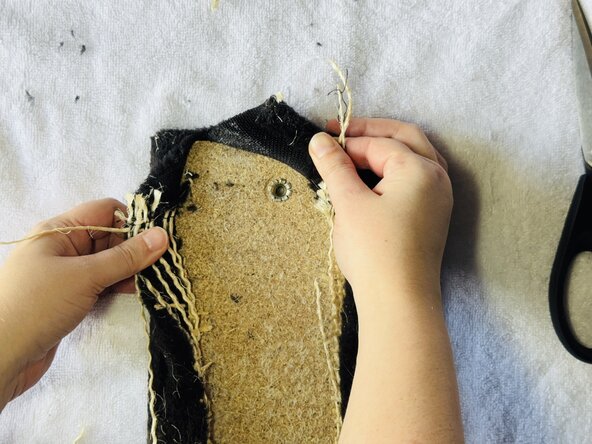
Pull the fabric off of the board. Use pliers if needed.
-
-
-
Measure the length and width of the board using measuring tape.
-
Note the measurements down for the next step.
-
-
-
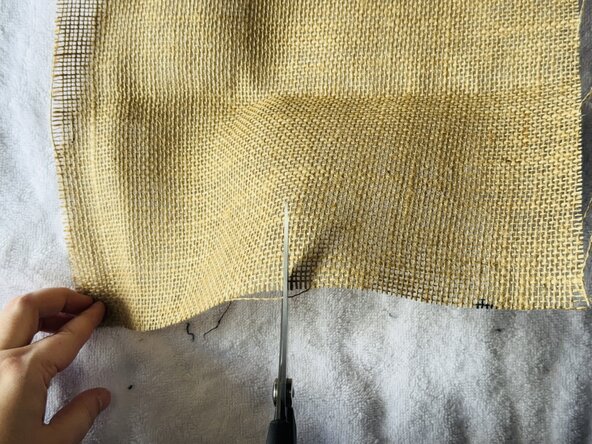
Using the measuring tape, measure out the length of the board on the scratching material, minus half an inch.
-
Mark on the fabric the measurement.
-
Repeat using the measurement for the width of the board.
-
-
-
Cut out the scratching fabric using the previous step's markings.
-
Place on the board to double check the sizing. Adjust as needed.
-
-
-
-
Place glue along the edges of the board, matching where the cut fabric was placed. If needed, place in glue in a cross pattern through the center of the board.
-
Press the scratching material down on the board.
-
-
-
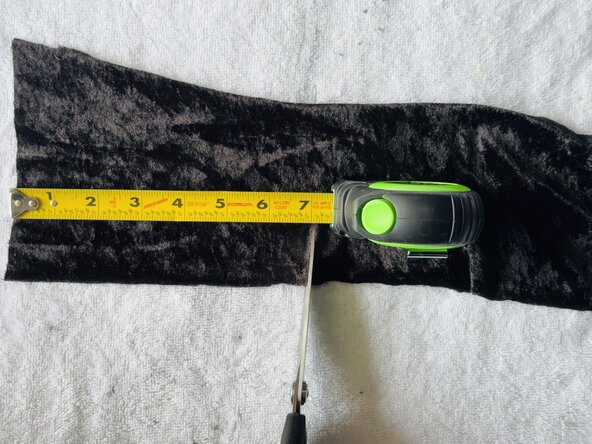
Measure the length of board on your chosen outer fabric, then add half an inch to an inch extra. If your fabric is light enough, mark it. If not, use scissors to snip a small section to mark the legnth.
-
Measure out around 3 inches of width for your fabric. If your board is thicker or you want a wider edge, make the border of fabric bigger.
-
-
-
Cut out the length and width based on the measurements and marking.
-
Repeat this again to have a second section of same-sized fabric.
-
-
-
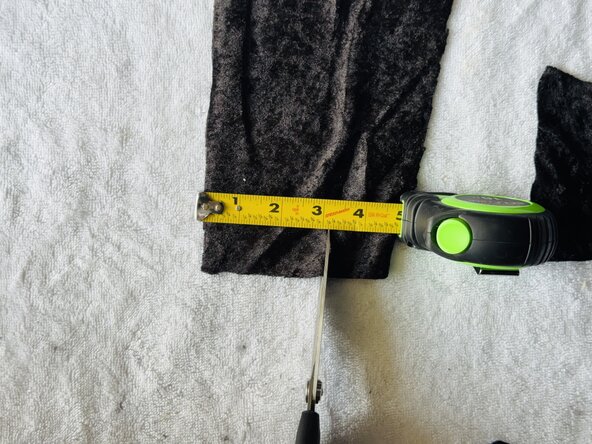
Measure the width of the board and markup the measurement on the fabric.
-
Measure out 3 inches length on the fabric. Measure out a longer length if the board is thicker or you desire a thicker border.
-
-
-
Cut out a section of fabric based on the measurements from the previous step.
-
Repeat the process to cut out a second section of fabric of equal sizing.
-
-
-
Take a piece of fabric and line the long edge with glue.
-
Fold over the edge to hem it.
-
Repeat this hemming for all your pieces of fabric.
-
-
-
Line edges of the long sides of the board with glue.
-
Place the hemmed edge of your fabric on the glue and press down.
-
-
-
Place glue on the outer edge of the board and fold over the fabric, pressing it into the glue.
-
-
-
Place glue along the border of the back of the board.
-
Fold over the fabric onto the glue.
-
Repeat these steps for both long sides of the board.
-
Cut the excess fabric, or fold it and glue it on the back.
-
-
-
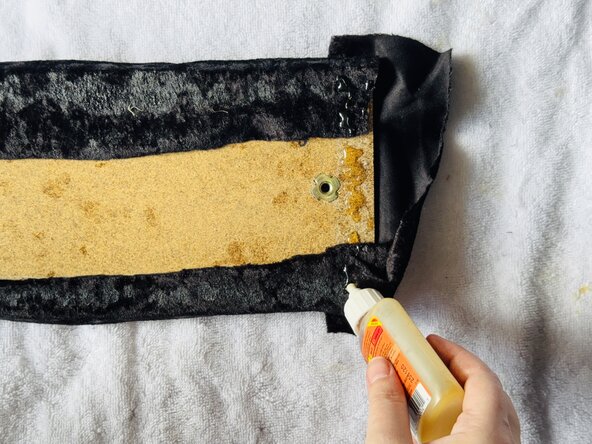
Line the border of the width of the board with glue.
-
Place the smaller fabric pieces on the glue. How big a border of fabric is up to personal preference.
-
-
-
Place glue on the outer edge of the board and fold the fabric over, pressing it into the glue.
-
Place glue along the edge on the back of the board and fold the fabric over, pressing into the glue.
-
Cut away extra fabric to make sure it doesn't go past the screw hole. Either cut the excess fabric on the corner, or, using glue, fold it over and glue it to the back.
-
Repeat for both ends of the board.
-
-
-
Wait until the glue is completely dry before replacing the post. Read instructions on how long the glue will take. Hot glue will cool and dry in about 30 minutes, but takes 24 hours for the bond to form. Super Glue takes 15 minutes to bond, but up to 24 hours to fully bond.
-
Return the scratch ramp to the cat tree by replacing the bracket and screws from Step 1.
-
-













To reassemble your device, follow these instructions in reverse order.

Team

Austin Community College, Team 57-6, Kapoor Summer 2026 Member of Austin Community College, Team 57-6, Kapoor Summer 2026
AUSTINCC-KAPOOR-SU26S57G6
1 Member
4 Guides authored
