Free Shipping on Domestic Orders $75+

How to Open the GuliKit KingKong 2 Pro

What you need

    1. How to Open the GuliKit KingKong 2 Pro, Unfasten the back cover screws: step 1, image 1 of 1
      • Use a Phillips #00 screwdriver to remove the four 11 mm-long screws securing the back cover.

      Ask FixBot

      Add Comment

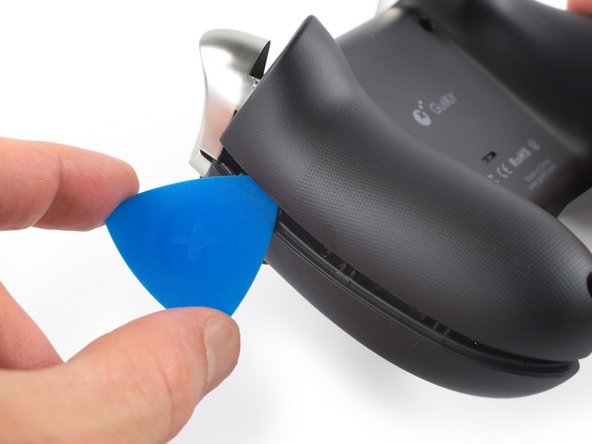
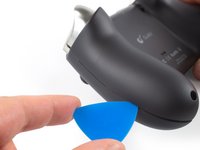
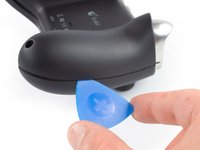
    2. How to Open the GuliKit KingKong 2 Pro, Insert an opening pick: step 2, image 1 of 2 How to Open the GuliKit KingKong 2 Pro, Insert an opening pick: step 2, image 2 of 2
      • The back cover of the GuliKit Kingkong 2 Pro is held in place by plastic clips.

      • Insert an opening pick into the gap between the front assembly and the back cover at the bottom edge of the controller.

      • Tilt your opening pick downwards to widen the gap.

      Ask FixBot

      Add Comment

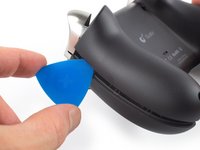
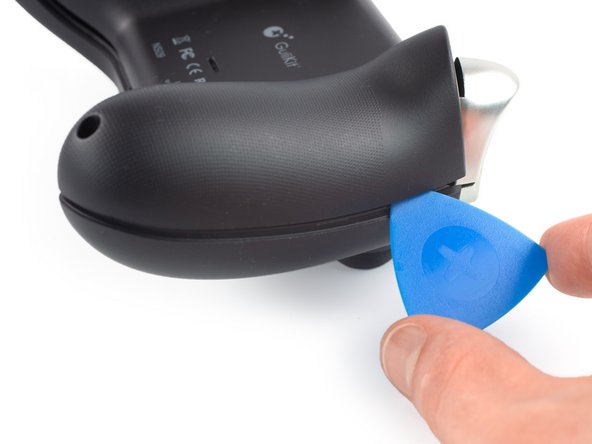
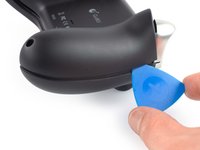
    3. How to Open the GuliKit KingKong 2 Pro, Separate the front assembly and back cover: step 3, image 1 of 2 How to Open the GuliKit KingKong 2 Pro, Separate the front assembly and back cover: step 3, image 2 of 2
      • Insert an opening pick into the gap between the front assembly and the back cover at the outside of the right controller handle.

      • Slide the opening pick along the gap to separate the front assembly from the back cover.

      Ask FixBot

      Add Comment

    4. How to Open the GuliKit KingKong 2 Pro: step 4, image 1 of 2 How to Open the GuliKit KingKong 2 Pro: step 4, image 2 of 2
      • Insert an opening pick into the gap between the front assembly and the back cover at the outside of the left controller handle.

      • Slide the opening pick along the gap to separate the front assembly from the back cover.

      Ask FixBot

      Add Comment

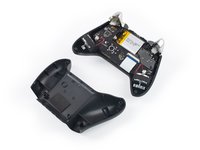
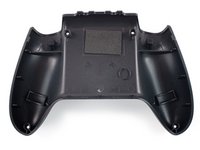
    5. How to Open the GuliKit KingKong 2 Pro, Remove the back cover: step 5, image 1 of 2 How to Open the GuliKit KingKong 2 Pro, Remove the back cover: step 5, image 2 of 2
      • Separate the back cover from the front assembly and remove it.

      Ask FixBot

      Add Comment

Conclusion

To reassemble your device, follow these instructions in reverse order.

Take your e-waste to an R2 or e-Stewards certified recycler.

Repair didn’t go as planned? Check out our Answers community for troubleshooting help.

Cancel: I did not complete this guide.

One other person completed this guide.

Dominik Schnabelrauch

Member since: 11/23/16

262,626 Reputation

682 Guides authored

Team

iFixit Member of iFixit

Staff

123 Members

49,298 Guides authored

0 Guide Comments

Add Comment

View Statistics:

Past 24 Hours: 5

Past 7 Days: 30

Past 30 Days: 98

All Time: 8,433