Introduction
Use this guide to open up and clean dust and debris out of the fan, grilles, or vents of an Xbox Series S.
If your console is loud, overheating, or underperforming, it may have built-up dust in the cooling fan, heatsink, or main vents.
When laying down flat, the Xbox Series S draws air from the vents on its sides and expels it through the black, circular vent on top. If your Xbox lives in a TV cabinet with limited airflow, consider opening the door while gaming or moving it out to open air. If your Xbox is on the ground, it may suck in extra dust, dirt, or hair and limit its ability to keep cool.
Note: Depending on how far you disassemble your Xbox, you may need replacement thermal putty if you damage some while cleaning.
What you need
Video Overview
-
Tool used on this step:Tweezers$4.99
-
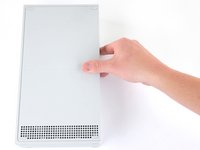
Use tweezers to peel off the two white screw covers located on the bottom corners of the back panel.
-
-
Tool used on this step:Magnetic Project Mat$19.95
-
Use a T8 Torx driver to remove the two 10 mm-long screws securing the back panel to the bottom panel.
-
-
-
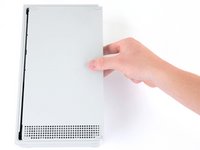
Slide the bottom panel horizontally toward the back of the console until it comes to a stop.
-
Lift straight up and remove the bottom panel from the plastic case.
-
-
-
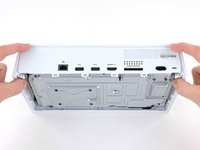
Use a T10 Torx driver to remove the seven 51 mm-long screws securing the chassis to the plastic case.
-
-
-
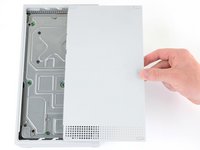
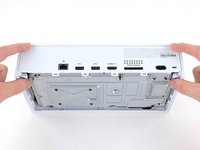
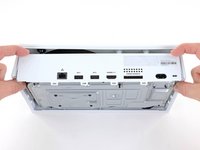
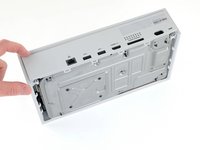
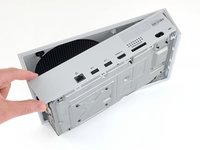
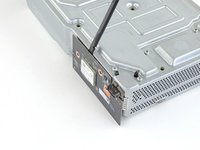
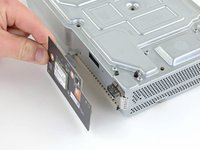
With the bottom of the Xbox facing you, pull the two bottom-rear corners of the plastic case away from each other.
-
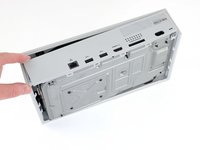
As you pull the corners apart, slide the back panel towards the bottom of the device. This releases the back panel from the plastic case.
-
-
Tool used on this step:Anti-Static Brush$2.99
-
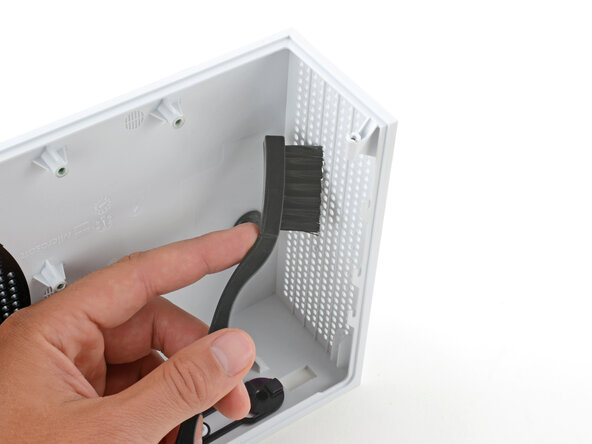
Using a cleaning brush or a new toothbrush, clean any dust out of the vents on the plastic cases.
-
Use a dust blower or light compressed air to blow remaining dust out of the vents.
-
Use a clean rag or microfiber cloth to wipe clean the insides of the plastic cases.
-
-
-
Use a T10 Torx driver to remove the seven 11.3 mm-long screws securing the power supply to the chassis.
-
-
-
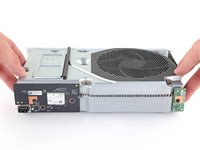
Flip the device over.
-
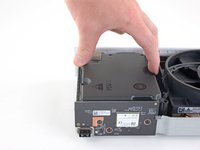
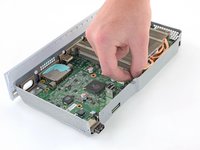
Lift the upper chassis straight up to remove it.
-
-
-
-
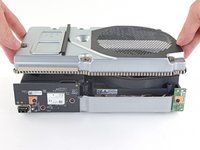
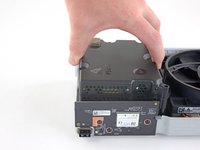
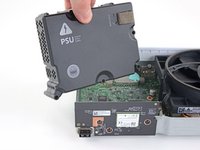
Lift the power supply straight up to disconnect it from the motherboard.
-
Remove the power supply.
-
-
-
Use a T10 Torx driver to remove the two 11.3 mm-long screws securing the fan to the chassis.
-
-
-
Flip the device over.
-
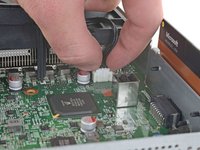
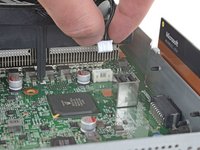
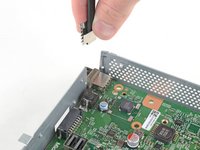
Use your fingers to pull and disconnect the fan connector from its motherboard socket.
-
-
-
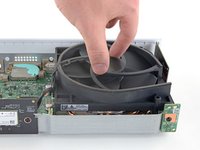
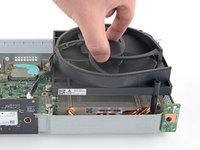
Use a pair of tweezers or your fingers to grab loose hairs and dust clumps off of the fan.
-
Use a dust blower or light compressed air to blow remaining dust off of the fan.
-
If there's a layer of grime on the fan blades, use soapy water on a damp rag or an isopropyl alcohol wipe to clean it off.
-
-
-
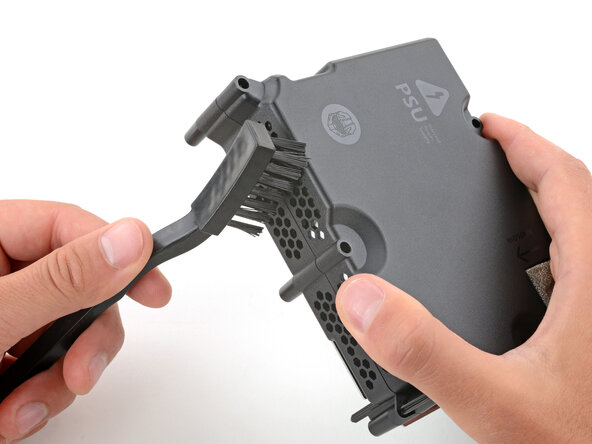
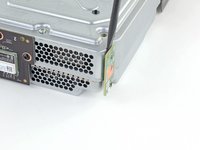
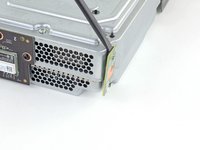
Using an anti‑static brush or a new toothbrush, clean any dust out of the vents on the sides of the power supply.
-
Use a dust blower to blow any loose dust out of the power supply and a cloth to wipe the vents clean.
-
-
-
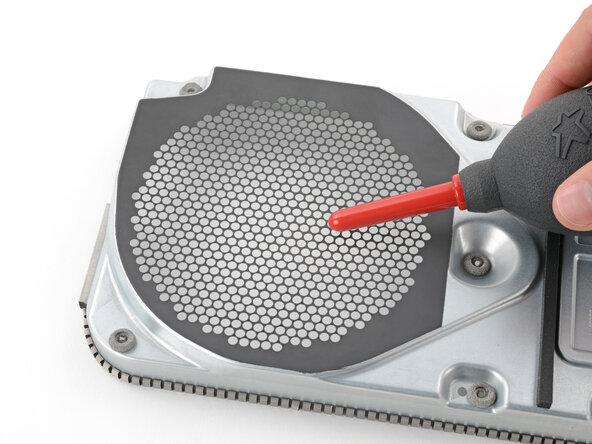
Repeat the previous step to clean the fan grill on the top of the chassis.
-
-
-
Gently slide the bristles of an anti‑static brush or new toothbrush back and forth between the metal fins to loosen any debris.
-
Use a dust blower to blow any loose dust out of the heatsink fins.
-
-
-
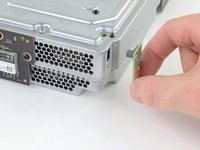
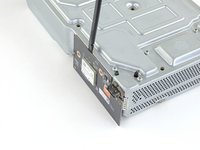
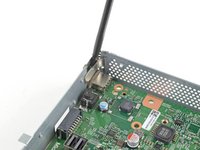
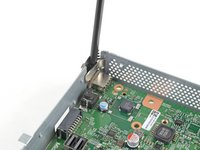
Use a T8 Torx driver to remove the 9.5 mm-long screw securing the power button board to the chassis.
-
-
-
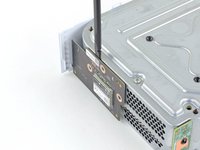
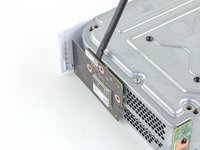
Use a T8 Torx driver to remove the three 9.5 mm-long screws securing the Wi-Fi board to the short edge of the chassis.
-
-
-
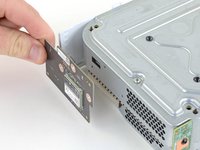
Use a T8 Torx driver to remove the three 9.5 mm-long screws securing the Bluetooth board to the long edge of the chassis.
-
-
-
Use a T8 Torx driver to remove the four 9.4 mm-long screws securing the motherboard to the chassis.
-
-
-
Flip the device over.
-
Insert a spudger into the locking clip located on the front-left corner of the chassis.
-
Lift straight up to remove the clip.
-
-
-
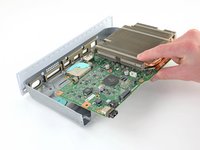
Grasp the heat sink with your fingers and lift up the front of the motherboard up above the edge of the chassis.
-
Pull the motherboard towards the front of the chassis to remove it.
-
-
-
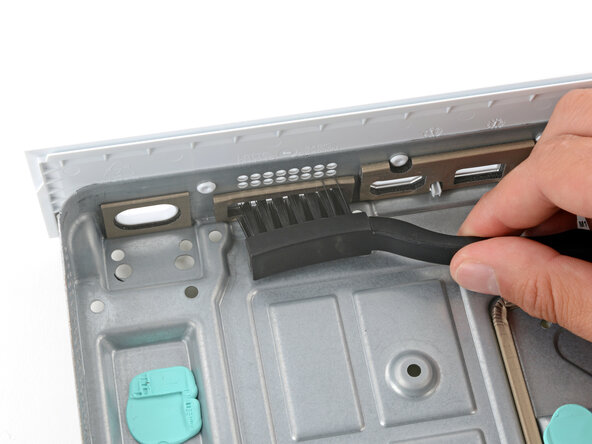
Use a cleaning brush or clean toothbrush to thoroughly clean all the port cutouts.
-
Lightly dip a clean cloth in soapy water and use it to remove any grime from the metal chassis.
-


To reassemble your device, follow these instructions in reverse order.
If your Xbox lives in a TV cabinet with limited airflow, consider opening the door while gaming or moving it out to open air—make sure left and right sides (with vents) as well as the circular, black vent on top are unobstructed. If your Xbox is on the ground, it may suck in extra dust, dirt, or hair and limit its ability to keep cool.
Disassembly or cleaning didn’t go as planned? Try some basic troubleshooting, or ask our Xbox Series S Answers community for help.
Cancel: I did not complete this guide.
10 other people completed this guide.
