Free Shipping on Domestic Orders $75+

How to Install and Remove Tiles

Views: 511

View statistics:

Past 24 Hours:
1
Past 7 Days:
12
Past 30 Days:
72
All Time:
511
Comments: 0

No one has left comments on this guide. Will you be first?

Go to guide comments
Completed: 0

No one has marked this guide "completed." Will you be the first?

Favorites: 0

No one has favorited (and subscribed to) this guide. Will you be the first?

Time Required: 3 - 5 minutes
Difficulty: Very easy
OEM Guide

iFixit collaborated with the manufacturer to make this guide.

How to Install and Remove Tiles

Introduction

Go to step 1 ↓

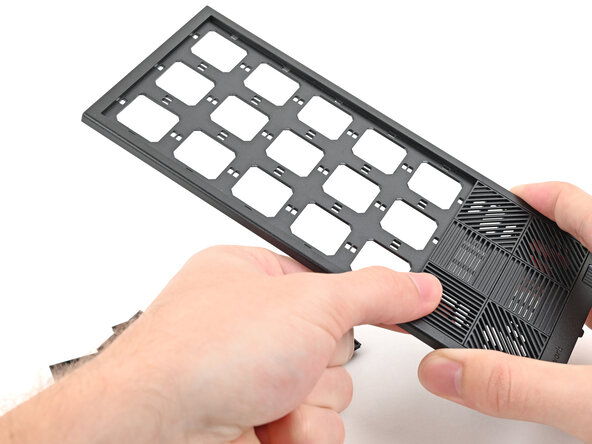
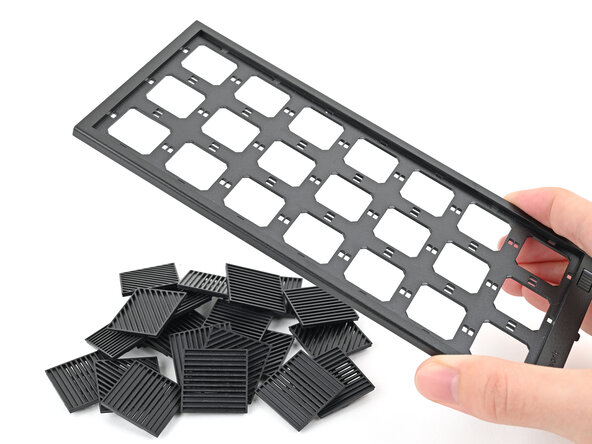
This guide shows how to install and remove the Tiles on your Framework Desktop.

The Tiles are mainly for decoration; they aren't necessary for your desktop to function.

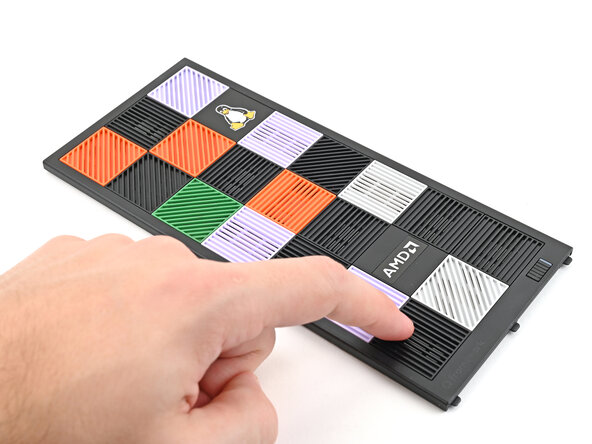
The Front Panel can support up to 21 tiles.

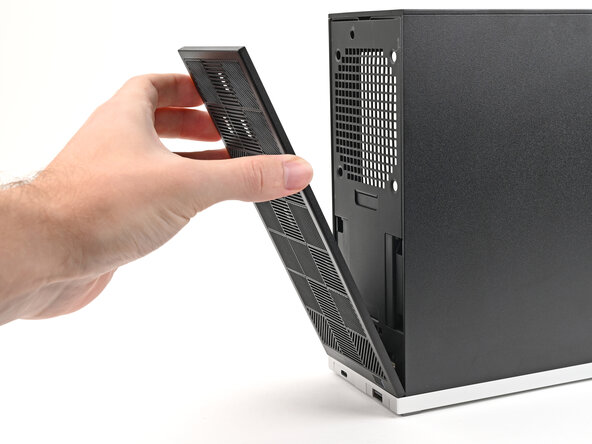
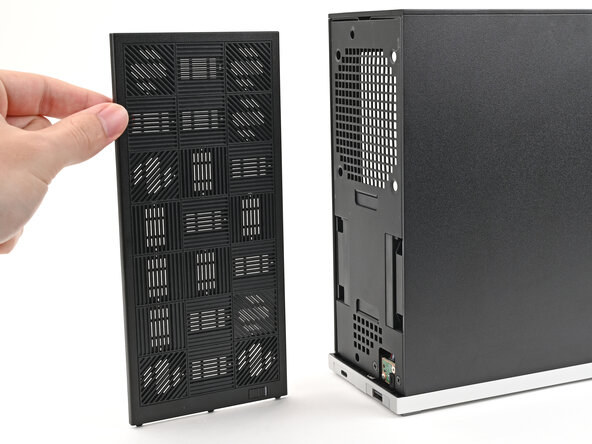
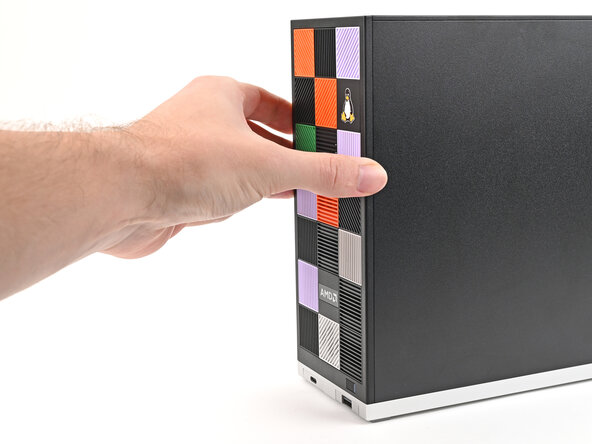
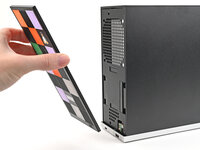
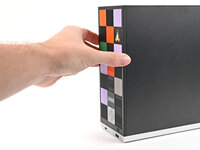
    1. How to Install and Remove Tiles, Remove the Front Panel: step 1, image 1 of 3 How to Install and Remove Tiles, Remove the Front Panel: step 1, image 2 of 3 How to Install and Remove Tiles, Remove the Front Panel: step 1, image 3 of 3
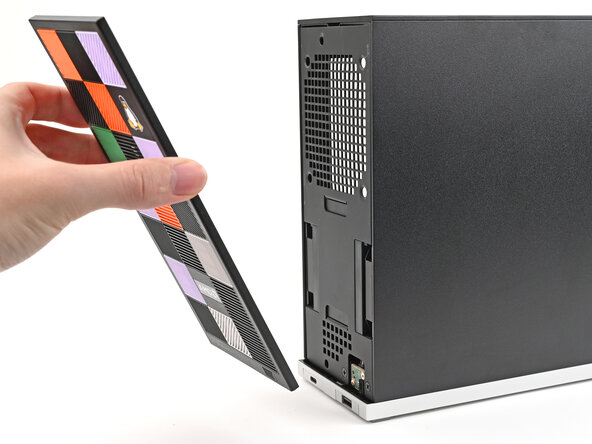
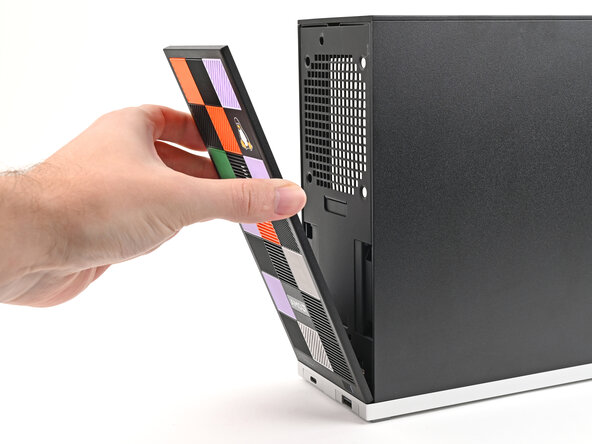
      • Use your fingers to pull the Front Panel off the magnets securing it to the chassis.

      Ask FixBot

      Add Comment

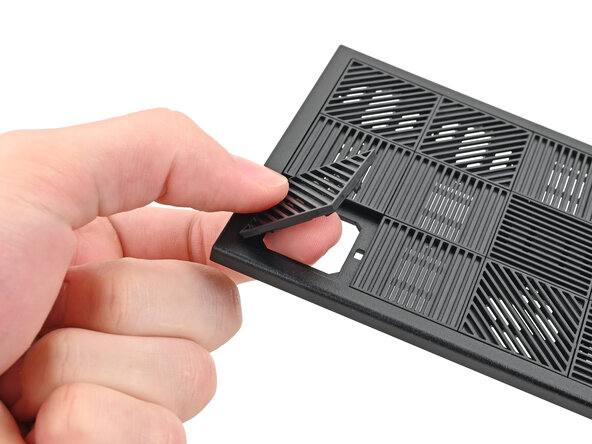
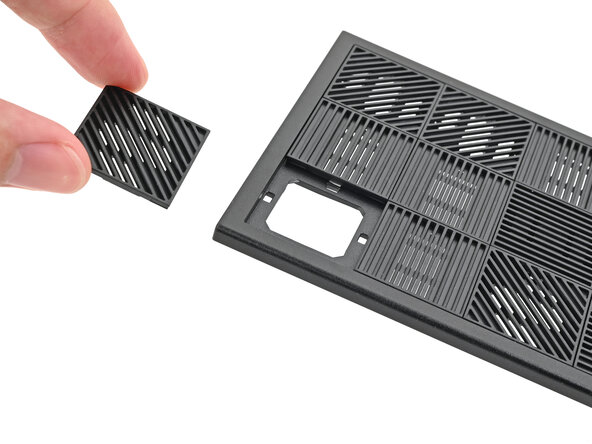
    1. How to Install and Remove Tiles, Remove the Tiles: step 2, image 1 of 3 How to Install and Remove Tiles, Remove the Tiles: step 2, image 2 of 3 How to Install and Remove Tiles, Remove the Tiles: step 2, image 3 of 3
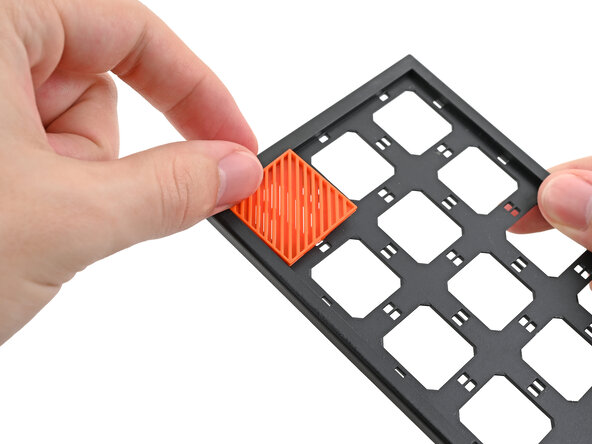
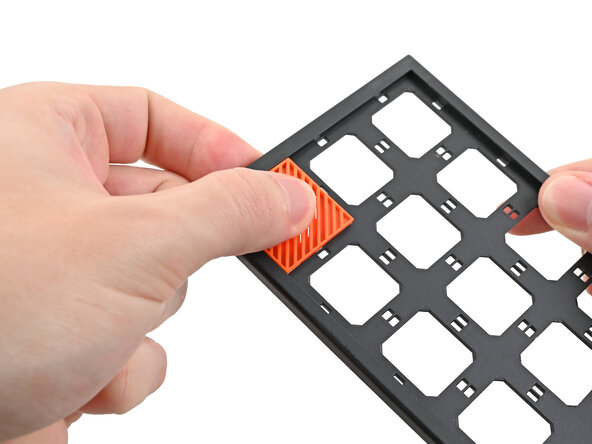
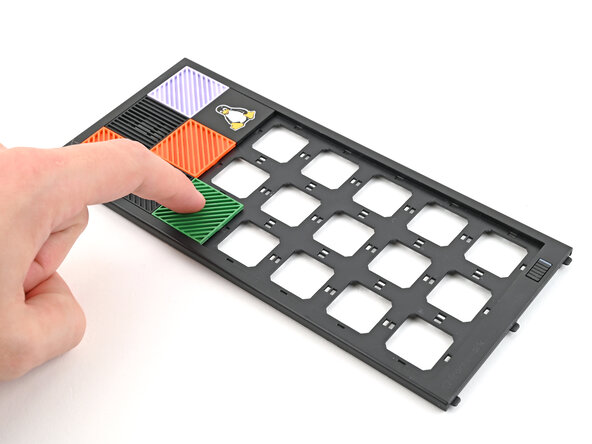
      • Use your fingers to push the bottom of the Tile up and off the front panel and release its clips.

      • Remove the Tile.

      Ask FixBot

      Add Comment

    2. How to Install and Remove Tiles: step 3, image 1 of 3 How to Install and Remove Tiles: step 3, image 2 of 3 How to Install and Remove Tiles: step 3, image 3 of 3
      • Repeat this procedure for the remaining tiles.

      Ask FixBot

      Add Comment

    1. How to Install and Remove Tiles, Install the Tiles: step 4, image 1 of 3 How to Install and Remove Tiles, Install the Tiles: step 4, image 2 of 3 How to Install and Remove Tiles, Install the Tiles: step 4, image 3 of 3
      • Tiles can be installed in any orientation, even the ones with graphics.

      • Lay a Tile over an open slot on your Front Panel.

      • Use your fingers to press the tile into the slot and engage the clips.

      • You'll hear and feel an audible "click" when the clips engage.

      Ask FixBot

      Add Comment

    2. How to Install and Remove Tiles: step 5, image 1 of 3 How to Install and Remove Tiles: step 5, image 2 of 3 How to Install and Remove Tiles: step 5, image 3 of 3
      • Install the remaining Tiles.

      Ask FixBot

      Add Comment

    3. How to Install and Remove Tiles: step 6, image 1 of 3 How to Install and Remove Tiles: step 6, image 2 of 3 How to Install and Remove Tiles: step 6, image 3 of 3
      • Lay the bottom of the Front Panel on the small, protruding lip in the silver base to align its tabs.

      • Press the Front Panel flat to the chassis and let it align to the magnets.

      Ask FixBot

      Add Comment

Conclusion

If you need help, contact Framework support.

Cancel: I did not complete this guide.

Alex Diaz-Kokaisl

Member since: 01/16/22

250,999 Reputation

1,200 Guides authored

0 Guide Comments

Add Comment

View Statistics:

Past 24 Hours: 1

Past 7 Days: 12

Past 30 Days: 72

All Time: 511