
How to Fix a Broken Backpack strap

Ben Blischke and one other contributor
Last updated on Apr 11, 2025
Views: 1.3K
View statistics:
- Past 24 Hours:
- 9
- Past 7 Days:
- 33
- Past 30 Days:
- 124
- All Time:
- 1,251
Comments: 0
No one has left comments on this guide. Will you be first?
Go to guide commentsCompleted: 0 1
No one has marked this guide "completed." Will you be the first?
1 person has marked this guide "completed." It's you — great job!
Favorites: 0 1
No one has favorited (and subscribed to) this guide. Will you be the first?
1 person has favorited (and subscribed to) this guide — and that's you!
Community-Contributed Guide
An awesome member of our community made this guide. It was not created by iFixit staff.
Introduction
Go to step 1 ↓The backpack strap is one of the most important parts of your backpack. In this guide we will focus on how to fix it when the strap has broken and completely detached from the backpack.
If you need support on how to how to repair a loose webbing strap, check this guide.
➡️Before you get started, please check the safety disclaimer at the bottom of the page.
What you need
Tools


-
-
-
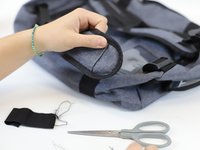
Locate the broken strap and gather all the tools needed for the fix.
 Ask FixBot
-
-
-
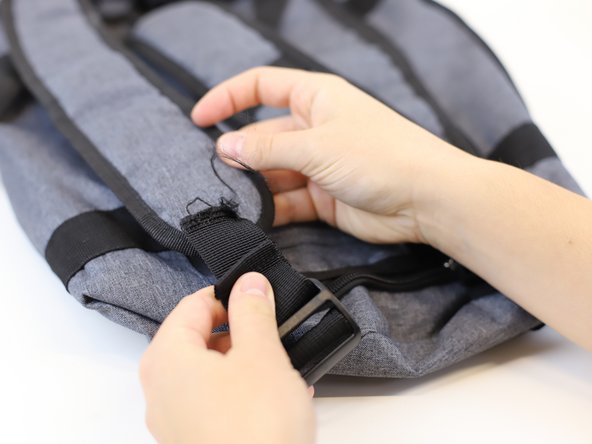
Check if the current broken strap can be fixed or if it needs to be replaced.
-
Note: In this repair we will use the existing strap, without replacing it with a new one.
-
-
-
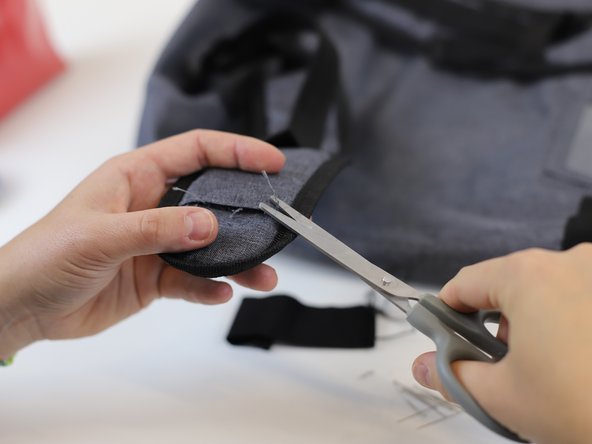
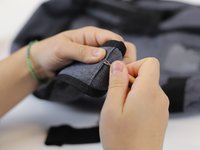
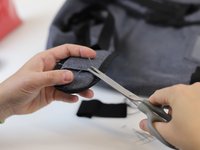
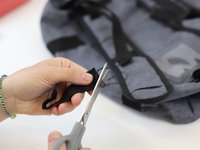
Use a pair of scissors and seam ripper to clean the strap of any loose threads.
-
Note: After cleaning the area, use the seam ripper to open the seam of the thick padding, leaving a hole for the strap piece to be reinserted later.
-
-
-
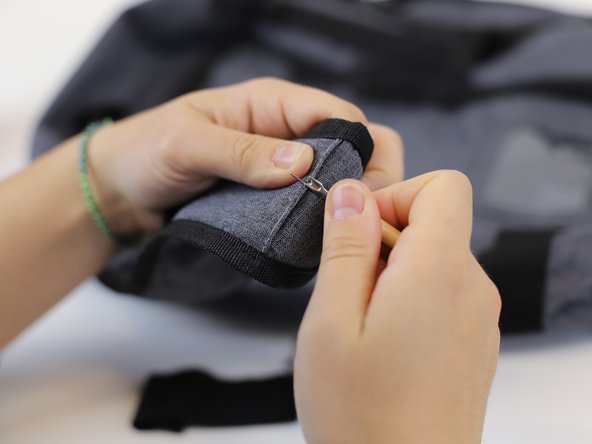
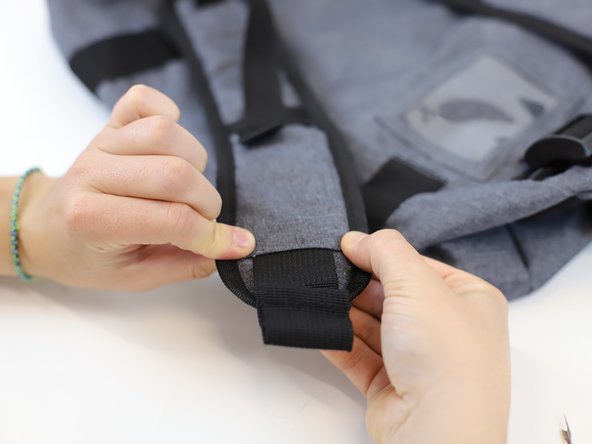
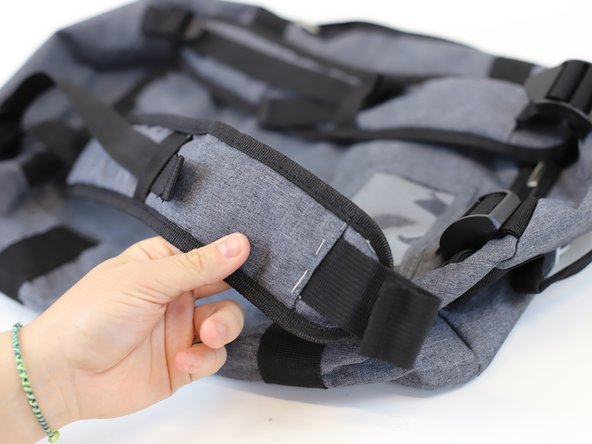
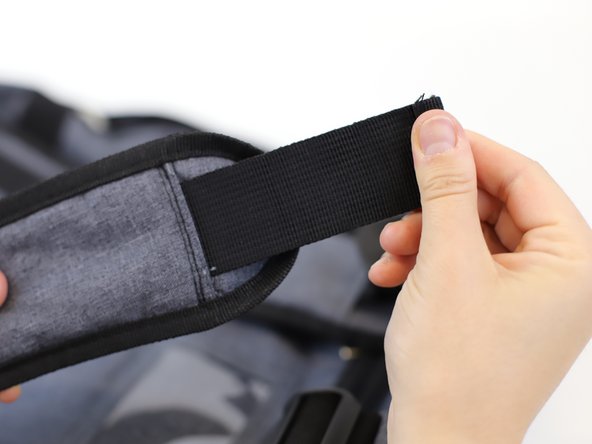
Once you have finished cleaning the area, introduce the thin part of the strap into the thick strap padding.
-
Use a sewing pin to fix the part in place.
-
-
-
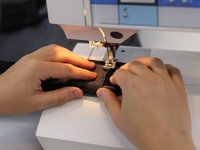
Use a sewing machine to stitch the strap in place.
-
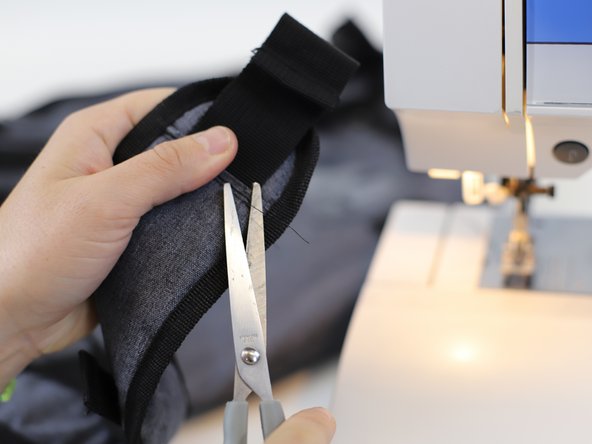
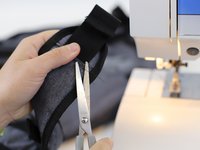
Clean the area of any loose threads using a pair of scissors.
-
-
-
-
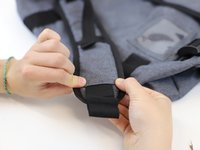
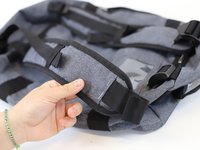
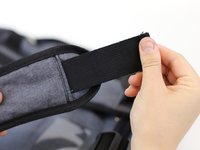
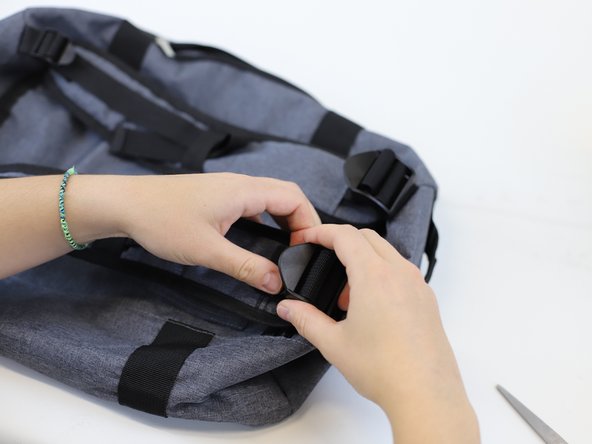
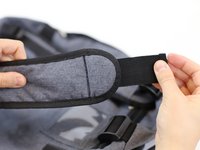
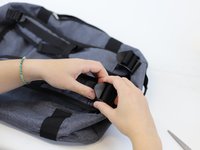
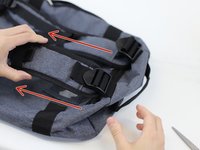
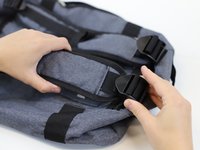
Check if the fix works by introducing the strap in the existing buckle.
-
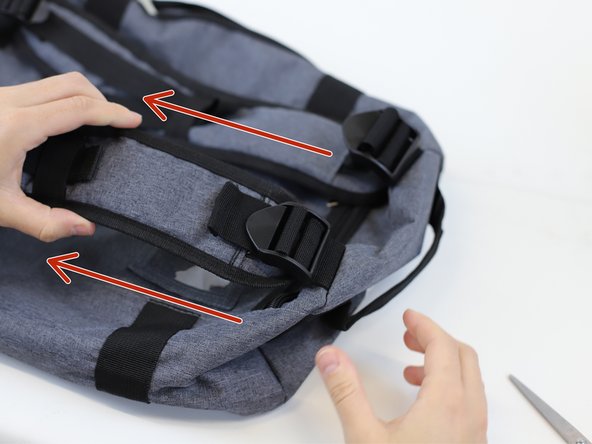
Following the direction of the red arrows, pull the strap to test if the stitched part is strong enough to hold.
-
Tip: If you think it does not feel firm enough, you can add a second row of stitches to reinforce the area.
-
-
-
🛠️🏆👏 Congratulations! The repair is complete, and you're ready to go!
-
-








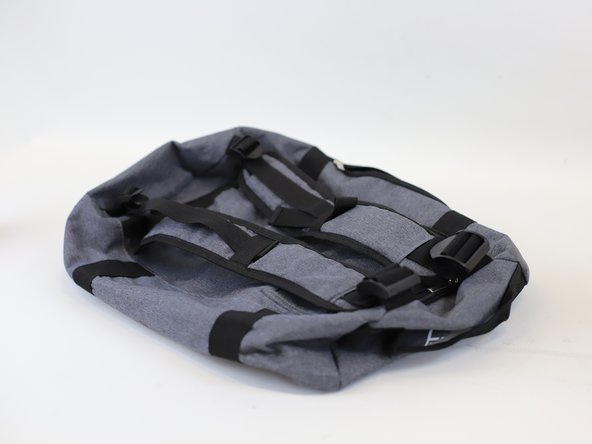
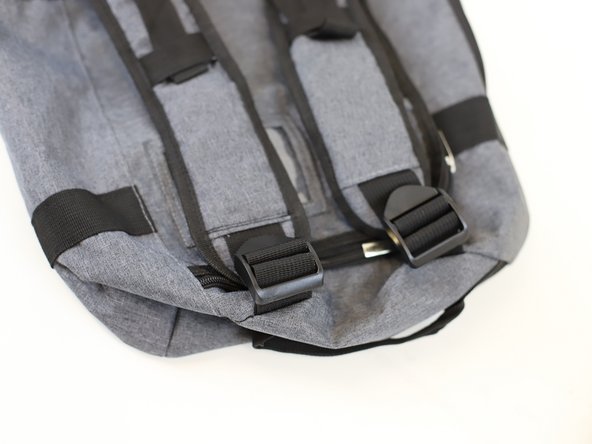
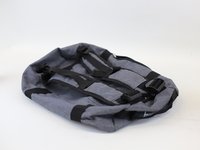
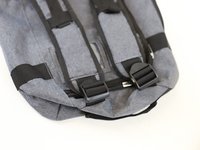
In need of another repair? Don't worry! Check out our other guides to find quick solutions for your favourite clothing, footwear and equipment!
----------------------------------------
🚨🛠️🩹 IMPORTANT SAFETY NOTICE:
The repair guides provided on this site are intended to help you repair products on your own. While we have put a lot of care into them, all repair work carries some risk:
- Safety Precautions: When repairing your product, take all necessary precautions to ensure your safety. Use appropriate tools and follow the instructions carefully.
- Product Condition: Once your product has been repaired, it may not meet original compliance guidelines anymore and could potentially have issues.
- Liability: We are not responsible for any damage or injury that may occur during the repair process or as a result of using a repaired product. You, as the repairer, assume all risks and responsibilities associated with the repair.
By using these repair guides, you fully acknowledge and accept the potential risks and responsibilities involved.


