
How to Clean Mesh Shoes

Ben Blischke and one other contributor
Last updated on Apr 28, 2025
Views: 959
View statistics:
- Past 24 Hours:
- 5
- Past 7 Days:
- 28
- Past 30 Days:
- 133
- All Time:
- 959
Comments: 0
No one has left comments on this guide. Will you be first?
Go to guide commentsCompleted: 0 1
No one has marked this guide "completed." Will you be the first?
1 person has marked this guide "completed." It's you — great job!
Favorites: 0 1
No one has favorited (and subscribed to) this guide. Will you be the first?
1 person has favorited (and subscribed to) this guide — and that's you!
Community-Contributed Guide
An awesome member of our community made this guide. It was not created by iFixit staff.
Introduction
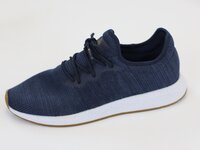
Go to step 1 ↓Whether you’ve been hiking, running, or just enjoying a day out, it’s time to clean your mesh shoes! Cleaning them can be a bit tricky due to their delicate material, but with the right approach, you can keep them looking fresh and new.
➡️Before you get started, please check the safety disclaimer at the bottom of the page.
What you need
Tools

-
-
-
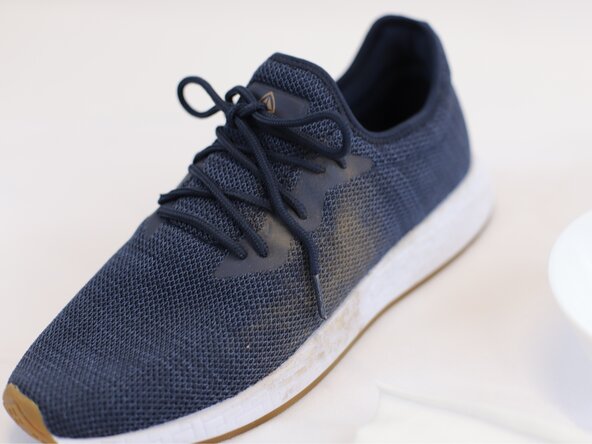
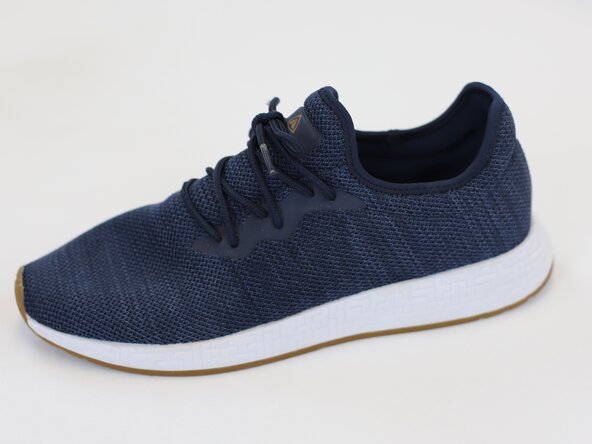
Identify the type of dirt that the shoe is covered with.
-
Note: different types of dirt may require different cleaning approaches, in this example the shoe had soil and dust.
-
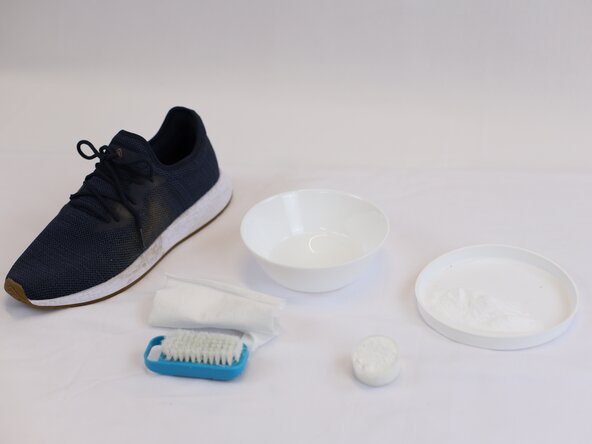
Gather all the tools needed for the repair.
 Ask FixBot
-
-
-
Using a dry soft brush to gently remove dirt and debris from the surface.
-
-
-
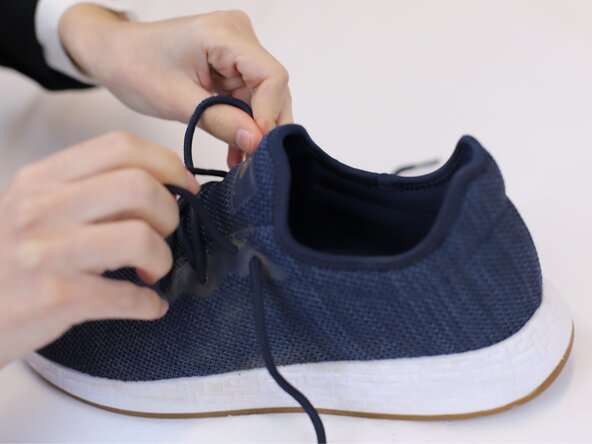
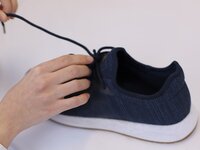
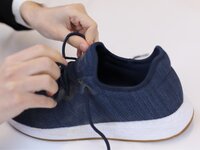
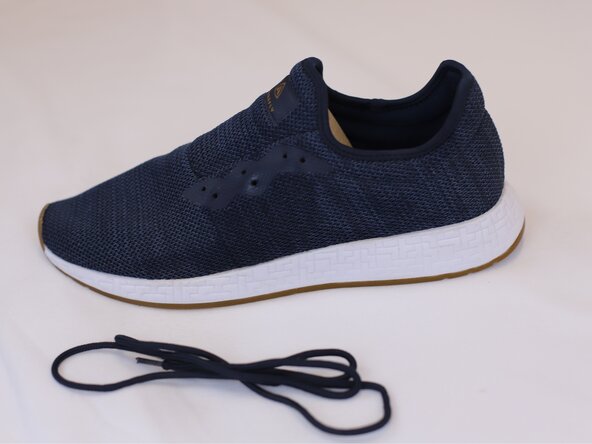
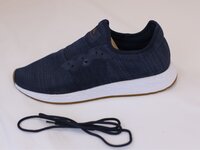
Take off the laces from your shoes to ensure a thorough clean.
-
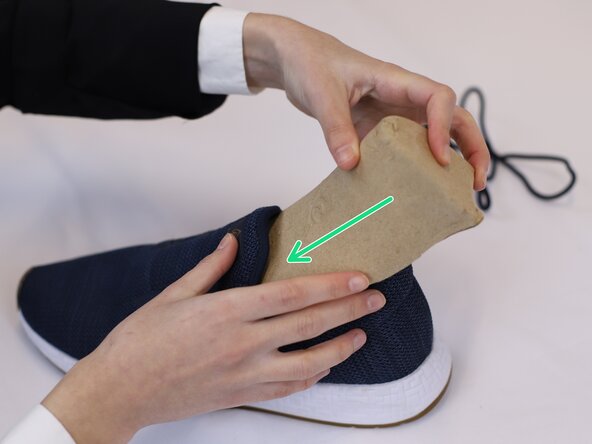
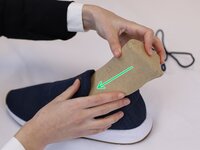
Place a shoe model or crumpled paper inside each shoe to help maintain their shape during cleaning.
-
-
-
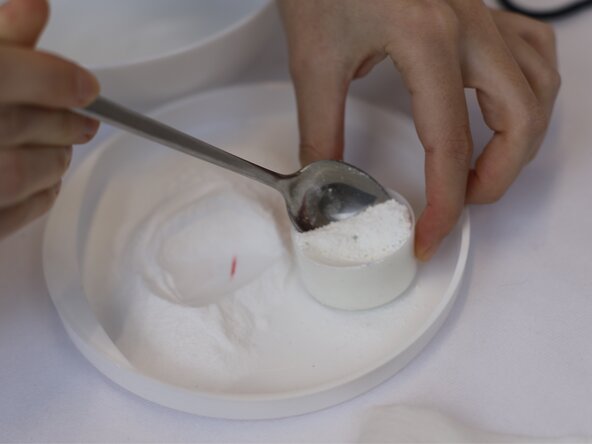
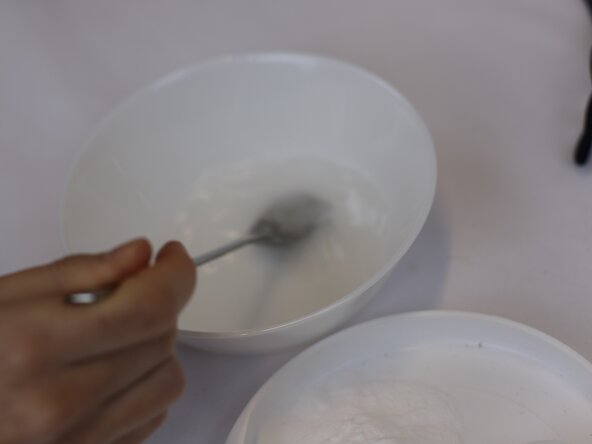
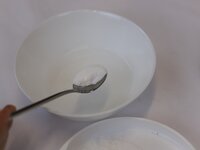
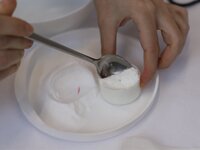
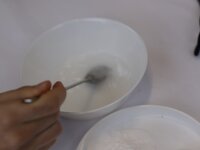
In a separate bowl, mix a small spoonful of baking soda with an equal amount of laundry detergent and twice the amount of water. Stir the mixture to create a paste.
-
Tip: adjust the quantity based on how dirty your shoes are.
-
-
-
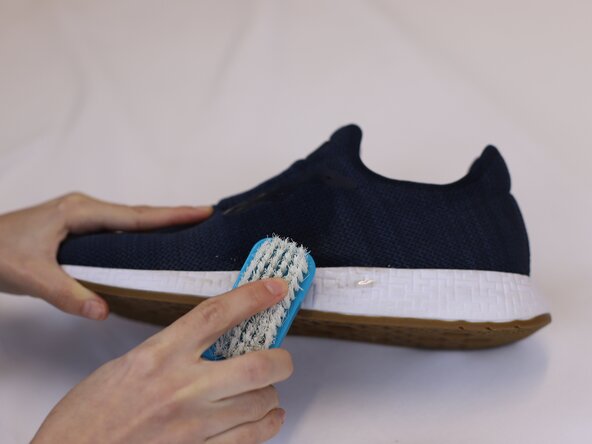
Dip the brush into the mixture and gently scrub the mesh surfaces of the shoes.
-
-
-
-
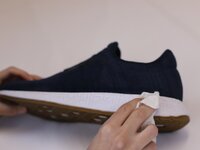
Use a clean, dry cloth to wipe away any excess moisture and residue from the shoes.
-
Allow them to air dry completely and relace the sneaker.
-
-
-
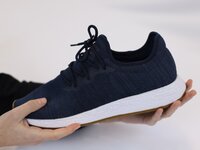
🛠️🏆👏 Congratulations! The cleaning is complete, and you're ready to go!
-
-







In need of another repair? Don't worry! Check out our other guides to find quick solutions for your favourite clothing, footwear and equipment!
----------------------------------------
🚨🛠️🩹 IMPORTANT SAFETY NOTICE:
The repair guides provided on this site are intended to help you repair products on your own. While we have put a lot of care into them, all repair work carries some risk:
- Safety Precautions: When repairing your product, take all necessary precautions to ensure your safety. Use appropriate tools and follow the instructions carefully.
- Product Condition: Once your product has been repaired, it may not meet original compliance guidelines anymore and could potentially have issues.
- Liability: We are not responsible for any damage or injury that may occur during the repair process or as a result of using a repaired product. You, as the repairer, assume all risks and responsibilities associated with the repair.
By using these repair guides, you fully acknowledge and accept the potential risks and responsibilities involved.


