
How to Adjust a Buttonhole Size

Ilene Withers and one other contributor
Last updated on Jun 2, 2021
Views: 9.9K
View statistics:
- Past 24 Hours:
- 7
- Past 7 Days:
- 62
- Past 30 Days:
- 280
- All Time:
- 9,945
Comments: 0
No one has left comments on this guide. Will you be first?
Go to guide commentsCompleted: 3 4
3 people have marked this guide "completed." Will you be next?
4 people have marked this guide "completed." Including you — great job!
Favorites: 1 2
1 person has favorited (and subscribed to) this guide. Will you be next?
2 people have favorited (and subscribed to) this guide — including you!
Featured Student Guide
This guide has been the hard work of our awesome students and is found to be exceptionally cool by the iFixit staff.
Introduction
Go to step 1 ↓Do you have a shirt with one button that always comes unbuttoned? If so, you need to shorten that buttonhole.
Would you like to change the look of a garment by changing all the buttons to new ones? To do this, you may need to shorten or lengthen the buttonholes.
Adjusting buttonholes is not difficult. This guide will show you the steps to this useful skill.
What you need
Parts
-
Garment Buttons For sale from another site
If you are using new buttons, buy the same number as your garment has buttonholes.
Tools
-
-
Fabric Thread (All-Purpose)Affiliate linkAvailable for sale on Amazon
Color should closely match existing buttonhole.
-
-
-
-


-
-
-
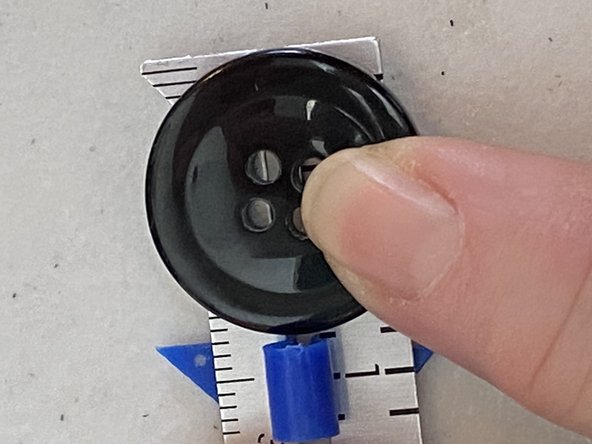
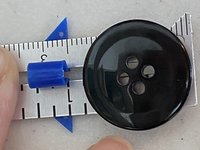
Using the ruler, measure the button you intend to use. Add 1/8” to this measurement for ease of buttoning.
 Ask FixBot
-
-
-
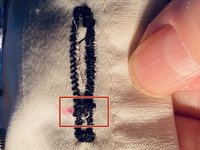
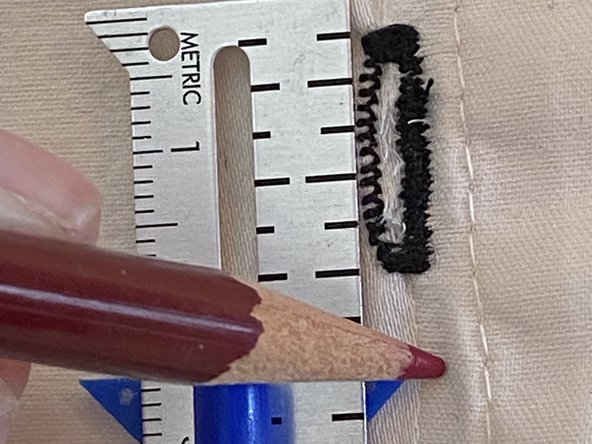
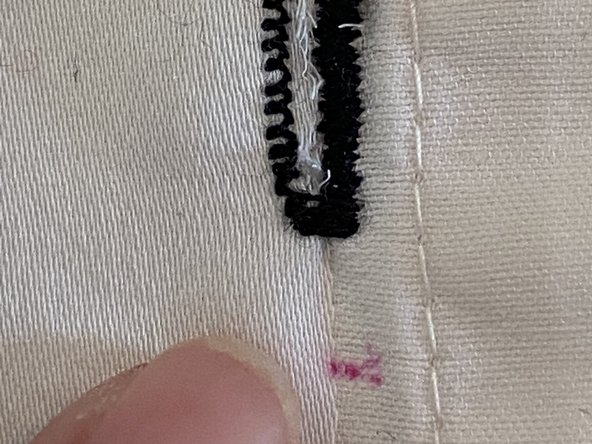
Measure down from the top of the existing buttonhole to the length of your Step 1 measurement.
-
Make a small sewing chalk mark or insert a straight pin to mark how long your adjusted buttonhole should be.
-
-
-
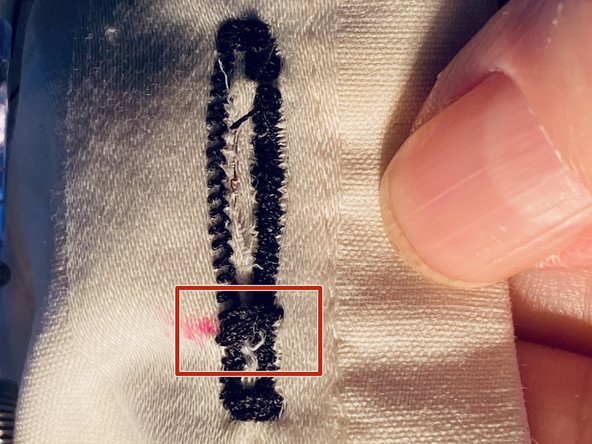
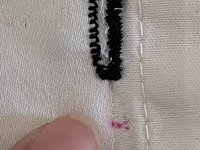
Match the stitch width of the existing bar tack, and sew a new bar tack at the location of your chalk mark.
-
Check to make sure your button fits your adjusted buttonhole well.
-
-
-
Using the ruler, measure the button you intend to use. Add 1/8” to this measurement for ease of buttoning.
-
-
-
With the ruler, measure down from the top of the existing buttonhole to the length of your Step 4 measurement.
-
Make a small sewing chalk mark or insert a straight pin on the fabric at this place.
-
-
-
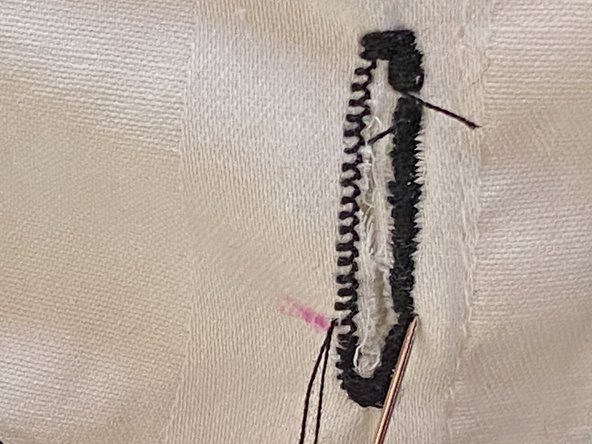
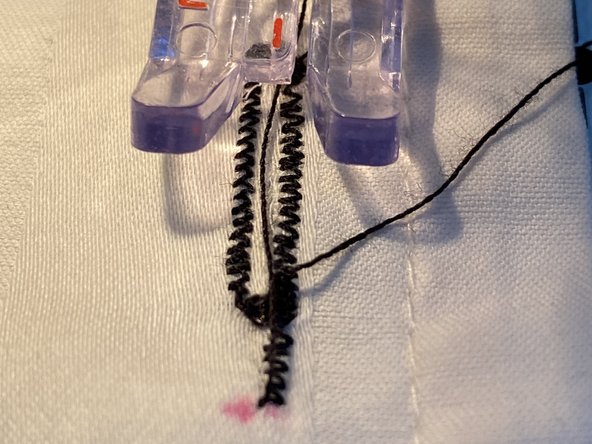
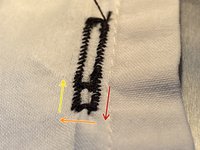
Starting on the right of the existing buttonhole, stitch to your chalk mark or pin, matching the width of the original stitching.
-
Stitch a new bar tack.
-
Stitch back on your left to just past the original bar tack.
-
Tie off or backstitch your thread.
-
-
-
-
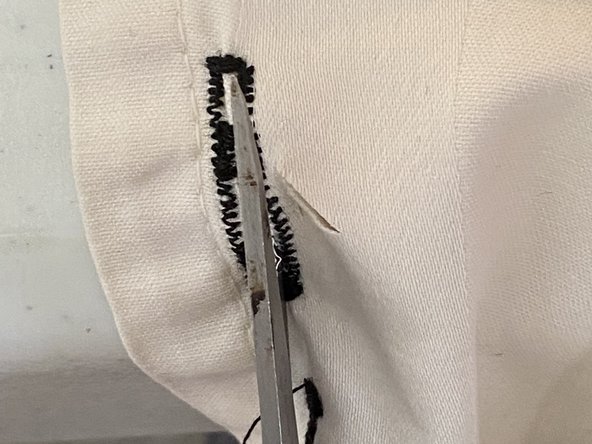
Using the point of your scissors, cut through the original bar tack and between your new side stitching until you have reached the new bar tack.
-
-
-
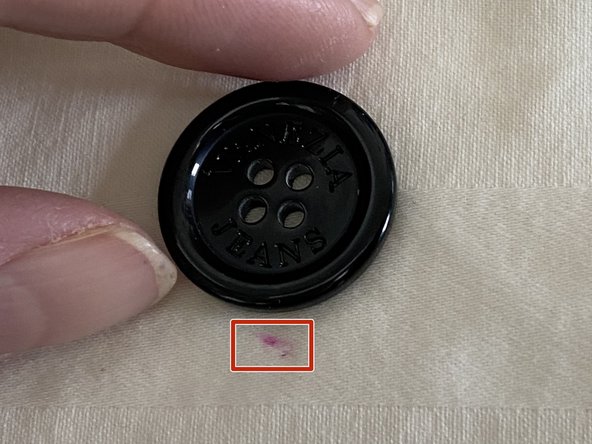
Very near the place where your button was originally sewn on, center your button in your adjusted buttonhole. Using chalk or a pin, mark this location.
-
Sew your button on.
-
Check to make sure it fits through your adjusted buttonhole well.
-
-






A sewing machine with a buttonhole presser foot is ideal, but this project can be completed with needle and thread.
Cancel: I did not complete this guide.
3 other people completed this guide.

Team

Northern Arizona University, Team S1-G11, Konrad Spring 2021 Member of Northern Arizona University, Team S1-G11, Konrad Spring 2021
NAU-KONRAD-S21S1G11
3 Members
12 Guides authored
