
How to Access the Internal Components of an HP 15-R011DX

Ethan Guillotte and 3 other contributors
Last updated on Mar 23, 2020
Views: 922
View statistics:
- Past 24 Hours:
- 1
- Past 7 Days:
- 14
- Past 30 Days:
- 68
- All Time:
- 922
Comments: 4
4 comments on steps.
Completed: 2 3
2 people have marked this guide "completed." Will you be next?
3 people have marked this guide "completed." Including you — great job!
Favorites: 0 1
No one has favorited (and subscribed to) this guide. Will you be the first?
1 person has favorited (and subscribed to) this guide — and that's you!
Introduction
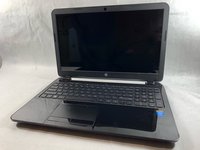
Go to step 1 ↓Accessing the internal components of the HP 15-R011DX is the beginning to find and solve the majority of all problems in the laptop. You’re going to need a Phillips #1 screwdriver and a safe place to put small pieces such as the screws and other components so to prevent loss.
What you need
Tools


-
-
-
Slide the lock mechanism on the left side of the laptop to the right.
 Ask FixBot
-
-
-
-
-
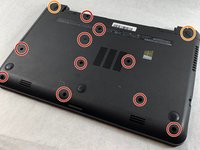
Flip the laptop over to reveal screw locations.
-
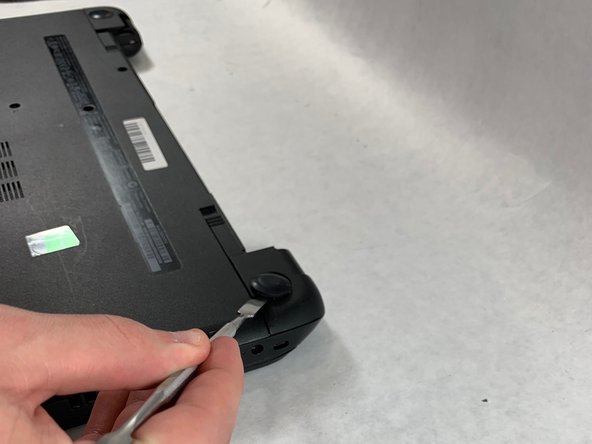
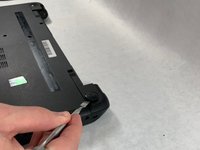
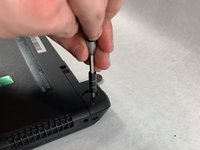
Use a metal spudger to remove the two rear rubber feet. There are screws hidden underneath them.
-
-
-
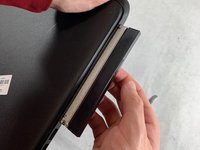
Remove the DVD drive from the laptop.
-
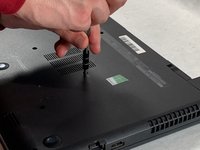
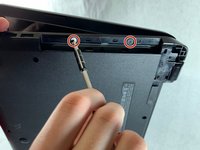
Remove the two 3 mm Phillips #1 screws underneath the DVD drive.
-
-
-
-
Flip the laptop and open.
-
Detach the keyboard by prying it free from the laptop using a spudger.
-
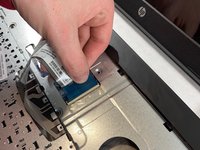
Disconnect the keyboard ribbon cable.
-
-
-
Disconnect the two narrow ribbon cables to the left of the keyboard connection.
-
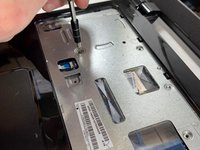
Remove five 4 mm Phillips #1 screws from the metal tray for the keyboard.
-
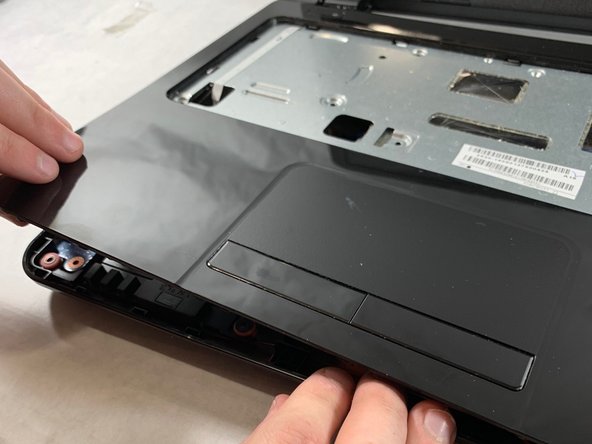
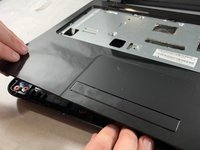
Pry open the plastic casing using a spudger.
-
-










To reassemble your device, follow these instructions in reverse order.
Cancel: I did not complete this guide.
2 other people completed this guide.

Team

UMass Dartmouth, Team S2-G4, Bailey Spring 2019 Member of UMass Dartmouth, Team S2-G4, Bailey Spring 2019
UMASSD-BAILEY-S19S2G4
3 Members
72 Guides authored
