
Hover-1 Ultra Power Button Replacement

Camron Clifton and 2 other contributors
Last updated on Dec 14, 2018
Views: 1.1K
View statistics:
- Past 24 Hours:
- 1
- Past 7 Days:
- 11
- Past 30 Days:
- 61
- All Time:
- 1,066
Comments: 0
No one has left comments on this guide. Will you be first?
Go to guide commentsCompleted: 1 2
1 person has marked this guide "completed." Will you be next?
2 people have marked this guide "completed." Including you — great job!
Favorites: 0 1
No one has favorited (and subscribed to) this guide. Will you be the first?
1 person has favorited (and subscribed to) this guide — and that's you!
Introduction
Go to step 1 ↓Will your Hover-1 Ultra not power up, preventing you from riding it? If you face this problem, it can be fixed with a simple replacement of the power button on your device. You will need a Phillips #1 screwdriver to remove the screws and an adjustable crescent wrench to help remove the button
What you need
Tools

-
-
-
Orient the hoverboard so that the pads are facing down.
-
With the Phillips #1 screwdriver, remove all 18 of the screws on the underside of the hoverboard.
-
Carefully remove the shell, lifting directly up.
 Ask FixBot
-
-
-
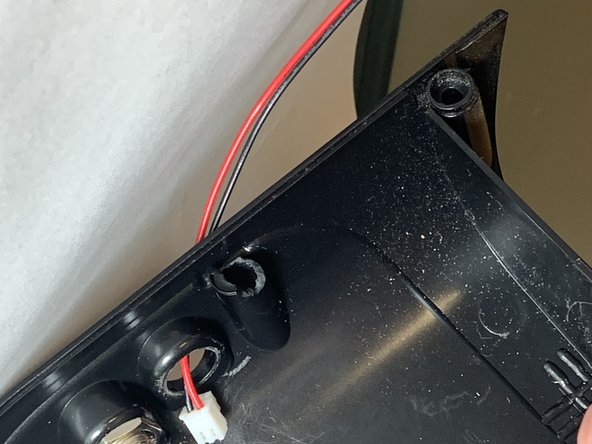
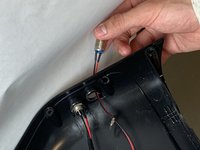
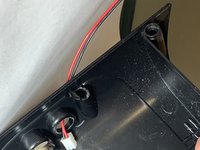
Unscrew the power button using your hands or an adjustable crescent wrench.
-
Turn the power button counter-clockwise to release from the shell.
-
-
-
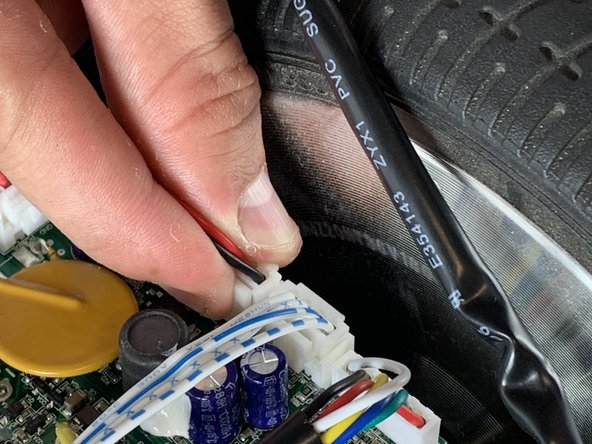
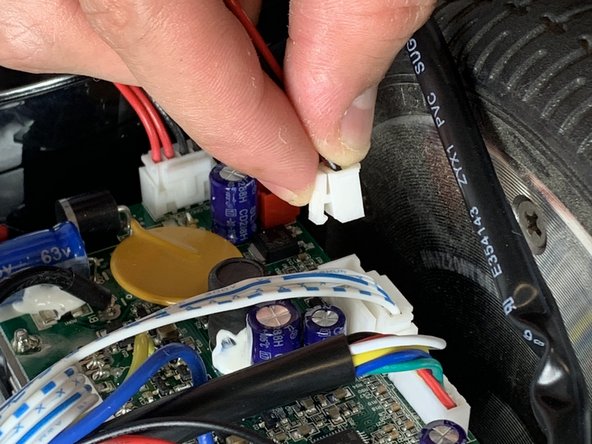
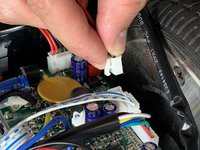
Unclip the red and black power cables that are attached to the port from the motherboard.
-
-
-



To reassemble your device, follow the instructions for step 1 in reverse order.
Cancel: I did not complete this guide.
One other person completed this guide.

Team

UC Davis, Team S7-G5, Lore Fall 2018 Member of UC Davis, Team S7-G5, Lore Fall 2018
UCD-LORE-F18S7G5
3 Members
36 Guides authored
