Free Shipping on Domestic Orders $75+

Hover-1 Titan Power Button Replacement

Views: 1.2K

View statistics:

Past 24 Hours:
1
Past 7 Days:
11
Past 30 Days:
78
All Time:
1,200
Comments: 1

1 comment on steps.

Completed: 0

No one has marked this guide "completed." Will you be the first?

Favorites: 0

No one has favorited (and subscribed to) this guide. Will you be the first?

Time Required: 5 - 10 minutes
Difficulty: Easy
Hover-1 Titan Power Button Replacement

Introduction

Go to step 1 ↓

If your hoverboard will not turn on, follow this guide to replace the power button.

What you need

Tools

    1. Hover-1 Titan Power Button Replacement, Bottom Right Panel: step 1, image 1 of 2 Hover-1 Titan Power Button Replacement, Bottom Right Panel: step 1, image 2 of 2
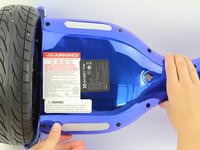
      • Flip the hoverboard so the bottom is facing up.

      • The right side is the side that has the power button. There is also an "R" on the metal plate underneath the battery.

      Ask FixBot
      Add Comment

    2. Hover-1 Titan Power Button Replacement: step 2, image 1 of 2 Hover-1 Titan Power Button Replacement: step 2, image 2 of 2
      • Using a Phillips #1 screwdriver, remove the two 14 mm screws closest to the center of the hoverboard.

      • Using a Phillips #1 screwdriver, remove the four 12 mm screws located in the middle of the panel.

      • Using a Phillips #1 screwdriver, remove the two 15 mm screws located closest to the wheel.

      Ask FixBot
      Add Comment

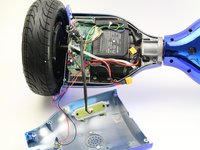
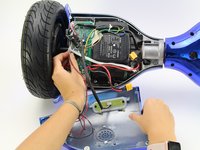
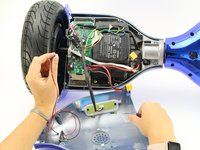
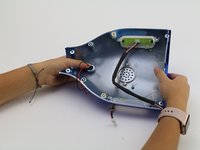
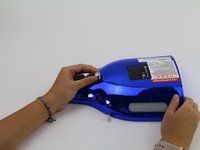
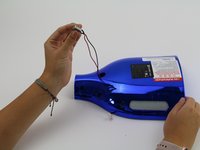
    3. Hover-1 Titan Power Button Replacement: step 3, image 1 of 3 Hover-1 Titan Power Button Replacement: step 3, image 2 of 3 Hover-1 Titan Power Button Replacement: step 3, image 3 of 3
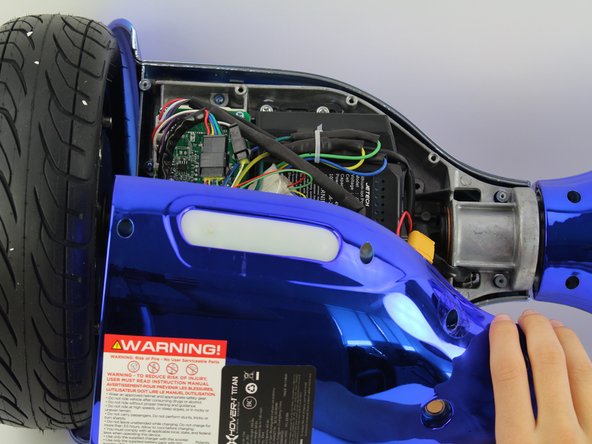
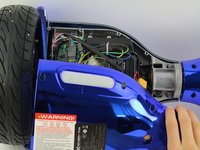
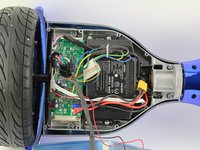
      • Grip the bottom right panel and lift to remove it.

      Ask FixBot

      Add Comment

    1. Hover-1 Titan Power Button Replacement, Power Button: step 4, image 1 of 2 Hover-1 Titan Power Button Replacement, Power Button: step 4, image 2 of 2
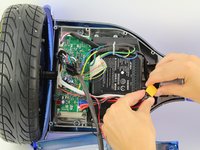
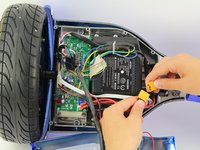
      • Disconnect the battery by holding the yellow connectors and pulling apart.

      Ask FixBot

      Add Comment

    2. Hover-1 Titan Power Button Replacement: step 5, image 1 of 3 Hover-1 Titan Power Button Replacement: step 5, image 2 of 3 Hover-1 Titan Power Button Replacement: step 5, image 3 of 3
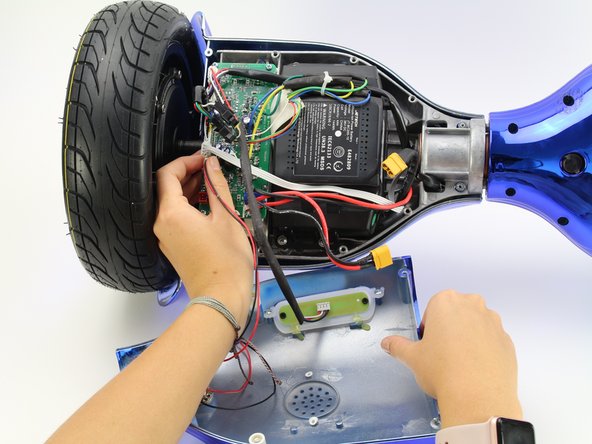
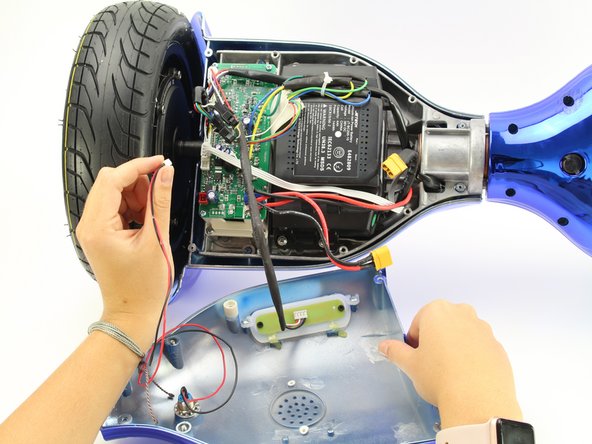
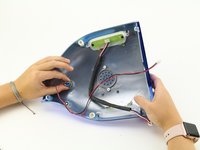
      • Unplug the red and black power button connector on the motherboard by squeezing the connector and pulling away from the board.

      • You can also unplug the light connector to free up your work space.

      Ask FixBot

      Add Comment

    3. Hover-1 Titan Power Button Replacement: step 6, image 1 of 2 Hover-1 Titan Power Button Replacement: step 6, image 2 of 2
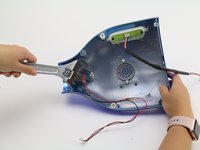
      • Use an adjustable wrench to remove the 14 mm nut holding the button in the shell.

      Ask FixBot

      Add Comment

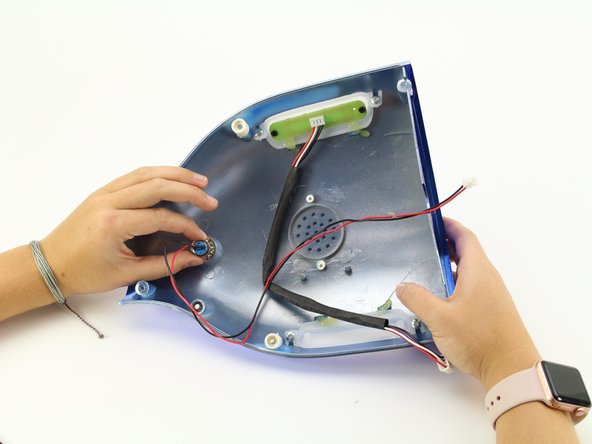
    4. Hover-1 Titan Power Button Replacement: step 7, image 1 of 3 Hover-1 Titan Power Button Replacement: step 7, image 2 of 3 Hover-1 Titan Power Button Replacement: step 7, image 3 of 3
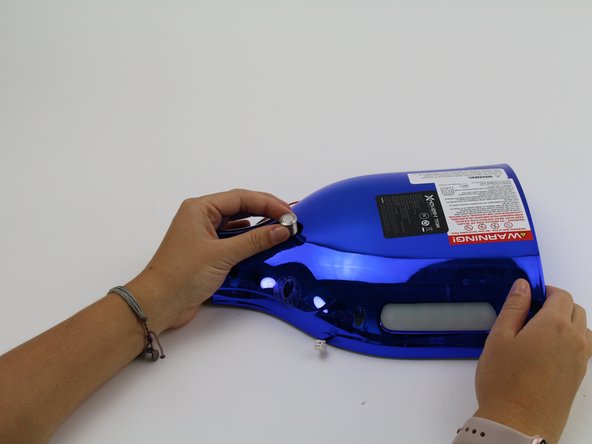
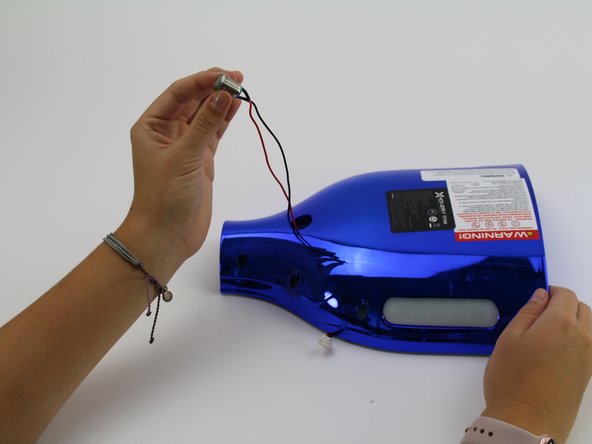
      • Pull the power button out of the panel.

      • Replace the power button.

      Ask FixBot

      Add Comment

Conclusion

To reassemble your device, follow these instructions in reverse order.

Cancel: I did not complete this guide.

Alexander Pham

Member since: 10/07/18

221 Reputation

1 Guide authored

Team

Cal Poly, Team S15-G4, White Fall 2018 Member of Cal Poly, Team S15-G4, White Fall 2018

CPSU-WHITE-F18S15G4

4 Members

96 Guides authored

0 Guide Comments

Add Comment

View Statistics:

Past 24 Hours: 1

Past 7 Days: 11

Past 30 Days: 78

All Time: 1,200