Free Shipping on Domestic Orders $75+

Hover-1 Titan Battery Replacement

What you need

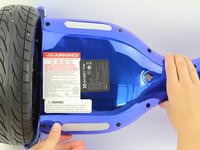
  1. Hover-1 Titan Battery Replacement, Bottom Right Panel: step 1, image 1 of 2 Hover-1 Titan Battery Replacement, Bottom Right Panel: step 1, image 2 of 2
    • Flip the hoverboard so the bottom is facing up.

    • The right side is the side that has the power button. There is also an "R" on the metal plate underneath the battery.

    Ask FixBot

    Add Comment

  2. Hover-1 Titan Battery Replacement: step 2, image 1 of 2 Hover-1 Titan Battery Replacement: step 2, image 2 of 2
    • Using a Phillips #1 screwdriver, remove the two 14 mm screws closest to the center of the hoverboard.

    • Using a Phillips #1 screwdriver, remove the four 12 mm screws located in the middle of the panel.

    • Using a Phillips #1 screwdriver, remove the two 15 mm screws located closest to the wheel.

    Ask FixBot

    Add Comment

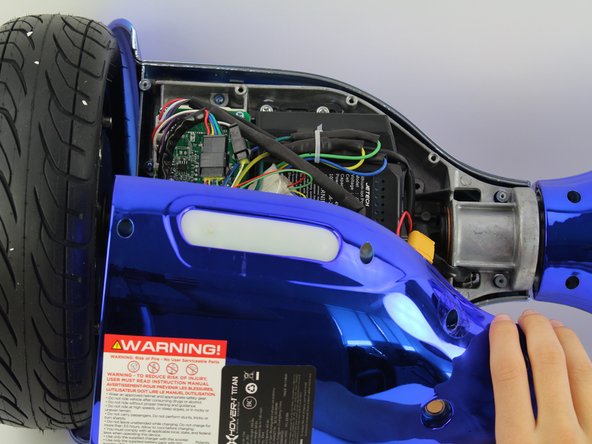
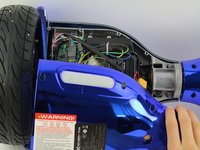
  3. Hover-1 Titan Battery Replacement: step 3, image 1 of 3 Hover-1 Titan Battery Replacement: step 3, image 2 of 3 Hover-1 Titan Battery Replacement: step 3, image 3 of 3
    • Grip the bottom right panel and lift to remove it.

    Ask FixBot

    Add Comment

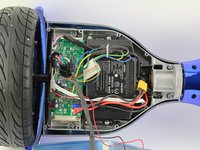
  4. Hover-1 Titan Battery Replacement, Battery: step 4, image 1 of 2 Hover-1 Titan Battery Replacement, Battery: step 4, image 2 of 2
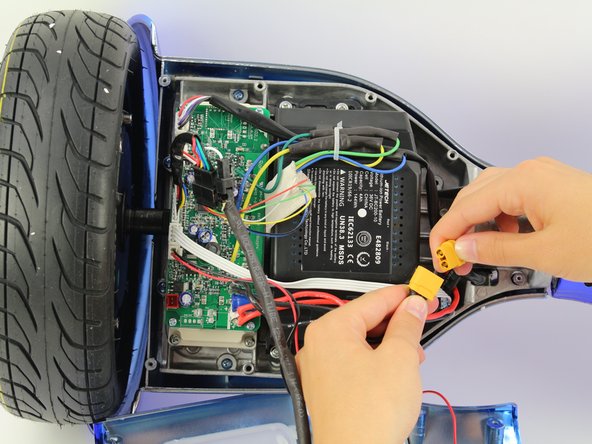
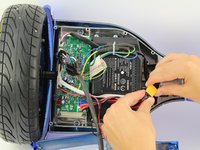
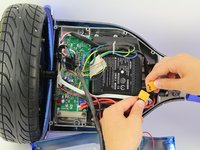
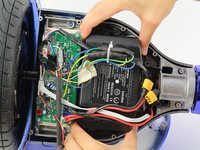
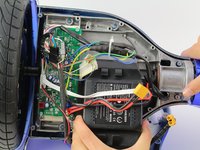
    • Unplug the battery from the gyroscope/motherboard by holding the yellow connector and pulling apart.

    Ask FixBot

    Add Comment

  5. Hover-1 Titan Battery Replacement: step 5, image 1 of 2 Hover-1 Titan Battery Replacement: step 5, image 2 of 2
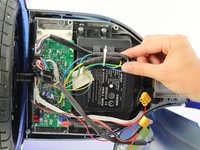
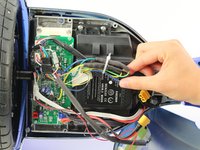
    • Remove the bundle of wires from the clip on the top of the battery.

    Ask FixBot

    Add Comment

  6. Hover-1 Titan Battery Replacement: step 6, image 1 of 2 Hover-1 Titan Battery Replacement: step 6, image 2 of 2
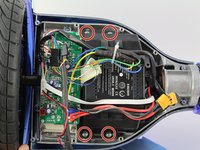
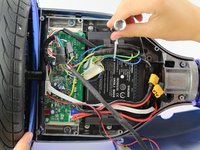
    • Using a Phillips #1 screwdriver, remove the four 14 mm screws that hold the battery on the device.

    Ask FixBot

    Add Comment

  7. Hover-1 Titan Battery Replacement: step 7, image 1 of 3 Hover-1 Titan Battery Replacement: step 7, image 2 of 3 Hover-1 Titan Battery Replacement: step 7, image 3 of 3
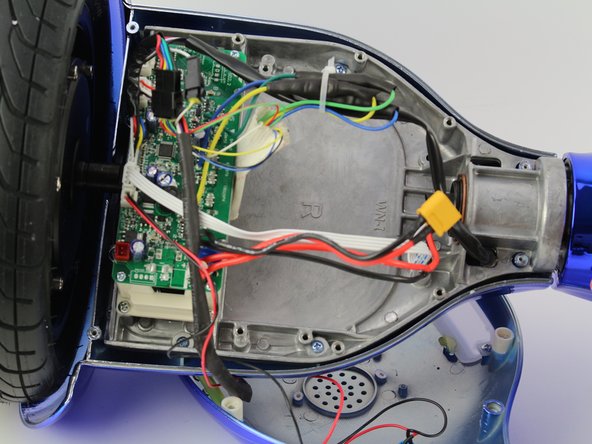
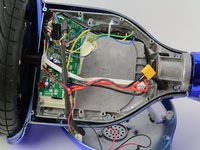
    • Remove the battery out of the hoverboard by lifting the battery then sliding it out from under the wires.

    Ask FixBot

    Add Comment

Conclusion

To reassemble your device, follow these instructions in reverse order.

Cancel: I did not complete this guide.

One other person completed this guide.

Jessica Ouyang

Member since: 10/08/18

634 Reputation

4 Guides authored

Team

Cal Poly, Team S15-G4, White Fall 2018 Member of Cal Poly, Team S15-G4, White Fall 2018

CPSU-WHITE-F18S15G4

4 Members

10 Guides authored

0 Guide Comments

Add Comment

View Statistics:

Past 24 Hours: 1

Past 7 Days: 19

Past 30 Days: 57

All Time: 3,262