Free Shipping on Domestic Orders $75+

Hover-1 Nomad Battery Replacement

What you need

  1. Hover-1 Nomad Battery Replacement, Outer Shell: step 1, image 1 of 3 Hover-1 Nomad Battery Replacement, Outer Shell: step 1, image 2 of 3 Hover-1 Nomad Battery Replacement, Outer Shell: step 1, image 3 of 3
    • Break the two warranty stickers by poking a screwdriver through them or peeling them off.

    • Remove the following twenty screws by rotating the screwdriver counterclockwise:

    • Eight 16.2mm Phillips #2 screws

    • Eight 15mm Phillips #2 screws

    • Four 19.1mm Phillips #2 screws

    • The holes containing most of the screws are deep and narrow. A screwdriver with interchangable bits will not be able to reach them.

    • Do not over-tighten the screws during reassembly. Over-tightened screws can crack the plastic channels holding the shell to the frame of the hoverboard.

    Ask FixBot

    Add Comment

  2. Hover-1 Nomad Battery Replacement: step 2, image 1 of 3 Hover-1 Nomad Battery Replacement: step 2, image 2 of 3 Hover-1 Nomad Battery Replacement: step 2, image 3 of 3
    • Use a nylon spudger to pry the metal handle away from the outer shell.

    • Rotate the metal handle toward the center of the hoverboard to unlock the plate from the retaining clips.

    • Lift the hoverboard off the metal handle.

    • Repeat for the handle on the other side of the hoverboard.

    Ask FixBot

    Add Comment

  3. Hover-1 Nomad Battery Replacement: step 3, image 1 of 1
    • Lift the plastic cover on each side up and away from the device.

    • Multiple wires connect the circuit boards to the outer shell. Remove the shell gently to avoid damaging the wires or components.

    Ask FixBot

    Add Comment

  4. Hover-1 Nomad Battery Replacement: step 4, image 1 of 2 Hover-1 Nomad Battery Replacement: step 4, image 2 of 2
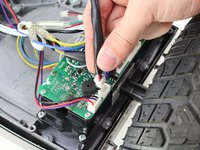
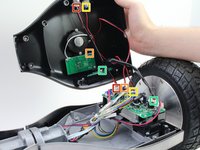
    • Disconnect the following wires by pinching the connector tabs and pulling the plugs out of the connectors:

    • Charging port wires

    • Speaker assembly wires

    • Power button wires

    • Headlight wires

    • Only the headlight wires need to be disconnected from the other circuit board.

    • Ensure the wires are connected to the correct ports on the circuit board during reassembly.

    Ask FixBot

    Add Comment

  5. Hover-1 Nomad Battery Replacement, Gyroscope Sensor Boards: step 5, image 1 of 1
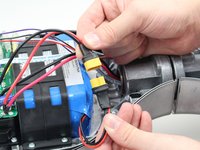
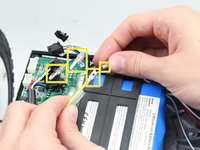
    • Cut the two zip ties around the bundle of wires with cutting pliers.

    • The zip tie is secured tightly around the wires. Be careful not to nick or cut any of the wires while removing the zip tie.

    • Do not puncture or cut the lithium-ion battery. Especially with a battery this large, the battery can catch fire or explode if damaged.

    Ask FixBot

    Add Comment

  6. Hover-1 Nomad Battery Replacement: step 6, image 1 of 2 Hover-1 Nomad Battery Replacement: step 6, image 2 of 2
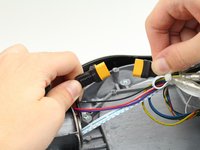
    • Disconnect the circuit boards from the battery by pulling both battery connectors apart.

    Ask FixBot

    Add Comment

  7. Hover-1 Nomad Battery Replacement: step 7, image 1 of 3 Hover-1 Nomad Battery Replacement: step 7, image 2 of 3 Hover-1 Nomad Battery Replacement: step 7, image 3 of 3
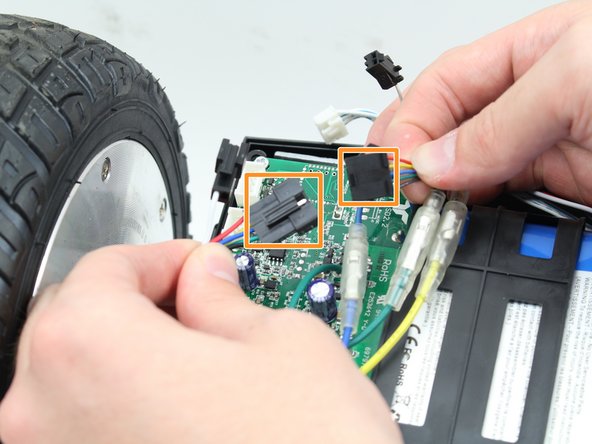
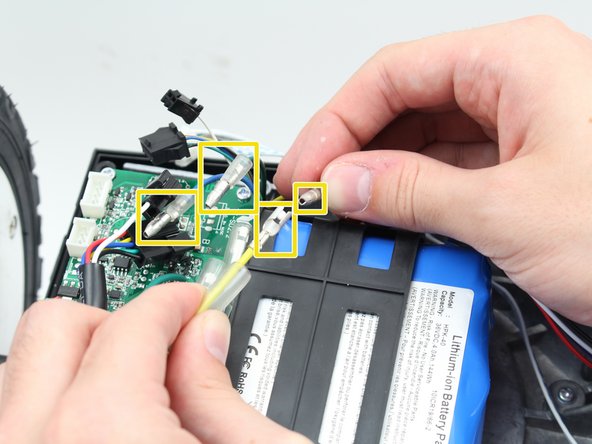
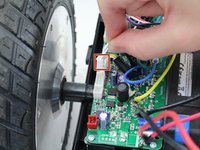
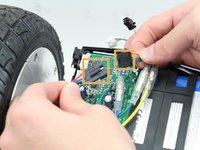
    • Disconnect the following wires connecting the circuit boards to the sensors and motors:

    • Disconnect the white connectors by pinching the tab and pulling up on the connectors.

    • Disconnect the black connectors by pulling the two sides apart.

    • Disconnect the green, yellow, and blue cables by pulling back the plastic shielding and pulling the ends apart.

    Ask FixBot

    Add Comment

  8. Hover-1 Nomad Battery Replacement: step 8, image 1 of 1
    • Remove the four 14mm Phillips #1 screws in the corners of each circuit board by turning the screwdriver counterclockwise.

    Ask FixBot

    Add Comment

  9. Hover-1 Nomad Battery Replacement: step 9, image 1 of 1
    • Remove the circuit board by pulling it up and out of the hoverboard.

    Ask FixBot

    Add Comment

  10. Hover-1 Nomad Battery Replacement, Battery: step 10, image 1 of 2 Hover-1 Nomad Battery Replacement, Battery: step 10, image 2 of 2
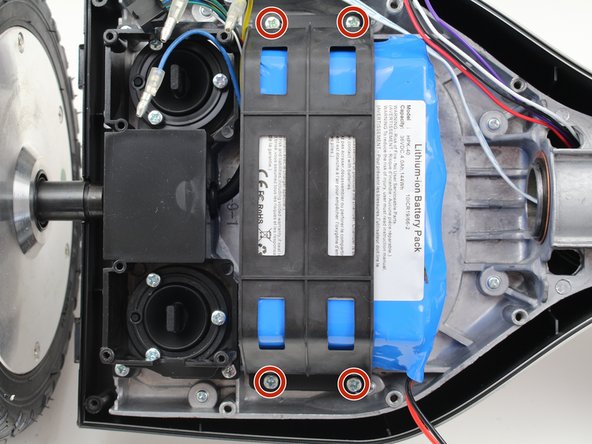
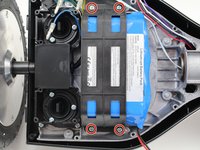
    • Remove the four 15mm screws from the battery cage with a Phillips #2 screwdriver.

    • Do not puncture or cut the lithium-ion battery. Especially with a battery this large, the battery can catch fire or explode if damaged.

    Ask FixBot

    Add Comment

  11. Hover-1 Nomad Battery Replacement: step 11, image 1 of 2 Hover-1 Nomad Battery Replacement: step 11, image 2 of 2
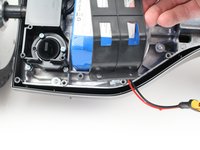
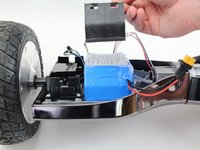
    • Lift the battery cage up and off the battery.

    Ask FixBot

    Add Comment

  12. Hover-1 Nomad Battery Replacement: step 12, image 1 of 1
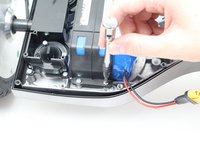
    • Remove the battery by lifting it off the hoverboard frame.

    • The battery is attached to the frame with an adhesive strip. It can be removed by hand with some force.

    Ask FixBot

    Add Comment

Conclusion

To reassemble your device, follow these instructions in reverse order.

Cancel: I did not complete this guide.

One other person completed this guide.

Samuel Frazee

Member since: 10/08/18

1,015 Reputation

7 Guides authored

Team

Cal Poly, Team S15-G1, White Fall 2018 Member of Cal Poly, Team S15-G1, White Fall 2018

CPSU-WHITE-F18S15G1

4 Members

7 Guides authored

0 Guide Comments

Add Comment

View Statistics:

Past 24 Hours: 2

Past 7 Days: 7

Past 30 Days: 61

All Time: 1,812