
Hover-1 Matrix Battery Replacement

Ziru Mo and 6 other contributors
Last updated on Jan 10, 2025
Views: 1.7K
View statistics:
- Past 24 Hours:
- 3
- Past 7 Days:
- 18
- Past 30 Days:
- 82
- All Time:
- 1,679
Comments: 0
No one has left comments on this guide. Will you be first?
Go to guide commentsCompleted: 3 4
3 people have marked this guide "completed." Will you be next?
4 people have marked this guide "completed." Including you — great job!
Favorites: 0 1
No one has favorited (and subscribed to) this guide. Will you be the first?
1 person has favorited (and subscribed to) this guide — and that's you!
Needs Better Images
Better photos will improve this guide. Help out by taking, editing, or uploading new ones!
Introduction
Go to step 1 ↓The battery is one of the most critical components of the Hover-1 Matrix hoverboard. It powers the device, enabling smooth operation and consistent performance. Over time, however, the battery may degrade or become damaged due to regular use, overcharging, or exposure to extreme temperatures. These issues can result in reduced performance, shorter ride times, or, in severe cases, a hoverboard that will not power on. Fortunately, replacing the battery is a straightforward process that can restore your hoverboard to optimal working condition.
It’s important to address potential warning signs of a damaged battery, such as excessive heat during charging, noticeable swelling, or a hoverboard that shuts off unexpectedly. Swollen batteries pose a safety risk and should be handled with extreme care to avoid punctures or leaks, which could lead to fires or harmful chemical exposure.
Before beginning the replacement, ensure you work in a safe, ESD-protected environment to avoid damaging electronic components. Always disconnect the power and handle the device with care to prevent further damage. Proper disposal of the old battery is essential; many local recycling centers or electronics retailers accept used batteries for safe disposal.
What you need

-
-
-
Remove the twenty screws from the top outer cover using a Phillips #1 screwdriver.
-
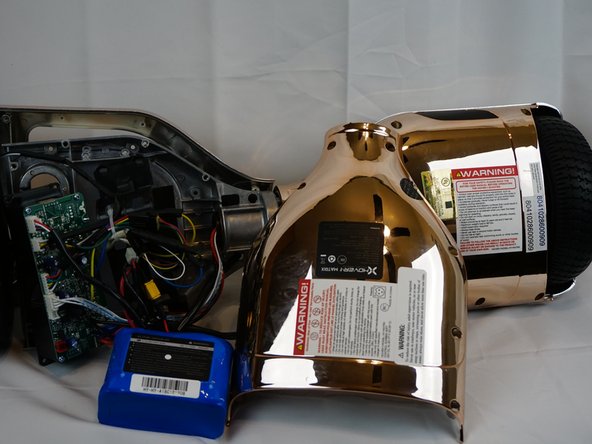
Lift the left and right sides of the outer cover away from the rest of the hoverboard.
 Ask FixBot
-
-
-
-
Move the plastic cover from the top of the battery.
-
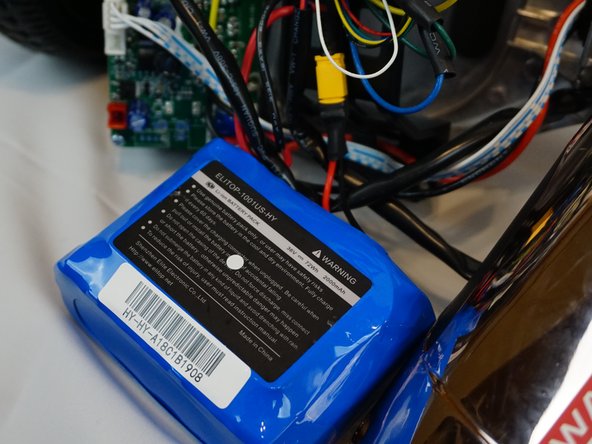
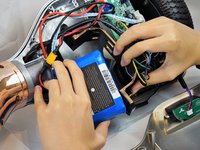
Unplug the cables that connect to the battery and remove the battery from the hoverboard.
-
-


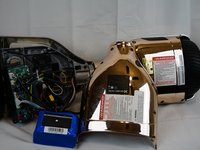
To reassemble the device, follow these instructions in reverse order.
Cancel: I did not complete this guide.
3 other people completed this guide.

Team

UC Davis, Team S7-G2, Lore Fall 2018 Member of UC Davis, Team S7-G2, Lore Fall 2018
UCD-LORE-F18S7G2
3 Members
48 Guides authored
