Free Shipping on Domestic Orders $75+

Hover-1 Liberty Gyroscope Sensor Boards Replacement

What you need

    1. Hover-1 Liberty Gyroscope Sensor Boards Replacement, Bottom Cover: step 1, image 1 of 2 Hover-1 Liberty Gyroscope Sensor Boards Replacement, Bottom Cover: step 1, image 2 of 2
      • Flip the hoverboard over so the labels are facing upwards.

      • Remove the twenty 18mm screws using a Phillips #2 screwdriver and twisting counterclockwise.

      Ask FixBot

      Add Comment

    2. Hover-1 Liberty Gyroscope Sensor Boards Replacement: step 2, image 1 of 2 Hover-1 Liberty Gyroscope Sensor Boards Replacement: step 2, image 2 of 2
      • Remove the bottom cover by lifting it away from the hoverboard.

      • The cover on the side without the battery has two wires connecting the power button and charging port.

      Ask FixBot

      Add Comment

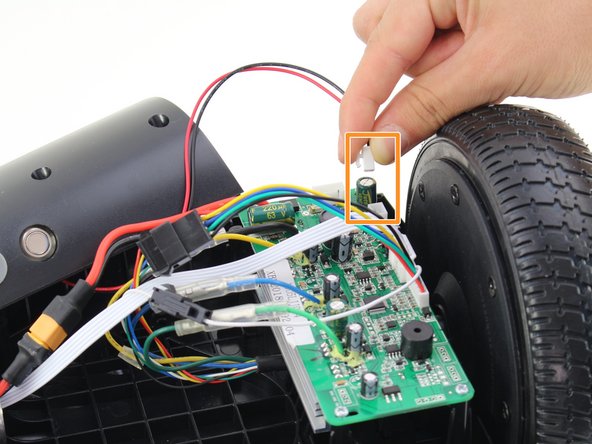
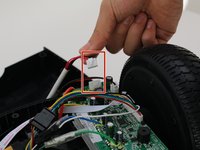
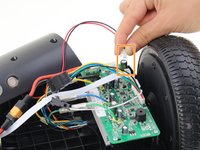
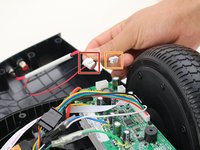
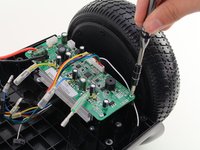
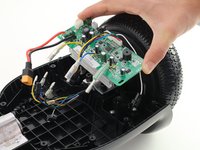
    3. Hover-1 Liberty Gyroscope Sensor Boards Replacement: step 3, image 1 of 3 Hover-1 Liberty Gyroscope Sensor Boards Replacement: step 3, image 2 of 3 Hover-1 Liberty Gyroscope Sensor Boards Replacement: step 3, image 3 of 3
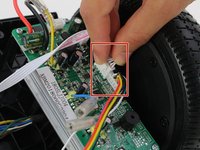
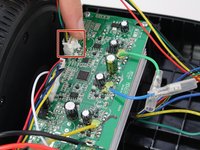
      • Remove one connector from the non-battery side circuit board.

      • Remove the next connector from the non-battery side circuit board.

      • To remove the connectors, pinch the plug and pull away from the circuit board.

      Ask FixBot

      Add Comment

    1. Hover-1 Liberty Gyroscope Sensor Boards Replacement, Gyroscope Sensor Boards: step 4, image 1 of 1
      • Place the hoverboard so the sensor boards face you.

      Ask FixBot

      Add Comment

    2. Hover-1 Liberty Gyroscope Sensor Boards Replacement: step 5, image 1 of 2 Hover-1 Liberty Gyroscope Sensor Boards Replacement: step 5, image 2 of 2
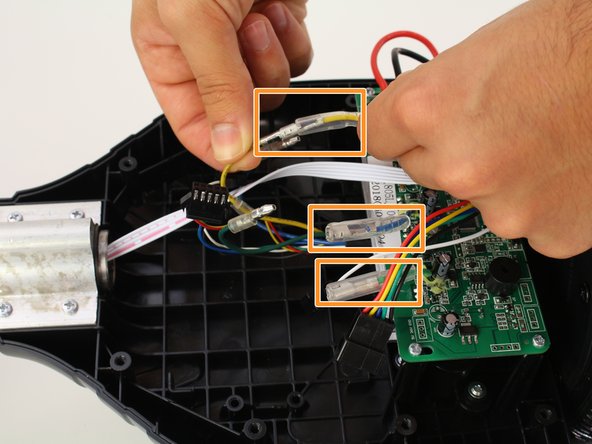
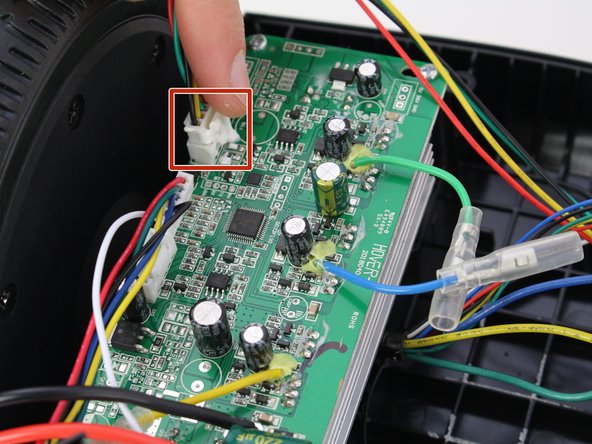
      • Remove battery connector by pulling it apart.

      • Slide the rubber sheaths away from the connector on the blue, green, and yellow wires.

      • Disconnect the colored wires by pulling them apart.

      • The large colored wires connecting the sensor boards to the wheels need to match for the motor to operate correctly.

      Ask FixBot

      Add Comment

    3. Hover-1 Liberty Gyroscope Sensor Boards Replacement: step 6, image 1 of 2 Hover-1 Liberty Gyroscope Sensor Boards Replacement: step 6, image 2 of 2
      • Remove the white cable from the sensor boards by disconnecting the cable on each side of the hoverboard.

      • To release the cable connector, squeeze the sides while pulling it away from the sensor board.

      Ask FixBot

      Add Comment

    4. Hover-1 Liberty Gyroscope Sensor Boards Replacement: step 7, image 1 of 2 Hover-1 Liberty Gyroscope Sensor Boards Replacement: step 7, image 2 of 2
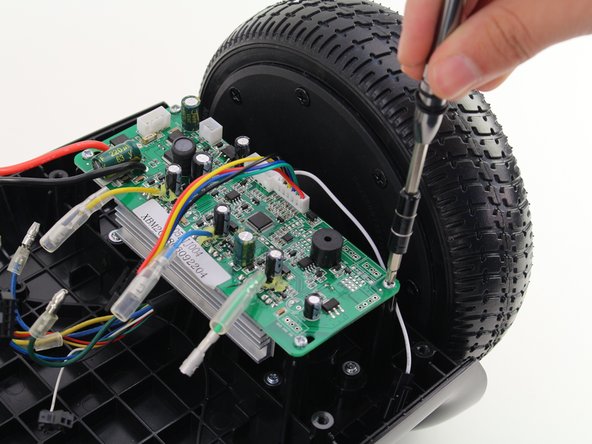
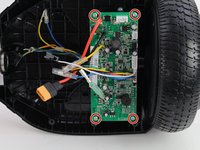
      • Remove the four 10mm screws with a Phillips #1 screwdriver.

      Ask FixBot

      Add Comment

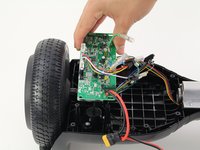
    5. Hover-1 Liberty Gyroscope Sensor Boards Replacement: step 8, image 1 of 2 Hover-1 Liberty Gyroscope Sensor Boards Replacement: step 8, image 2 of 2
      • Remove the sensor board by lifting it away from the hoverboard.

      • Repeat steps 4-8 to remove the sensor board from the other side.

      Ask FixBot

      Add Comment

Conclusion

To reassemble your device, follow these instructions in reverse order.

Cancel: I did not complete this guide.

6 other people completed this guide.

Eduardo Miranda

Member since: 10/08/18

355 Reputation

2 Guides authored

Team

Cal Poly, Team S13-G2, White Fall 2018 Member of Cal Poly, Team S13-G2, White Fall 2018

CPSU-WHITE-F18S13G2

3 Members

48 Guides authored

9 Guide Comments

Where can you purchase the replacement board for the Hover-1 liberty?

Clifton Hale - Reply Share

Where do you get replacement board?

Tim Sole - Reply Share

After riding just a few times the hover board wouldn’t move. Also it has a rattle inside

Regina - Reply Share

Make this site useful by telling us where we can buy a new circuit board.

tim stoinski - Reply Share

Where do you get circuit board from.

markrichardowen - Reply Share

Add Comment

View Statistics:

Past 24 Hours: 2

Past 7 Days: 17

Past 30 Days: 65

All Time: 10,347