Free Shipping on Domestic Orders $75+

Hover-1 Horizon Left Gyroscope Sensor Board Replacement

Views: 5.6K

View statistics:

Past 24 Hours:
4
Past 7 Days:
19
Past 30 Days:
58
All Time:
5,626
Comments: 0

No one has left comments on this guide. Will you be first?

Go to guide comments
Completed: 1

1 person has marked this guide "completed." Will you be next?

Favorites: 0

No one has favorited (and subscribed to) this guide. Will you be the first?

Time Required: 30 minutes
Difficulty: Moderate
Featured Student Guide

This guide has been the hard work of our awesome students and is found to be exceptionally cool by the iFixit staff.

Hover-1 Horizon Left Gyroscope Sensor Board Replacement

Introduction

Go to step 1 ↓

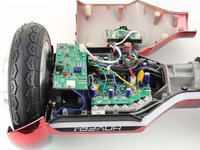
Is one side of your Hover-1 Horizon unresponsive? This is a guide to show you how to replace the left gyroscope board, the most likely culprit to your problem. This guide requires a Phillips #2 and a Phillips #1 screwdriver.

What you need

Tools

    1. Hover-1 Horizon Left Gyroscope Sensor Board Replacement, Base Plate: step 1, image 1 of 2 Hover-1 Horizon Left Gyroscope Sensor Board Replacement, Base Plate: step 1, image 2 of 2
      • Remove the six 12mm Phillips #2 screws holding the base plate.

      Ask FixBot
      Add Comment

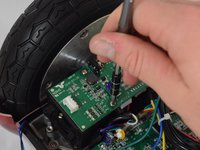
    2. Hover-1 Horizon Left Gyroscope Sensor Board Replacement: step 2, image 1 of 2 Hover-1 Horizon Left Gyroscope Sensor Board Replacement: step 2, image 2 of 2
      • Remove the two 11mm Phillips #1 screws that hold the base plate to the body.

      Ask FixBot
      Add Comment

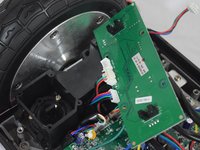
    3. Hover-1 Horizon Left Gyroscope Sensor Board Replacement: step 3, image 1 of 3 Hover-1 Horizon Left Gyroscope Sensor Board Replacement: step 3, image 2 of 3 Hover-1 Horizon Left Gyroscope Sensor Board Replacement: step 3, image 3 of 3
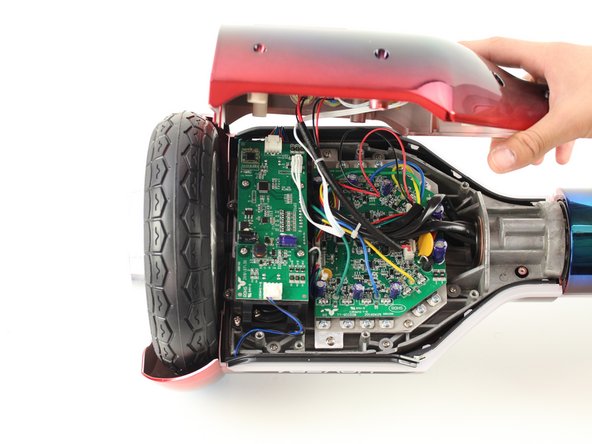
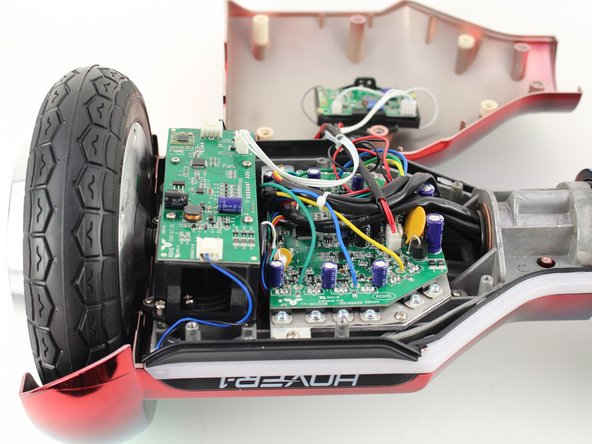
      • Remove the base plate by lifting it up.

      • The base plate is connected to the body with wires. The wires are long enough to set the base plate to the side.

      Ask FixBot
      Add Comment

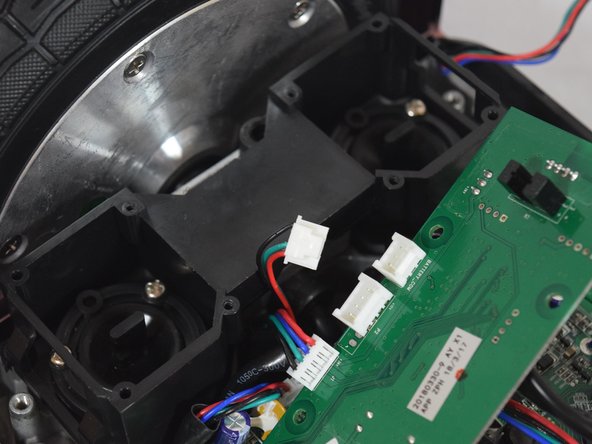
    1. Hover-1 Horizon Left Gyroscope Sensor Board Replacement, Left Gyroscope Sensor Board: step 4, image 1 of 3 Hover-1 Horizon Left Gyroscope Sensor Board Replacement, Left Gyroscope Sensor Board: step 4, image 2 of 3 Hover-1 Horizon Left Gyroscope Sensor Board Replacement, Left Gyroscope Sensor Board: step 4, image 3 of 3
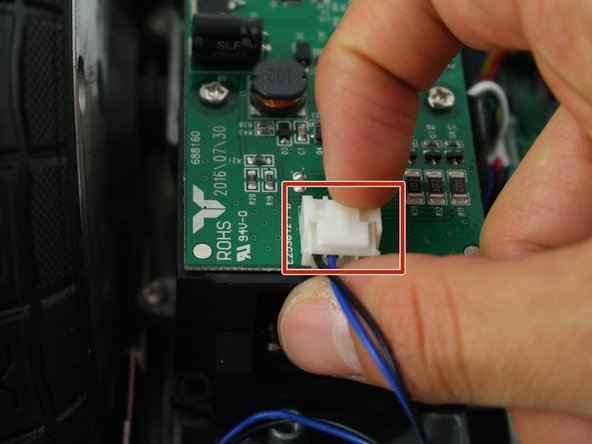
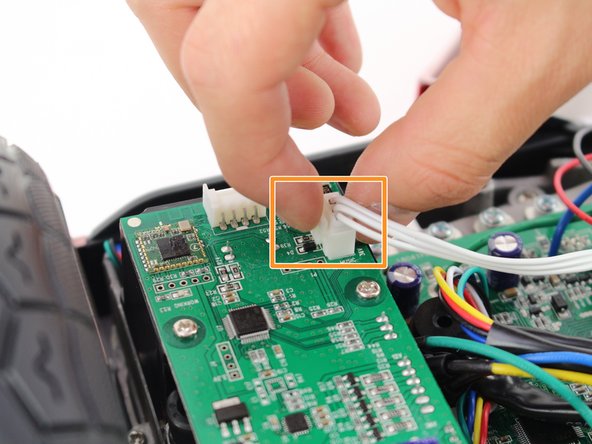
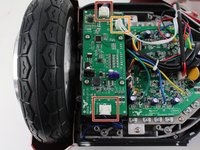
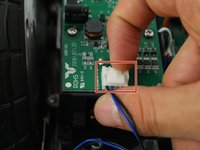
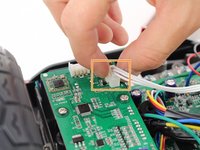
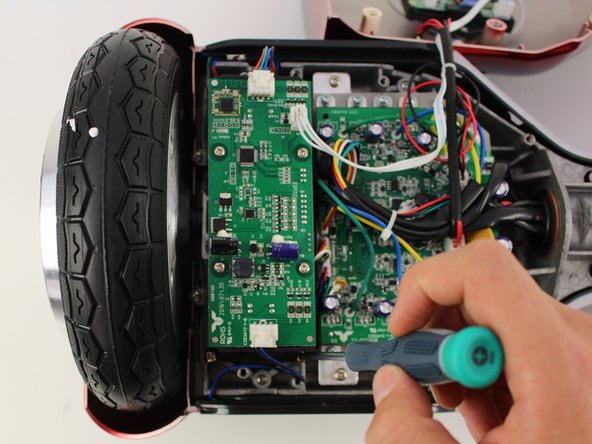
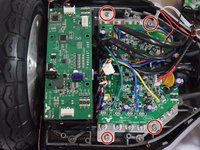
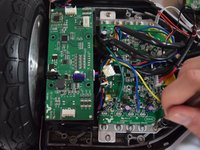
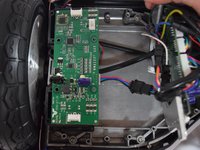
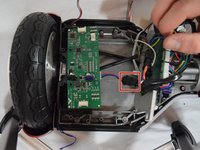
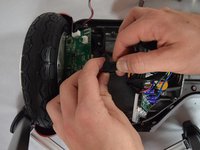
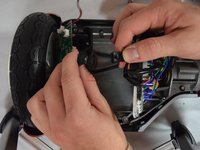
      • Remove the two connectors on either side of the board by lifting the tab and pulling out.

      • Remove the connector in the middle of the board by squeezing the tab and pulling up.

      Ask FixBot

      Add Comment

    2. Hover-1 Horizon Left Gyroscope Sensor Board Replacement: step 5, image 1 of 2 Hover-1 Horizon Left Gyroscope Sensor Board Replacement: step 5, image 2 of 2
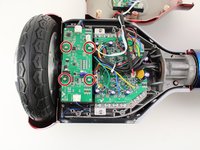
      • Remove the four 11mm Phillips #1 screws that hold the cover on.

      Ask FixBot
      Add Comment

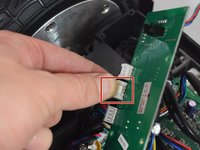
    3. Hover-1 Horizon Left Gyroscope Sensor Board Replacement: step 6, image 1 of 3 Hover-1 Horizon Left Gyroscope Sensor Board Replacement: step 6, image 2 of 3 Hover-1 Horizon Left Gyroscope Sensor Board Replacement: step 6, image 3 of 3
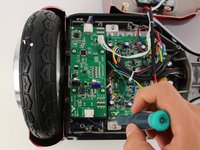
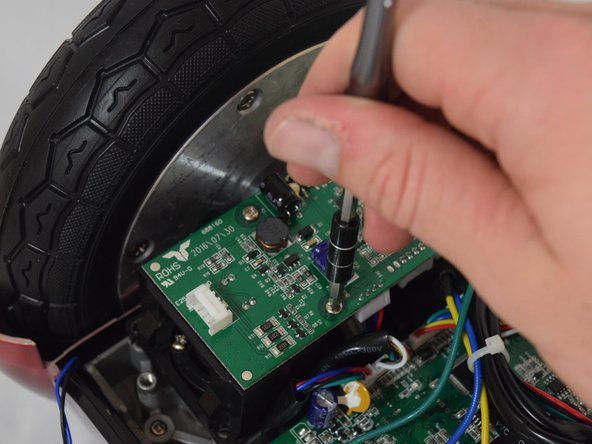
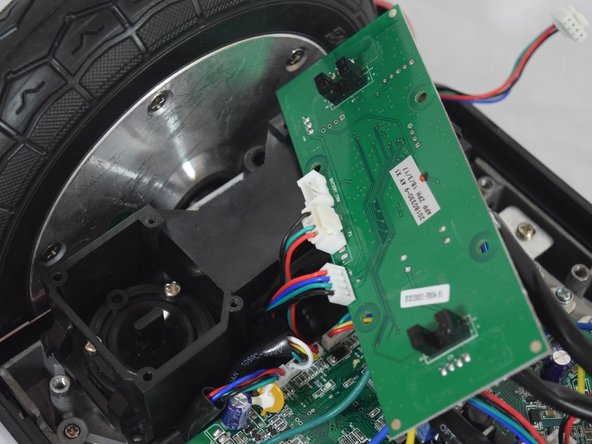
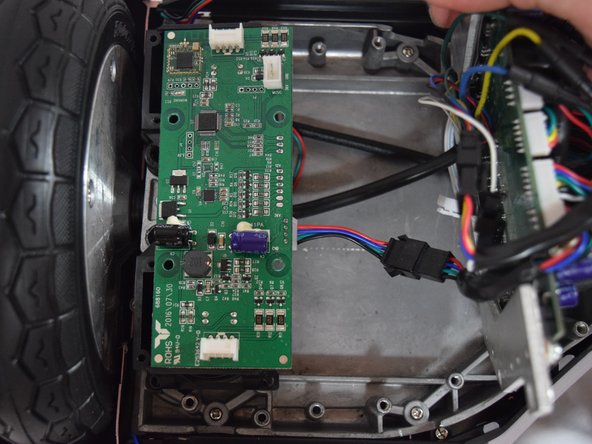
      • Remove the four 11mm Phillips #1 screws that attach the gyroscope board to the mount.

      • Lift the board to reveal the connections on the bottom.

      Ask FixBot
      Add Comment

    4. Hover-1 Horizon Left Gyroscope Sensor Board Replacement: step 7, image 1 of 2 Hover-1 Horizon Left Gyroscope Sensor Board Replacement: step 7, image 2 of 2
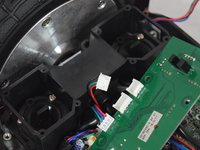
      • Remove the middle connector by squeezing the top of the tab and pulling up.

      Ask FixBot
      Add Comment

    5. Hover-1 Horizon Left Gyroscope Sensor Board Replacement: step 8, image 1 of 3 Hover-1 Horizon Left Gyroscope Sensor Board Replacement: step 8, image 2 of 3 Hover-1 Horizon Left Gyroscope Sensor Board Replacement: step 8, image 3 of 3
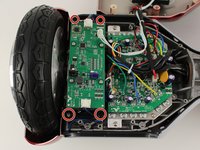
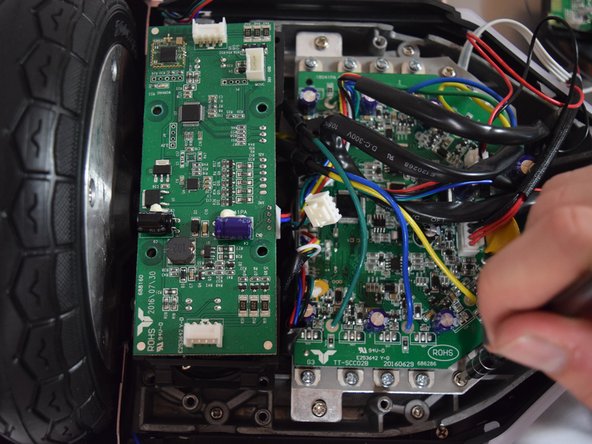
      • Remove the four 12mm Phillips #2 screws that hold the motherboard to the base.

      • Pull the motherboard away from the gyroscope by grabbing it with two hands and pulling it to the right .

      Ask FixBot

      Add Comment

    6. Hover-1 Horizon Left Gyroscope Sensor Board Replacement: step 9, image 1 of 3 Hover-1 Horizon Left Gyroscope Sensor Board Replacement: step 9, image 2 of 3 Hover-1 Horizon Left Gyroscope Sensor Board Replacement: step 9, image 3 of 3
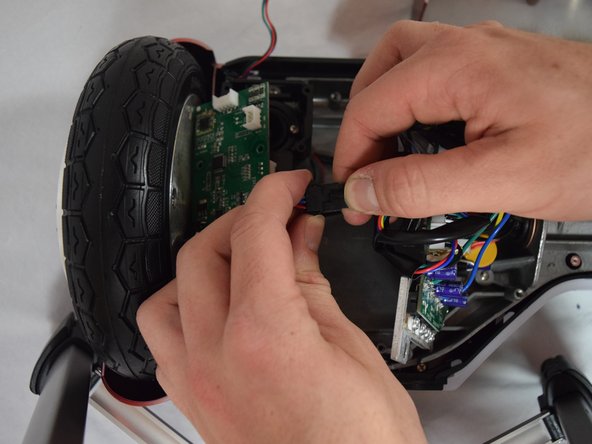
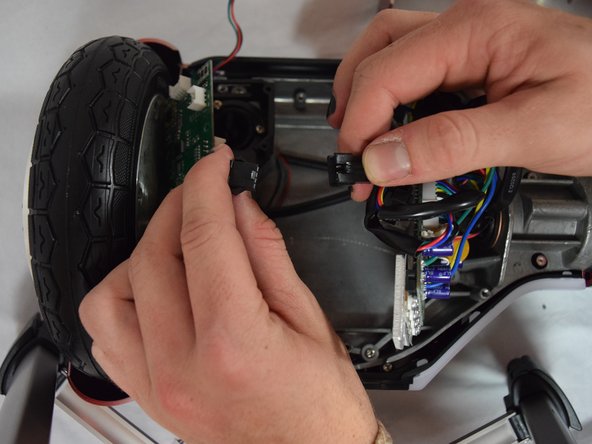
      • Unclip the black connector by squeezing both sides and pulling them apart.

      Ask FixBot
      Add Comment

Conclusion

To reassemble your device, follow these instructions in reverse order.

Cancel: I did not complete this guide.
One other person completed this guide.

Casey Winans

Member since: 10/08/18

324 Reputation

2 Guides authored

Team

Cal Poly, Team S13-G6, White Fall 2018 Member of Cal Poly, Team S13-G6, White Fall 2018

CPSU-WHITE-F18S13G6

4 Members

72 Guides authored

0 Guide Comments

Add Comment
View Statistics:

Past 24 Hours: 4

Past 7 Days: 19

Past 30 Days: 58

All Time: 5,626