
Hover-1 H1 Power Button Replacement

Christopher Bruni and 2 other contributors
Last updated on Dec 5, 2018
Views: 4.2K
View statistics:
- Past 24 Hours:
- 1
- Past 7 Days:
- 12
- Past 30 Days:
- 80
- All Time:
- 4,231
Comments: 0
No one has left comments on this guide. Will you be first?
Go to guide commentsCompleted: 1 2
1 person has marked this guide "completed." Will you be next?
2 people have marked this guide "completed." Including you — great job!
Favorites: 0 1
No one has favorited (and subscribed to) this guide. Will you be the first?
1 person has favorited (and subscribed to) this guide — and that's you!
Introduction
Go to step 1 ↓Replacing the power button of your Hover-1 H1 hoverboard can help with problems involving turning on your device.
What you need
Tools


-
-
-
Remove the ten 9mm machine screws by using a long Phillips #2 screwdriver to rotate the screws counterclockwise.
-
Remove the twelve 9mm sheet metal screws by using a long Phillips #2 screwdriver to rotate the screws counterclockwise.
 Ask FixBot
-
-
-
Puncture the two black stickers by using the tip of a screwdriver.
-
Remove the two 9mm machine screws by using a long Phillips #2 screwdriver to rotate the screws counterclockwise.
-
-
-
-
-
Unplug the power button connector by pinching the tab on the front and pulling directly upwards.
-
Pull the cable through the center section of the hoverboard.
-
-
-
-
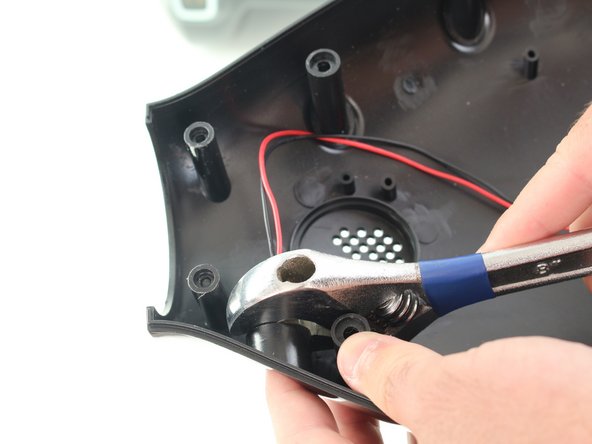
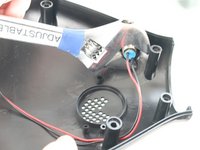
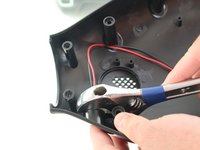
Using an adjustable wrench, remove the nut on the back of the power button by rotating the nut counterclockwise.
-
-


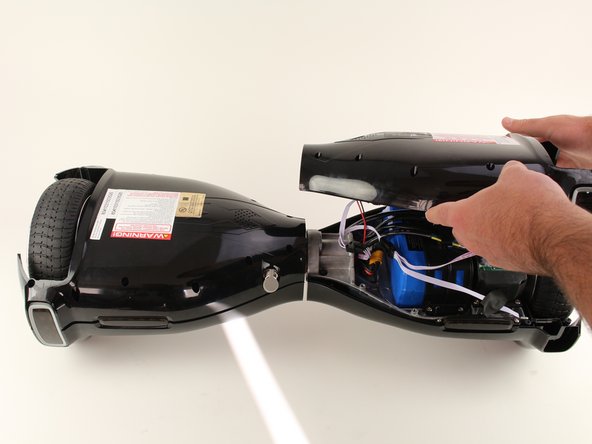



To reassemble your device, follow these instructions in reverse order.
Cancel: I did not complete this guide.
One other person completed this guide.

Team

Cal Poly, Team S17-G6, White Fall 2018 Member of Cal Poly, Team S17-G6, White Fall 2018
CPSU-WHITE-F18S17G6
4 Members
84 Guides authored
