Free Shipping on Domestic Orders $75+

Hover-1 H1 Gyroscope Sensor Assemblies Replacement

What you need

  1. Hover-1 H1 Gyroscope Sensor Assemblies Replacement, Bottom Shell: step 1, image 1 of 1
    • Remove the ten 9mm machine screws by using a long Phillips #2 screwdriver to rotate the screws counterclockwise.

    • Remove the twelve 9mm sheet metal screws by using a long Phillips #2 screwdriver to rotate the screws counterclockwise.

    Ask FixBot
  2. Hover-1 H1 Gyroscope Sensor Assemblies Replacement: step 2, image 1 of 1
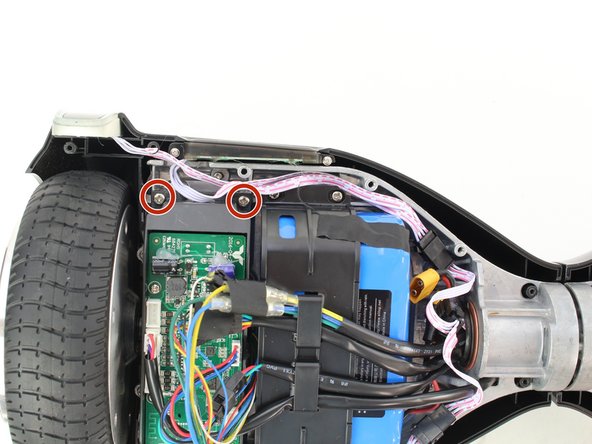
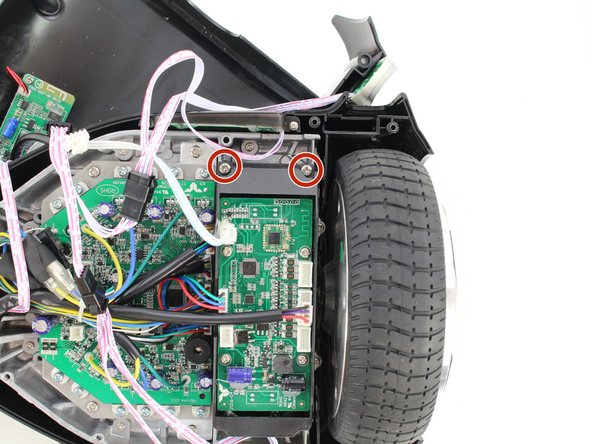
    • Puncture the two black stickers by using the tip of a screwdriver.

    • Remove the two 9mm machine screws by using a long Phillips #2 screwdriver to rotate the screws counterclockwise.

    Ask FixBot
  3. Hover-1 H1 Gyroscope Sensor Assemblies Replacement: step 3, image 1 of 2 Hover-1 H1 Gyroscope Sensor Assemblies Replacement: step 3, image 2 of 2
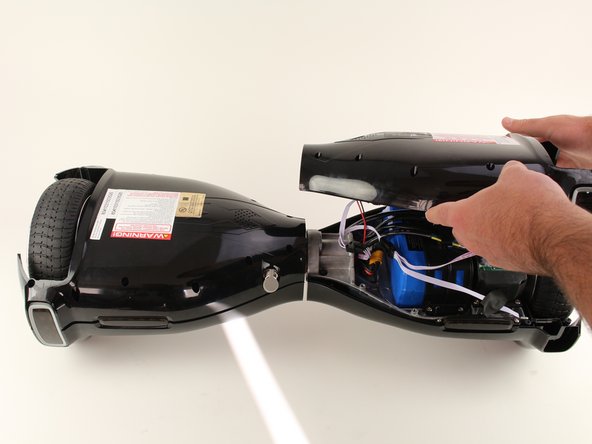
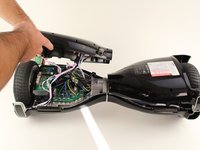
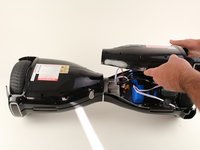
    • Lift each side of the bottom shell by pulling up.

    • When lifting the shell, take care to not tear any cables from their connectors.

    Ask FixBot
  4. Hover-1 H1 Gyroscope Sensor Assemblies Replacement: step 4, image 1 of 1
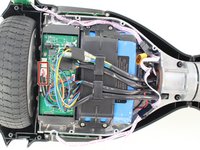
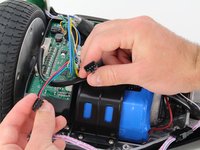
    • Unplug the battery by pulling gently on both sides of the orange connector.

    Ask FixBot
  5. Hover-1 H1 Gyroscope Sensor Assemblies Replacement, Gyroscope Sensor Assemblies: step 5, image 1 of 2 Hover-1 H1 Gyroscope Sensor Assemblies Replacement, Gyroscope Sensor Assemblies: step 5, image 2 of 2
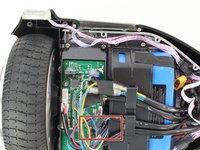
    • On the battery side of the hoverboard, remove the red, black, and purple sleeved cable from the sensor assembly by squeezing the tab and pulling up.

    Ask FixBot
  6. Hover-1 H1 Gyroscope Sensor Assemblies Replacement: step 6, image 1 of 2 Hover-1 H1 Gyroscope Sensor Assemblies Replacement: step 6, image 2 of 2
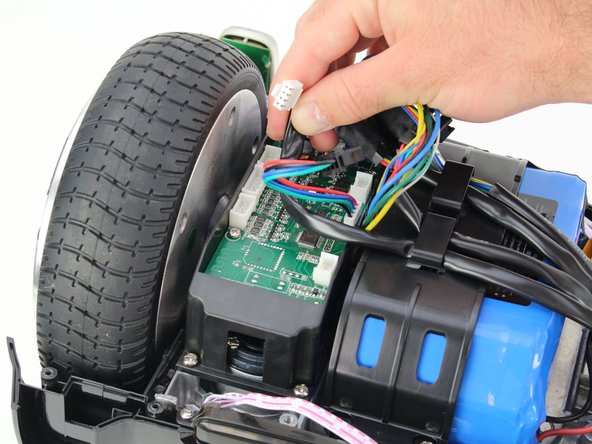
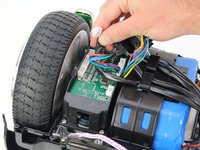
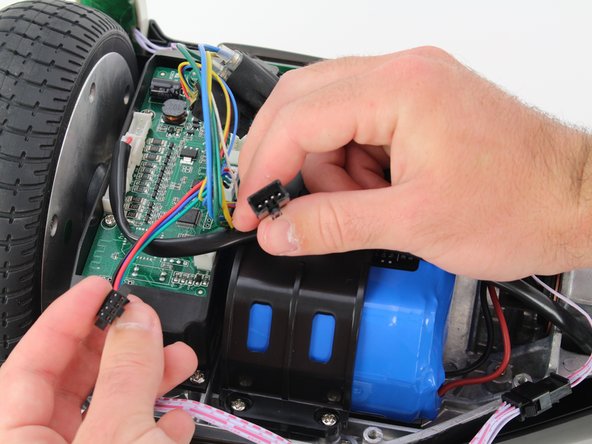
    • Remove the red, blue, and green cable from the cable extension connected to the sensor assembly by squeezing the tabs on the side of the connector.

    Ask FixBot
  7. Hover-1 H1 Gyroscope Sensor Assemblies Replacement: step 7, image 1 of 2 Hover-1 H1 Gyroscope Sensor Assemblies Replacement: step 7, image 2 of 2
    • Remove the four 7mm screws by using a Phillips #2 screwdriver to rotate the screws counterclockwise.

    Ask FixBot
  8. Hover-1 H1 Gyroscope Sensor Assemblies Replacement: step 8, image 1 of 1
    • Remove the sensor assembly on the battery side of the hoverboard by gently lifting and pulling away from the hoverboard.

    Ask FixBot
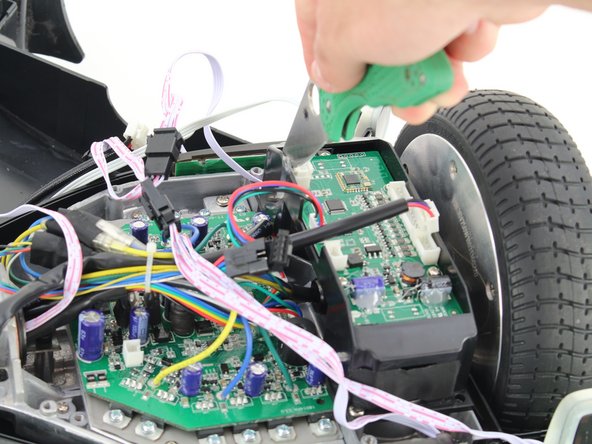
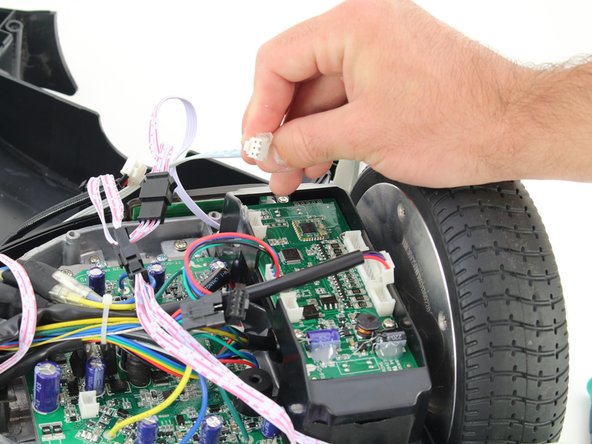
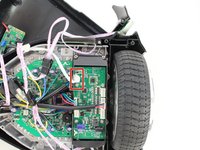
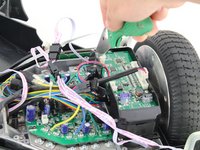
  9. Hover-1 H1 Gyroscope Sensor Assemblies Replacement: step 9, image 1 of 3 Hover-1 H1 Gyroscope Sensor Assemblies Replacement: step 9, image 2 of 3 Hover-1 H1 Gyroscope Sensor Assemblies Replacement: step 9, image 3 of 3
    • Remove the hot glue holding in the connectors with a utility knife.

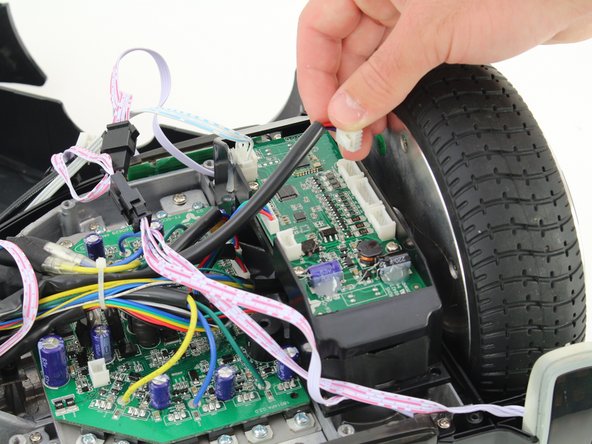
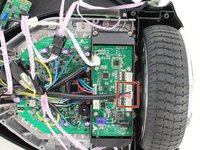
    • Remove the white cable from the sensor assembly by squeezing the connector and pulling the connector up.

    • Be careful not to touch any parts of the circuit boards with the knife.

    Ask FixBot
  10. Hover-1 H1 Gyroscope Sensor Assemblies Replacement: step 10, image 1 of 1
    • Remove the red, blue, and green cable from the extension connected to the sensor assembly by squeezing the tabs on the side of the connector.

    Ask FixBot
  11. Hover-1 H1 Gyroscope Sensor Assemblies Replacement: step 11, image 1 of 2 Hover-1 H1 Gyroscope Sensor Assemblies Replacement: step 11, image 2 of 2
    • Remove the red and black sleeved connector from the sensor assembly by squeezing the tab and pulling up.

    Ask FixBot
  12. Hover-1 H1 Gyroscope Sensor Assemblies Replacement: step 12, image 1 of 2 Hover-1 H1 Gyroscope Sensor Assemblies Replacement: step 12, image 2 of 2
    • Remove the four 7mm screws by using a Phillips #2 screwdriver to rotate the screws counterclockwise.

    Ask FixBot
  13. Hover-1 H1 Gyroscope Sensor Assemblies Replacement: step 13, image 1 of 1
    • Remove the sensor assembly on the motherboard side of the hoverboard by gently lifting and pulling away from the hoverboard.

    Ask FixBot
Conclusion

To reassemble your device, follow these instructions in reverse order.

6 other people completed this guide.

Aaron Teh

Member since: 10/08/18

491 Reputation

2 Guides authored

Team

Cal Poly, Team S17-G6, White Fall 2018 Member of Cal Poly, Team S17-G6, White Fall 2018

CPSU-WHITE-F18S17G6

4 Members

9 Guides authored

1 Guide Comment

where can I get the replacement parts?

Rob Sayles - Reply Share

Add Comment

View Statistics:

Past 24 Hours: 2

Past 7 Days: 22

Past 30 Days: 92

All Time: 6,805