Free Shipping on Domestic Orders $75+

Hover-1 H1 Charging Port Replacement

What you need

  1. Hover-1 H1 Charging Port Replacement, Bottom Shell: step 1, image 1 of 1
    • Remove the ten 9mm machine screws by using a long Phillips #2 screwdriver to rotate the screws counterclockwise.

    • Remove the twelve 9mm sheet metal screws by using a long Phillips #2 screwdriver to rotate the screws counterclockwise.

    Ask FixBot
  2. Hover-1 H1 Charging Port Replacement: step 2, image 1 of 1
    • Puncture the two black stickers by using the tip of a screwdriver.

    • Remove the two 9mm machine screws by using a long Phillips #2 screwdriver to rotate the screws counterclockwise.

    Ask FixBot
  3. Hover-1 H1 Charging Port Replacement: step 3, image 1 of 2 Hover-1 H1 Charging Port Replacement: step 3, image 2 of 2
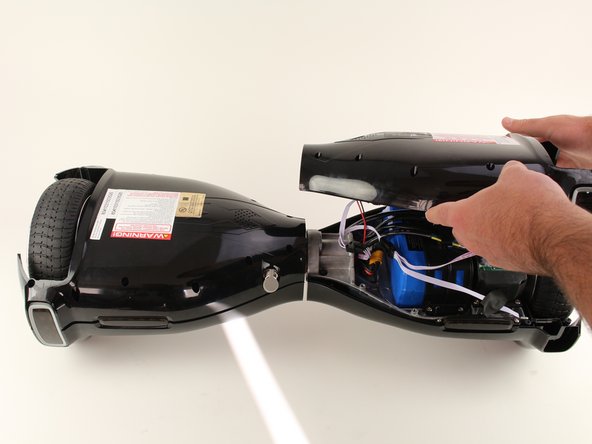
    • Lift each side of the bottom shell by pulling up.

    • When lifting the shell, take care to not tear any cables from their connectors.

    Ask FixBot
  4. Hover-1 H1 Charging Port Replacement: step 4, image 1 of 1
    • Unplug the battery by pulling gently on both sides of the orange connector.

    Ask FixBot
  5. Hover-1 H1 Charging Port Replacement, Charging Port: step 5, image 1 of 2 Hover-1 H1 Charging Port Replacement, Charging Port: step 5, image 2 of 2
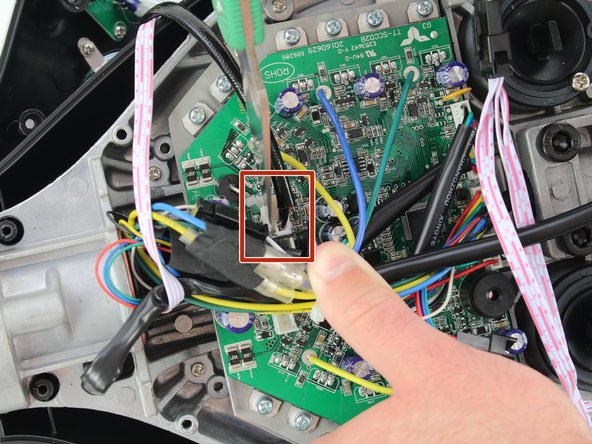
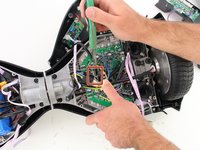
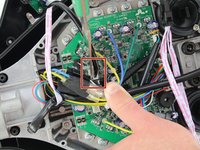
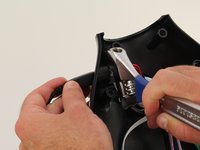
    • Using a utility knife, scratch off the hot glue from the connector attaching the red and black wires to the motherboard.

    • Be careful to not damage the wires or connector when removing the glue.

    Ask FixBot
  6. Hover-1 H1 Charging Port Replacement: step 6, image 1 of 1
    • Remove the charging port connector from the motherboard by squeezing the connector and pulling the connector up.

    Ask FixBot
  7. Hover-1 H1 Charging Port Replacement: step 7, image 1 of 2 Hover-1 H1 Charging Port Replacement: step 7, image 2 of 2
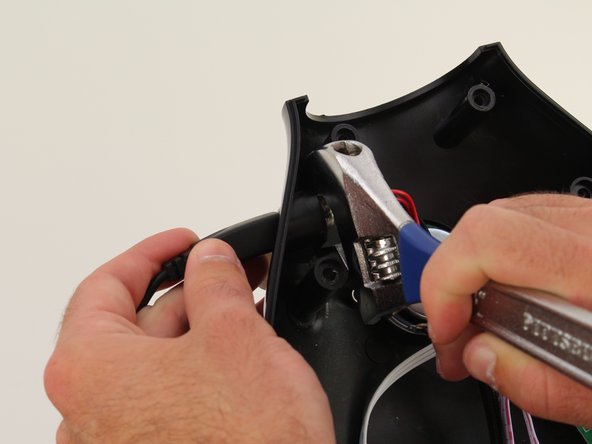
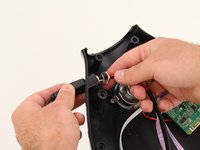
    • Using an adjustable wrench, unscrew the nut that is attaching the charging port to the bottom shell.

    • It might be helpful to put the charger in the charging port while unscrewing the nut to ensure that the port is not spinning.

    Ask FixBot
  8. Hover-1 H1 Charging Port Replacement: step 8, image 1 of 2 Hover-1 H1 Charging Port Replacement: step 8, image 2 of 2
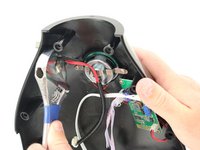
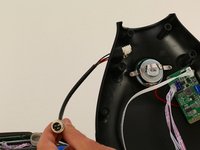
    • Pull the charging port to the left through the shell.

    Ask FixBot
Conclusion

To reassemble your device, follow these instructions in reverse order.

Madeline David

Member since: 10/08/18

300 Reputation

2 Guides authored

Team

Cal Poly, Team S17-G6, White Fall 2018 Member of Cal Poly, Team S17-G6, White Fall 2018

CPSU-WHITE-F18S17G6

4 Members

9 Guides authored

2 Guide Comments

I need to replace the charging port on my H1 hoverboard. Can you share the link for the actual replacement part.

prdrngga - Reply Share

Who can I contact to fix this charging port on this H one hover one hover board

Hover1 h1 hoverboard - Reply Share

Add Comment

View Statistics:

Past 24 Hours: 2

Past 7 Days: 10

Past 30 Days: 60

All Time: 4,905