
Hover-1 Coast Power Button Spring Replacement

Jace Oppenlander and 4 other contributors
Last updated on Jan 5, 2021
Views: 869
View statistics:
- Past 24 Hours:
- 4
- Past 7 Days:
- 16
- Past 30 Days:
- 75
- All Time:
- 869
Comments: 0
No one has left comments on this guide. Will you be first?
Go to guide commentsCompleted: 0 1
No one has marked this guide "completed." Will you be the first?
1 person has marked this guide "completed." It's you — great job!
Favorites: 0 1
No one has favorited (and subscribed to) this guide. Will you be the first?
1 person has favorited (and subscribed to) this guide — and that's you!
Introduction
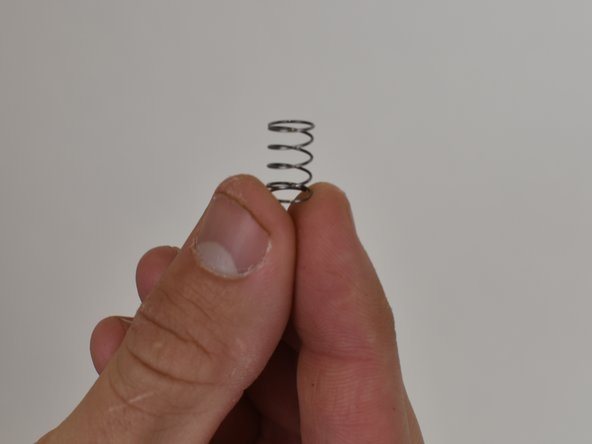
Go to step 1 ↓If your Hover-1 Coast board’s power button won't press you likely have an issue with the button spring. This spring allows the button to be compressed, sending a signal to the battery to turn on and power the board.
This will be a moderately difficult task to complete as you will use tools that not everyone probably has but are common for most electronics repairs.
Provided to you, is a list of detailed instructions on how to properly, and safely replace the spring. For parts please go ++here++ to look at how to purchase new parts. For any inquiries, please take a look at the operator’s manual link ++here++.
What you need
Tools
-
Spudger4.9


-
-
-
To remove the battery on the Hover-1 Coast, you must uncover the screws on the top of the board.
-
Using a pick tool, puncture the grip tape and expose the screws.
-
Loosen all four 1" screws using a Phillips #1 screwdriver.
 Ask FixBot
-
-
-
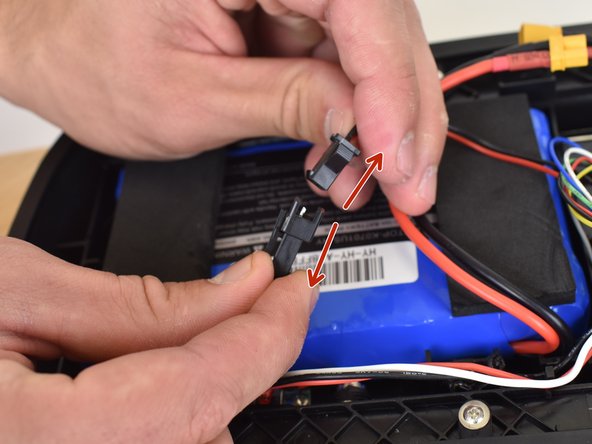
The battery is connected by these two sets of wires.
-
Remove the yellow wire first by pulling the two wires gently in opposite directions.
-
Now pull apart the black wire by gently pulling the two wires in opposite directions.
-
-
-
Once the battery has been disconnected, gently pry the battery upward.
-
Once the battery is freed, remove it with your hands.
-
-
-
-
-
-
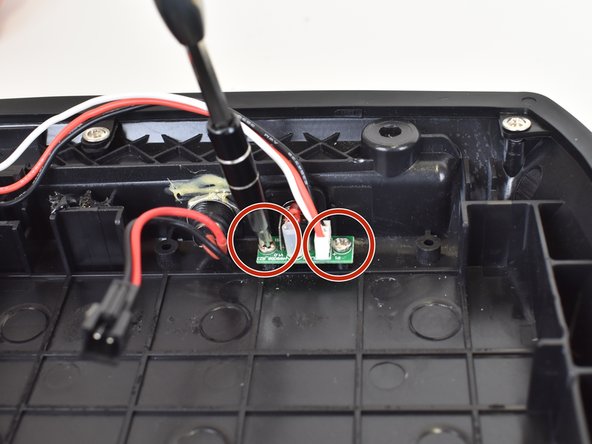
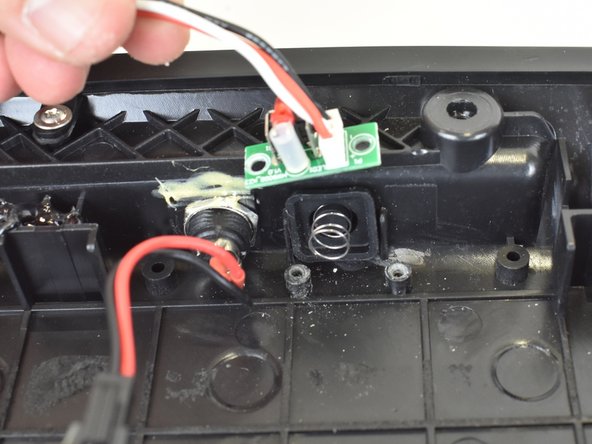
Using the Phillips #1 screwdriver, loosen the two screws and place the power button somewhere safe.
-
-








To reassemble your device, follow these instructions in reverse order.

Team

Linn Benton Community College, Team S2-G2, Karnes Fall 2018 Member of Linn Benton Community College, Team S2-G2, Karnes Fall 2018
LBCC-KARNES-F18S2G2
3 Members
60 Guides authored
