Introduction
In order for your Hover-1 Coast to be used, you must have a functioning controller. It is essential to have a fully functioning controller for the Hover-1 Coast to be used to it's full potential. This guide is not too difficult and can be done by anyone.
What you need
-
-
-
Identify the three screws and using a Phillips #1 screwdriver loosen the the screws.
-
Remove the three screws.
 Ask FixBot
-
-
-
Pull the backside of the controller off.
-
The inside of the controller should look like this.
-
The marked area is the battery.
-
-
-
-
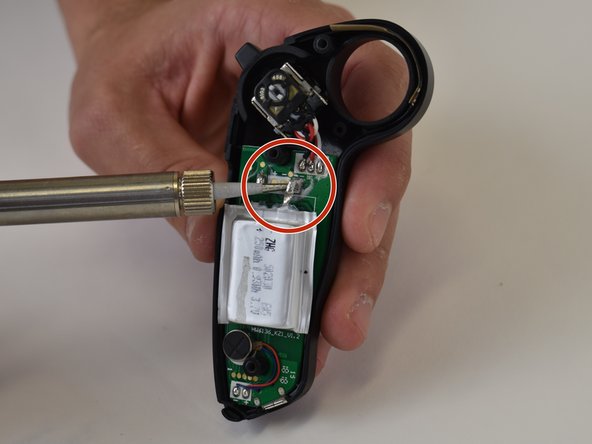
Using a plastic opening tool, pry the battery off the motherboard.
-
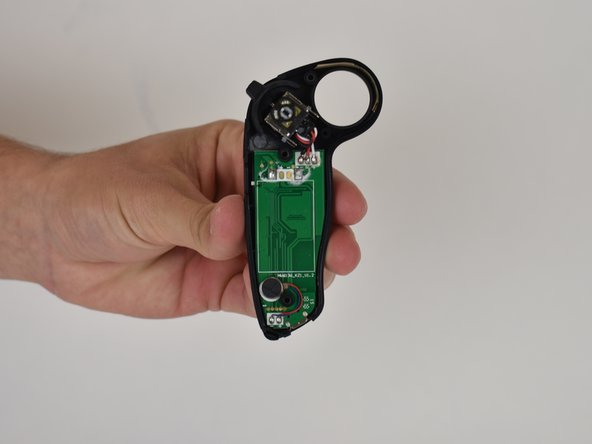
The inside of the controller should look like this.
-
-






To reassemble your device, follow these instructions in reverse order.

Team

Linn Benton Community College, Team S2-G2, Karnes Fall 2018 Member of Linn Benton Community College, Team S2-G2, Karnes Fall 2018
LBCC-KARNES-F18S2G2
3 Members
60 Guides authored
