
Hover-1 Chrome LED Headlights Replacement

Nick McGuire and 4 other contributors
Last updated on Dec 6, 2018
Views: 637
View statistics:
- Past 24 Hours:
- 1
- Past 7 Days:
- 7
- Past 30 Days:
- 43
- All Time:
- 637
Comments: 0
No one has left comments on this guide. Will you be first?
Go to guide commentsCompleted: 0 1
No one has marked this guide "completed." Will you be the first?
1 person has marked this guide "completed." It's you — great job!
Favorites: 0 1
No one has favorited (and subscribed to) this guide. Will you be the first?
1 person has favorited (and subscribed to) this guide — and that's you!
Introduction
Go to step 1 ↓This guide will show you how to replace the LED headlights on the front of the Hover-1 Chrome. You will need a Phillips #2 screwdriver.
What you need
Tools

-
-
-
Flip the Hover-1 Chrome upside down.
-
Use a Phillips #2 screwdriver to remove the fourteen 14 mm screws from the bottom of the Hover-1.
-
Break the two black tape circles, and remove the two 15 mm Phillips screws underneath.
 Ask FixBot
-
-
-
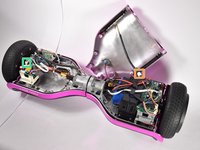
Lift the shell with the speaker grille.
-
Unplug the speaker.
-
Unplug the LEDs.
-
Unplug the power button
-
Unplug the charging port.
-
-
-
-
-
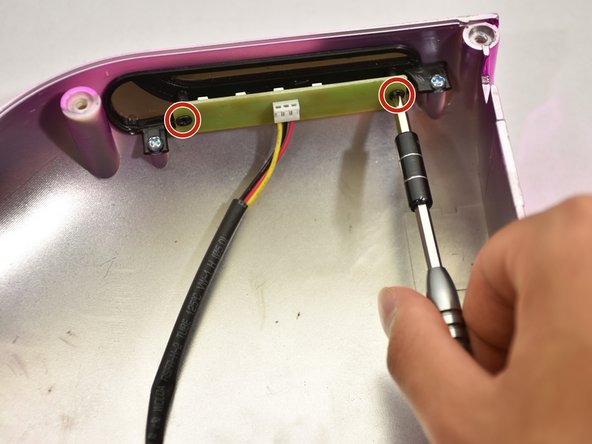
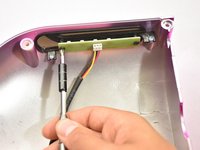
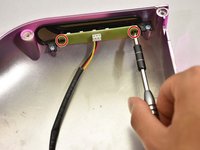
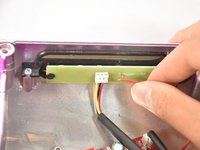
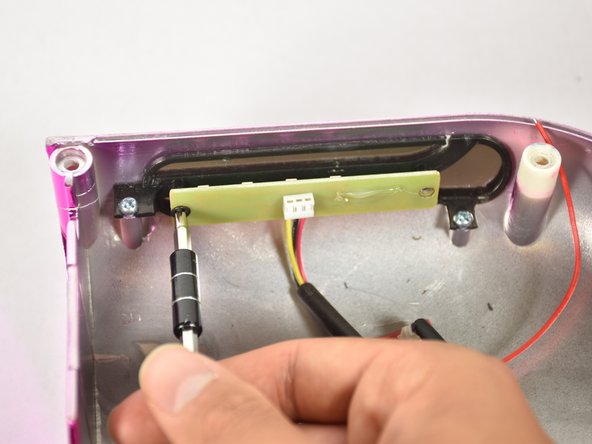
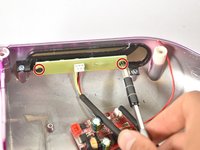
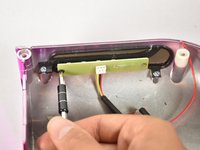
Use a Phillips #2 screwdriver to remove the two 2 mm screws on either side of the LEDs.
-
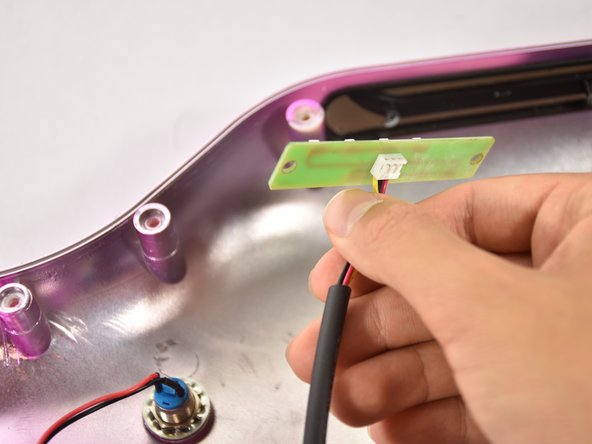
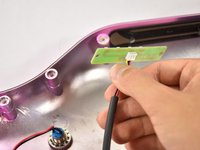
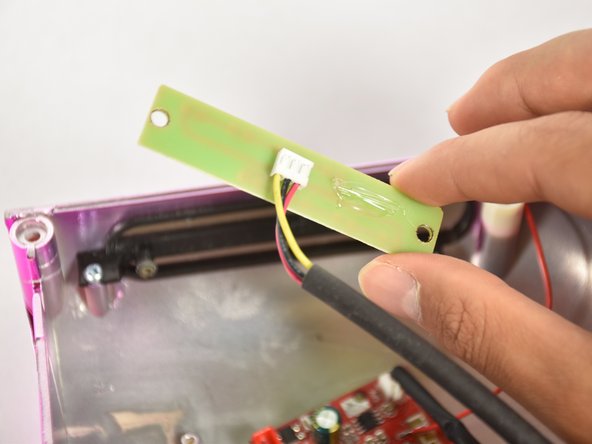
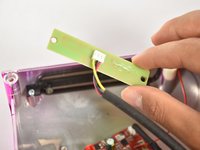
Remove the LED board.
-
-
-
-
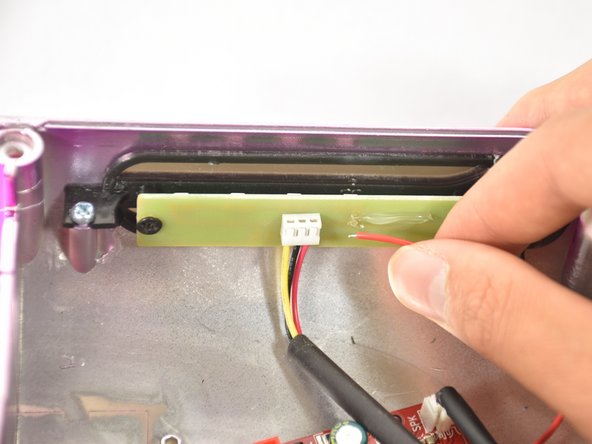
Locate the LED headlights on the left side of the board.
-
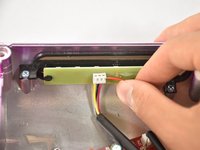
Pull the red wire attached to the LEDs perpendicular to the other wires to disconnect it.
-
-
-
Use a Phillips #2 screwdriver to remove the two 2 mm screws on either side of the LEDs.
-
Remove the LED board.
-
-





To reassemble your device, follow these instructions in reverse order.

Team

Cal Poly, Team S4-G1, White Fall 2018 Member of Cal Poly, Team S4-G1, White Fall 2018
CPSU-WHITE-F18S4G1
4 Members
72 Guides authored
