Free Shipping on Domestic Orders $75+

Hoover Power Path Pro Advanced Suction Motor Replacement

What you need

    1. Hoover Power Path Pro Advanced Suction Motor Replacement, Brush Roller: step 1, image 1 of 2 Hoover Power Path Pro Advanced Suction Motor Replacement, Brush Roller: step 1, image 2 of 2
      • Unplug the vacuum cleaner from the wall outlet before starting. Make sure the water tanks are empty.

      • Lay the cleaner down horizontally with its wheels closest to the floor.

      Ask FixBot

      Add Comment

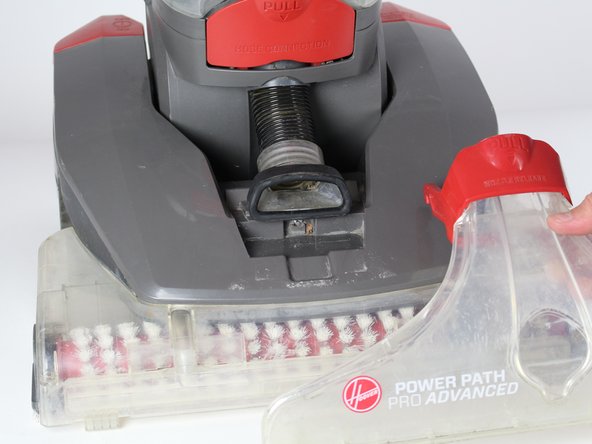
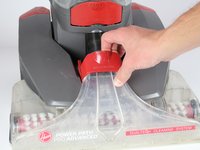
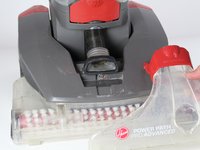
    2. Hoover Power Path Pro Advanced Suction Motor Replacement: step 2, image 1 of 2 Hoover Power Path Pro Advanced Suction Motor Replacement: step 2, image 2 of 2
      • Hold the lower brush roll with both hands and pull outwards until it is detached.

      Ask FixBot

      Add Comment

    3. Hoover Power Path Pro Advanced Suction Motor Replacement: step 3, image 1 of 1
      • Unscrew the 6 marked screws using a Phillips #2 head screwdriver.

      • Remove the brush roller.

      Ask FixBot

      Add Comment

    1. Hoover Power Path Pro Advanced Suction Motor Replacement, Belt: step 4, image 1 of 1
      • Use a long #2 Philips head screwdriver to remove the 8 numbered screws on the bottom of the cleaner.

      Ask FixBot

      Add Comment

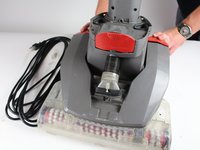
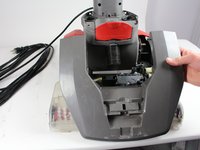
    2. Hoover Power Path Pro Advanced Suction Motor Replacement: step 5, image 1 of 2 Hoover Power Path Pro Advanced Suction Motor Replacement: step 5, image 2 of 2
      • Pull the red handle shown to remove the front suction unit from the cleaner.

      Ask FixBot

      Add Comment

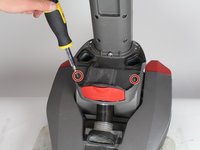
    3. Hoover Power Path Pro Advanced Suction Motor Replacement: step 6, image 1 of 1
      • Unscrew the Phillips #2 screw at the bottom of the hose.

      Ask FixBot

      Add Comment

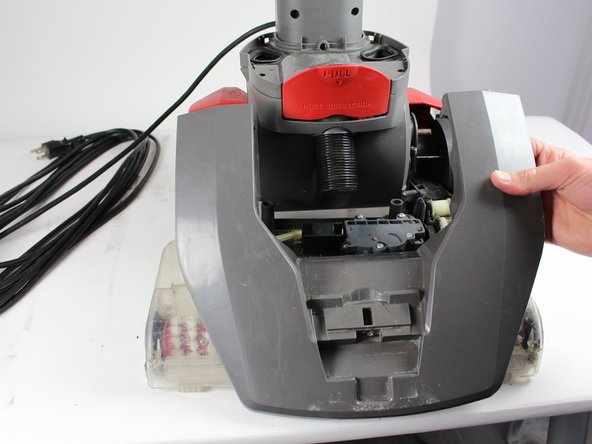
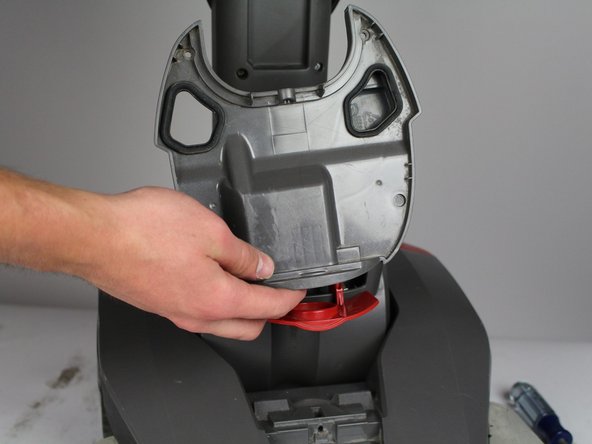
    4. Hoover Power Path Pro Advanced Suction Motor Replacement: step 7, image 1 of 2 Hoover Power Path Pro Advanced Suction Motor Replacement: step 7, image 2 of 2
      • Push down on the handle release button. Pull and disconnect the edge of the top cover on the side of the handle release button.

      • Repeat the above step for the "On/Off" button.

      • When pulling the handle release button, make sure the top of the cleaner does not fall.

      Ask FixBot

      Add Comment

    5. Hoover Power Path Pro Advanced Suction Motor Replacement: step 8, image 1 of 1
      • Gently grab the belt and pry it off from the rollers.

      Ask FixBot

      Add Comment

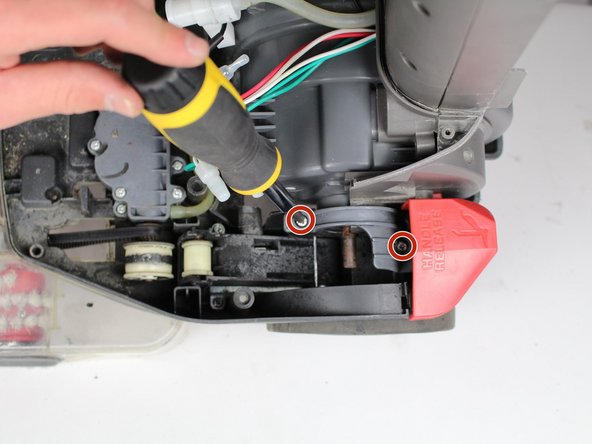
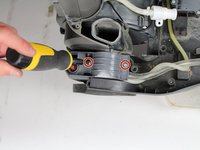
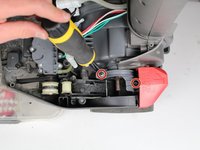
    1. Hoover Power Path Pro Advanced Suction Motor Replacement, Suction Motor: step 9, image 1 of 2 Hoover Power Path Pro Advanced Suction Motor Replacement, Suction Motor: step 9, image 2 of 2
      • Unscrew two screws using Phillips #2 screwdriver.

      • Detach grey piece from vacuum.

      Ask FixBot

      Add Comment

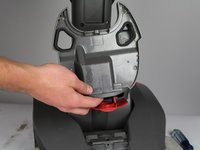
    2. Hoover Power Path Pro Advanced Suction Motor Replacement: step 10, image 1 of 2 Hoover Power Path Pro Advanced Suction Motor Replacement: step 10, image 2 of 2
      • Unscrew four screws using a Phillips 2 screwdriver.

      Ask FixBot

      Add Comment

    3. Hoover Power Path Pro Advanced Suction Motor Replacement: step 11, image 1 of 1
      • Pull out of base of vacuum.

      Ask FixBot

      Add Comment

    4. Hoover Power Path Pro Advanced Suction Motor Replacement: step 12, image 1 of 1
      • Flip vacuum over and unscrew three screws with a Phillips #2 screwdriver.

      Ask FixBot

      Add Comment

    5. Hoover Power Path Pro Advanced Suction Motor Replacement: step 13, image 1 of 1
      • Unscrew two screws with Phillips #2 screwdriver.

      Ask FixBot

      Add Comment

    6. Hoover Power Path Pro Advanced Suction Motor Replacement: step 14, image 1 of 1
      • Detach motor and unscrew two screws with a Phillips #2 screwdriver.

      Ask FixBot

      Add Comment

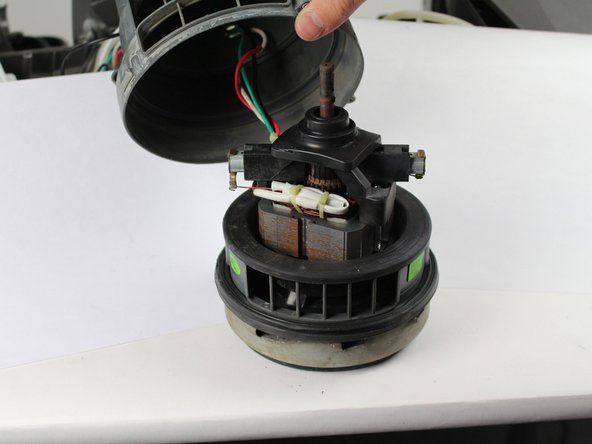
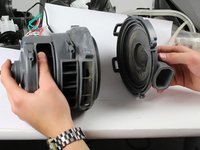
    7. Hoover Power Path Pro Advanced Suction Motor Replacement: step 15, image 1 of 2 Hoover Power Path Pro Advanced Suction Motor Replacement: step 15, image 2 of 2
      • Pull the bottom section off.

      • Pull the cap off.

      Ask FixBot

      Add Comment

Conclusion

To reassemble your device, follow these instructions in reverse order.

Cancel: I did not complete this guide.

4 other people completed this guide.

Team

Cal Poly, Team S16-G5, Banghart Winter 2018 Member of Cal Poly, Team S16-G5, Banghart Winter 2018

CPSU-BANGHART-W18S16G5

5 Members

108 Guides authored

1 Guide Comment

What to do if the motor is still good but the cooling fan on the top of the armature has broken off?

Billy H. Deal Jr - Reply Share

Add Comment

View Statistics:

Past 24 Hours: 0

Past 7 Days: 5

Past 30 Days: 22

All Time: 2,901