
Hoover Power Path Pro Advanced Power Switch Replacement

Jose Andres Gonzalez Valdes and 3 other contributors
Last updated on Apr 6, 2018
Views: 4.5K
View statistics:
- Past 24 Hours:
- 4
- Past 7 Days:
- 14
- Past 30 Days:
- 100
- All Time:
- 4,533
Comments: 3
3 guide comments.
Go to guide commentsCompleted: 4 5
4 people have marked this guide "completed." Will you be next?
5 people have marked this guide "completed." Including you — great job!
Favorites: 0 1
No one has favorited (and subscribed to) this guide. Will you be the first?
1 person has favorited (and subscribed to) this guide — and that's you!
Introduction
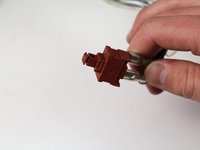
Go to step 1 ↓The power switch allows the Hoover Power Path Pro Advanced to turn on with the press of the power button. A defective power switch will not allow the user to control the on and off state of the device and needs to be replaced.
What you need
Tools

-
-
-
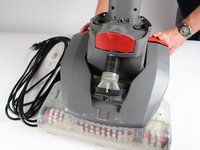
Use a long #2 Philips head to remove the 8 numbered screws on the bottom of the cleaner (They will also be indicated on the bottom of the vacuum).
-
-
-
Unscrew the hose by using a Phillips #2 to detach it from the top cover of the cleaner.
-
-
-
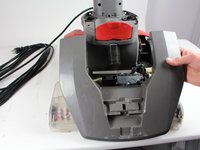
Push down on the handle release button. Lift the edge of top cover connected to this button.
-
Repeat the above step for the "On/Off" button.
-
Pull entire top cover off.
-
-
-
-
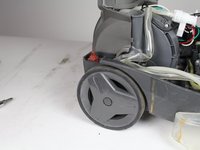
Use a long #2 Philips head to remove the two screws from the arched grey piece.
-

 Ask FixBot


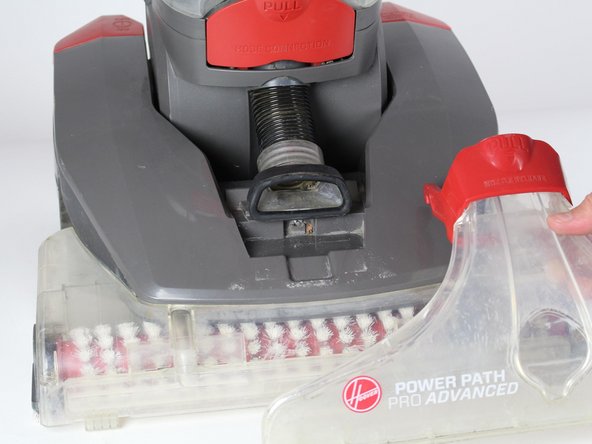
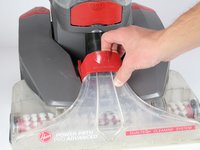
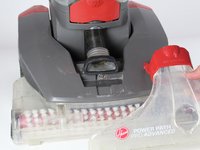


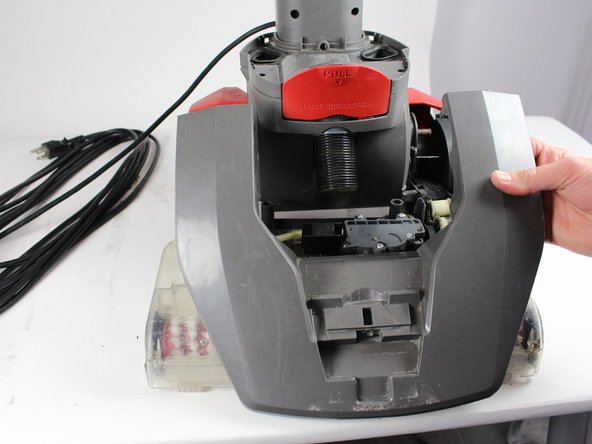


To reassemble your device, follow these instructions in reverse order.
Cancel: I did not complete this guide.
4 other people completed this guide.

Team

Cal Poly, Team S16-G5, Banghart Winter 2018 Member of Cal Poly, Team S16-G5, Banghart Winter 2018
CPSU-BANGHART-W18S16G5
5 Members
108 Guides authored
3 Guide Comments
What is the part number?
Thanks so much!!
