
Hoover Power Path Pro Advanced Hose Replacement

Jose Andres Gonzalez Valdes and 4 other contributors
Last updated on Apr 6, 2018
Views: 5.3K
View statistics:
- Past 24 Hours:
- 2
- Past 7 Days:
- 25
- Past 30 Days:
- 102
- All Time:
- 5,335
Comments: 10
6 comments on steps, 4 guide comments.
Go to guide commentsCompleted: 3 4
3 people have marked this guide "completed." Will you be next?
4 people have marked this guide "completed." Including you — great job!
Favorites: 0 1
No one has favorited (and subscribed to) this guide. Will you be the first?
1 person has favorited (and subscribed to) this guide — and that's you!
Action Shots
Be an action hero! This guide needs images that better demonstrate how to perform specific actions.
Missing Steps
Oops! This guide is currently missing one or more important steps.
Introduction
Go to step 1 ↓The hose creates a pathway for water to flow from the dirty and clean water tanks on your Hoover Power Path Pro Advanced. However, if there is a puncture in the hose, then it needs to be replaced.
What you need
Tools

-
-
-
Lay the cleaner down horizontally with its wheels closest to the floor.
 Ask FixBot
-
-
-
Hold the lower brush roll with both hands and pull outwards until it is detached.
-
-
-
Unscrew the 6 marked screws using a Phillips #2 head screwdriver.
-
Remove the brush roller.
-
-
-
-
-
Use a long #2 Philips head screwdriver to remove the 8 numbered screws on the bottom of the cleaner.
-
-
-
-
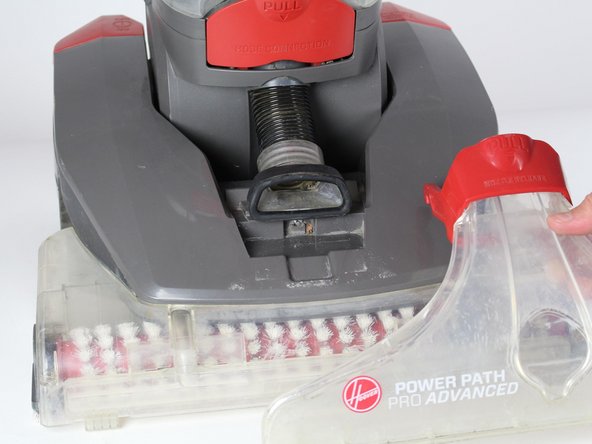
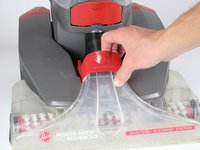
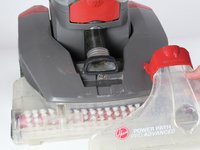
Grab the attachment at tip of the hose and unscrew it. Pull outwards on the hose until completely removed.
-
-




To reassemble your device, follow these instructions in reverse order.
Cancel: I did not complete this guide.
3 other people completed this guide.

Team

Cal Poly, Team S16-G5, Banghart Winter 2018 Member of Cal Poly, Team S16-G5, Banghart Winter 2018
CPSU-BANGHART-W18S16G5
5 Members
108 Guides authored
4 Guide Comments
Complete waste of $$, won’t pick up water unless you apply about 40 lbs of downward force on the %#*@ thing, I tried all the trouble shooting tips, no change, maybe used 3 times. The attachment same thing nada. Basically a toy.
I've been trying to find the hose for mine for two years now I even called hoover and they tell me it's unavailable maybe I need to find a Hoover scrap yard lol if anyone knows where I can get one please let me know via email at jefferyalger1959@gmail.com
