Free Shipping on Domestic Orders $75+

Honeywell HY-254-TGT Front Panel Replacement

What you need

    1. Honeywell HY-254-TGT Front Panel Replacement, Plastic Assembly: step 1, image 1 of 1
      • Remove the two 3/4" wing screws on the bottom of the fan by rotating them counter-clockwise.

      Ask FixBot

      Add Comment

    2. Honeywell HY-254-TGT Front Panel Replacement: step 2, image 1 of 3 Honeywell HY-254-TGT Front Panel Replacement: step 2, image 2 of 3 Honeywell HY-254-TGT Front Panel Replacement: step 2, image 3 of 3
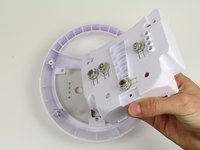
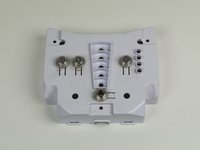
      • Twist the fan base counter-clockwise until the pins line up as shown.

      • Pull the base straight towards you to remove it, feeding the wire through the base.

      Ask FixBot

      Add Comment

    3. Honeywell HY-254-TGT Front Panel Replacement: step 3, image 1 of 1
      • Remove all of the marked 1/2" Phillips #02 screws on the backside of the fan

      • Remove the two marked 3/4" Phillips #02 screws in the middle.

      Ask FixBot

      Add Comment

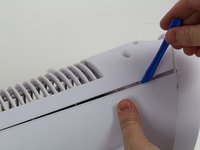
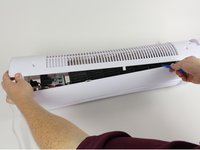
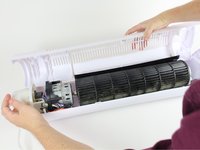
    4. Honeywell HY-254-TGT Front Panel Replacement: step 4, image 1 of 3 Honeywell HY-254-TGT Front Panel Replacement: step 4, image 2 of 3 Honeywell HY-254-TGT Front Panel Replacement: step 4, image 3 of 3
      • Use a plastic opening tool or screwdriver to pry off the back of the fan, starting from the top down.

      • Be aware of two clips inside the fan, towards the bottom third of the fan. If the back appears stuck on certain spots, push inward edges of the front casing around the problematic area.

      Ask FixBot

      Add Comment

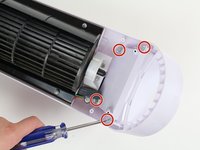
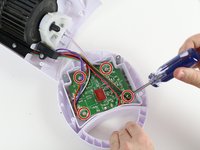
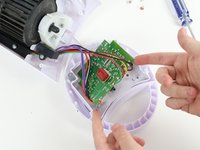
    1. Honeywell HY-254-TGT Front Panel Replacement, Front Panel: step 5, image 1 of 2 Honeywell HY-254-TGT Front Panel Replacement, Front Panel: step 5, image 2 of 2
      • Remove the four 1/2" Phillips #02 screws, indicated by a red circle.

      • Lean the front panel forwards and set it down.

      • The front panel will not fully detach and cannot be removed. Do not try to forcibly remove it, as it may cause damage to the electronics.

      Ask FixBot

      Add Comment

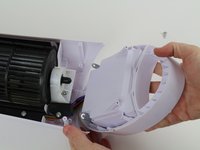
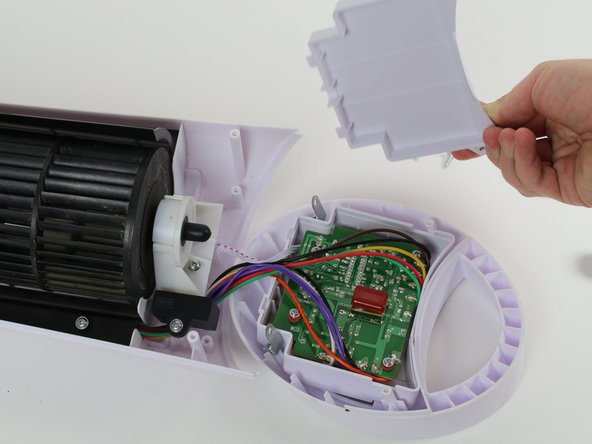
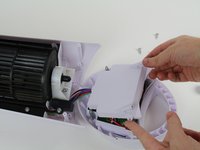
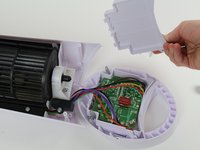
    2. Honeywell HY-254-TGT Front Panel Replacement: step 6, image 1 of 2 Honeywell HY-254-TGT Front Panel Replacement: step 6, image 2 of 2
      • Gently lift and remove the panel covering the electronics assembly.

      Ask FixBot

      Add Comment

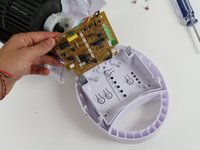
    3. Honeywell HY-254-TGT Front Panel Replacement: step 7, image 1 of 3 Honeywell HY-254-TGT Front Panel Replacement: step 7, image 2 of 3 Honeywell HY-254-TGT Front Panel Replacement: step 7, image 3 of 3
      • Remove the four 1/2" Phillips #01 screws in the circuit board.

      • Gently pull the circuit board off of the rest of the front panel assembly.

      Ask FixBot

      Add Comment

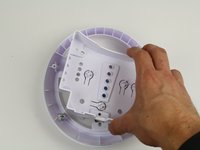
    4. Honeywell HY-254-TGT Front Panel Replacement: step 8, image 1 of 3 Honeywell HY-254-TGT Front Panel Replacement: step 8, image 2 of 3 Honeywell HY-254-TGT Front Panel Replacement: step 8, image 3 of 3
      • Lift out the internal part of the front panel to access the buttons.

      Ask FixBot

      Add Comment

    5. Honeywell HY-254-TGT Front Panel Replacement: step 9, image 1 of 1
      • If necessary, remove the buttons by grabbing them with two fingers and pulling up and away from the panel.

      • Upon reassembly, ensure buttons are placed in the correct location.

      Ask FixBot

      Add Comment

Conclusion

To reassemble your device, follow these instructions in reverse order.

Cancel: I did not complete this guide.

One other person completed this guide.

Darian Maxwell

Member since: 10/01/15

384 Reputation

2 Guides authored

Team

Cal Poly, Team 11-6, Forte Fall 2015 Member of Cal Poly, Team 11-6, Forte Fall 2015

CPSU-FORTE-F15S11G6

4 Members

28 Guides authored

2 Guide Comments

the piece to make it turn is broken

clara rojas - Reply Share

the piece that make it turn is broken!

clara rojas - Reply Share

Add Comment

View Statistics:

Past 24 Hours: 3

Past 7 Days: 12

Past 30 Days: 40

All Time: 6,054