Free Shipping on Domestic Orders $75+

Homelite UT44172 Safety Switch Replacement

What you need

  1. Homelite UT44172 Safety Switch Replacement, Opening the device: step 1, image 1 of 1
    • Remove the six 1.5 cm screws marked on the picture from the plastic casing with a Phillips #2 screwdriver.

    Ask FixBot

    Add Comment

  2. Homelite UT44172 Safety Switch Replacement, Remove Faceplate: step 2, image 1 of 1
    • Remove the faceplate to expose the inner mechanisms.

    Ask FixBot

    Add Comment

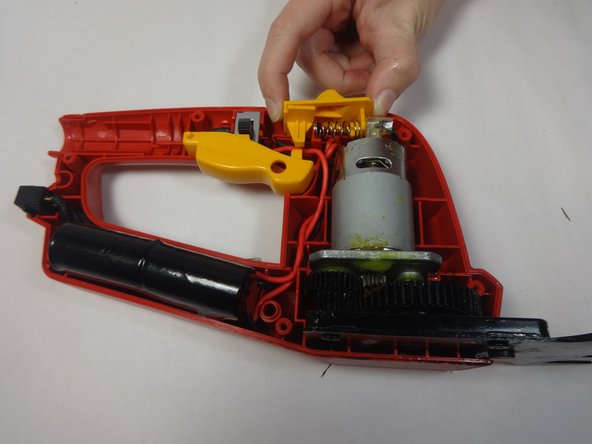
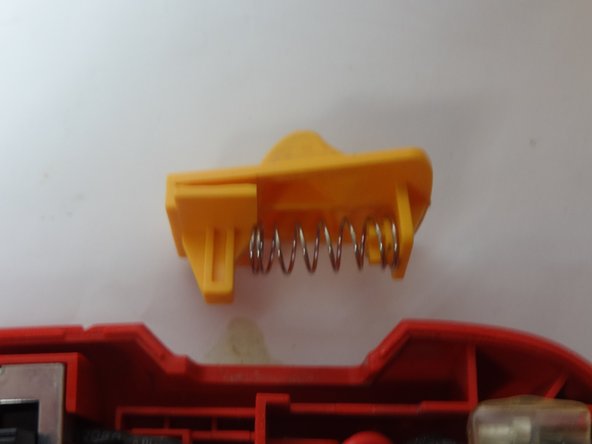
  3. Homelite UT44172 Safety Switch Replacement, Switch Removal: step 3, image 1 of 3 Homelite UT44172 Safety Switch Replacement, Switch Removal: step 3, image 2 of 3 Homelite UT44172 Safety Switch Replacement, Switch Removal: step 3, image 3 of 3
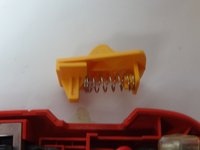
    • Remove the safety switch by pulling it away from the body of device.

    • Be careful not to lose the spring, which is under pressure and may fly out during removal.

    Ask FixBot

    Add Comment

  4. Homelite UT44172 Safety Switch Replacement, Spring Replacement: step 4, image 1 of 1
    • Inspect both the spring and the switch to see if either is deformed or damaged. If so, replace the damaged part with a new part.

    • During reassembly, gently move the inner wires out of the way so they do not get caught in the spring.

    Ask FixBot

    Add Comment

Conclusion

To reassemble your device, follow these instructions in reverse order.

Cancel: I did not complete this guide.

Daniel Endericavillacis

Member since: 01/25/15

101 Reputation

1 Guide authored

Team

USF Tampa, Team 17-5, Watkins Winter 2015 Member of USF Tampa, Team 17-5, Watkins Winter 2015

USFT-WATKINS-W15S17G5

3 Members

4 Guides authored

0 Guide Comments

Add Comment

View Statistics:

Past 24 Hours: 1

Past 7 Days: 2

Past 30 Days: 24

All Time: 619