
Hollowtech Bottom Bracket Replacement

Agustin Sernas and one other contributor
Last updated on Dec 27, 2023
Views: 1.6K
View statistics:
- Past 24 Hours:
- 5
- Past 7 Days:
- 66
- Past 30 Days:
- 214
- All Time:
- 1,583
Comments: 0
No one has left comments on this guide. Will you be first?
Go to guide commentsCompleted: 0 1
No one has marked this guide "completed." Will you be the first?
1 person has marked this guide "completed." It's you — great job!
Favorites: 0 1
No one has favorited (and subscribed to) this guide. Will you be the first?
1 person has favorited (and subscribed to) this guide — and that's you!
Introduction
Go to step 1 ↓With the many cranksets and bottom bracket types in the market, this guide specifically focuses on replacing a vision track crankset and similar Hollowtech II crankset. Since the vision track crankset does not have a square-tapered bottom bracket, different tools are required to remove and install the crankset. As the crankset is an important part of a bicycle's drivetrain, maintaining and keeping it in good shape is important. Before starting the guide, note that working on a bicycle is not very difficult but it can be messy.
What you need
Parts
Tools


-
-
-
Use pliers to remove the spring clip from the chain's master link clip.
-
Remove the master link plate, plate and pin assembly, and finally the chain.
-
-
-
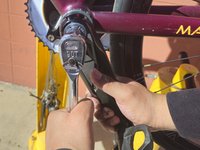
Use a 10mm Allen key socket and ratchet to loosen the left crank arm by twisting counter clockwise.
-
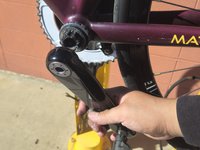
Remove the left crank arm.
-
Remove the spacer(s) and washer.
-
-
-
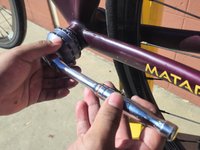
Either push or pull the crank arm fully out exposing the left bottom bracket.
-
-
-
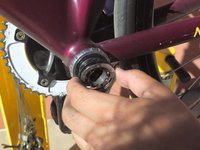
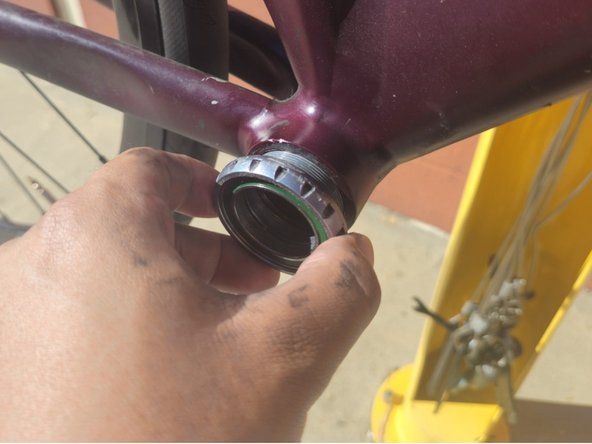
Use Park Tool's BBT-27.3 16 notch bottom bracket tool to loosen the left bottom bracket by twisting counter clockwise.
-
Remove the bottom bracket.
-
-
-
-
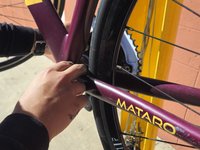
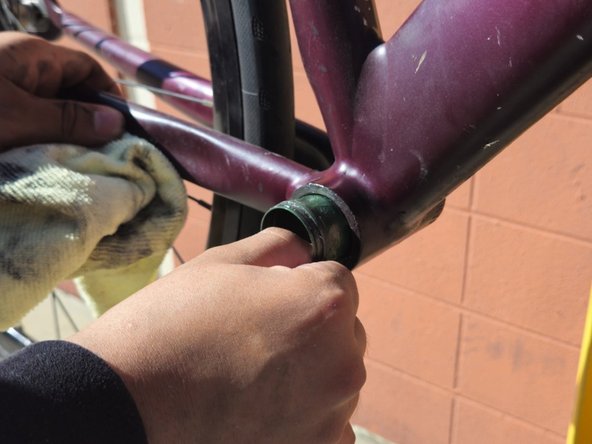
Use Park Tool's BBT-27.3 16 notch bottom bracket tool to loosen the right bottom bracket by twisting counter clockwise.
-
Remove the bottom bracket.
-

 Ask FixBot












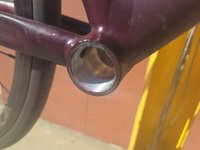
Congratulations, you have completed the guide. To reassemble the crankset, follow these instructions in reverse order. Make sure to grease the threads, bottom bracket shell, and crankset accordingly. In addition, torque down the crank arm (38-41Nm) and bottom bracket (40-50Nm) to the manufacturer's recommended specification.

Team

CSU Los Angeles, Team 13-3, Ribeiro Fall 2023 Member of CSU Los Angeles, Team 13-3, Ribeiro Fall 2023
CSULA-RIBEIRO-F23S13G3
3 Members
12 Guides authored
