
Hitachi CP-X440 Sensor Replacement

Natalie Safron and 2 other contributors
Last updated on May 6, 2022
Views: 491
View statistics:
- Past 24 Hours:
- 1
- Past 7 Days:
- 15
- Past 30 Days:
- 67
- All Time:
- 491
Comments: 0
No one has left comments on this guide. Will you be first?
Go to guide commentsCompleted: 0 1
No one has marked this guide "completed." Will you be the first?
1 person has marked this guide "completed." It's you — great job!
Favorites: 0 1
No one has favorited (and subscribed to) this guide. Will you be the first?
1 person has favorited (and subscribed to) this guide — and that's you!
Introduction
Go to step 1 ↓Use this guide to replace the remote sensor in a Hitachi CP-X440 projector. The remote sensor is essential for your remote control to have the ability, controlling the actions wanted by the projector. The sensor is most likely needed to be replaced if the sensor is not responding to the reflected signal or the signal range, which is 3 meters with a 60 degree range.
There are no special skills or tools required to complete this guide. The only tools needed are a Phillips Head #1 and a Phillips Head #2.
Before beginning, be sure to unplug projector from any outlets.
What you need
Tools


-
-
-
Use a Phillips #1 screwdriver to remove the six 2 cm screws from the bottom of the case.
 Ask FixBot
-
-
-
Flip the projector back upright and place the back of projector towards you. Unscrew the 3 screws circled in the back with your Phillips #1 Screwdriver. Each screw is 1 cm in length.
-
Then unscrew the two silver, 1 cm screws on the light switch panel with a Phillips #1 Screwdriver
-
-
-
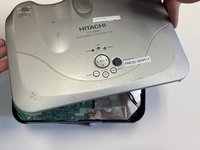
You will now be able to pop the top of the projector off.
-
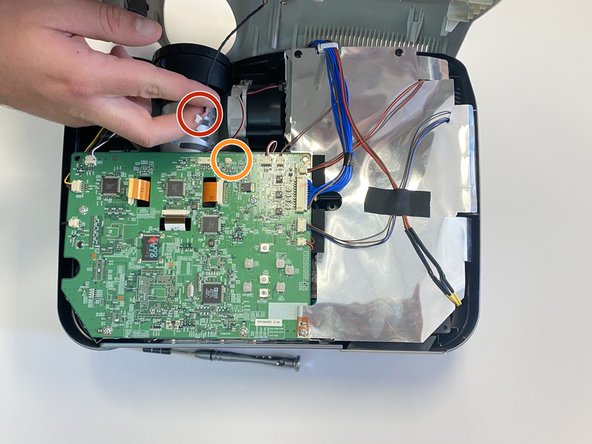
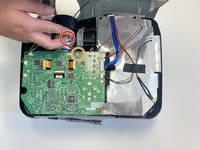
To uncollapse the projector top fully from the projector, you can pull the black cord from the white holder near the lens, circled in red and orange.
-
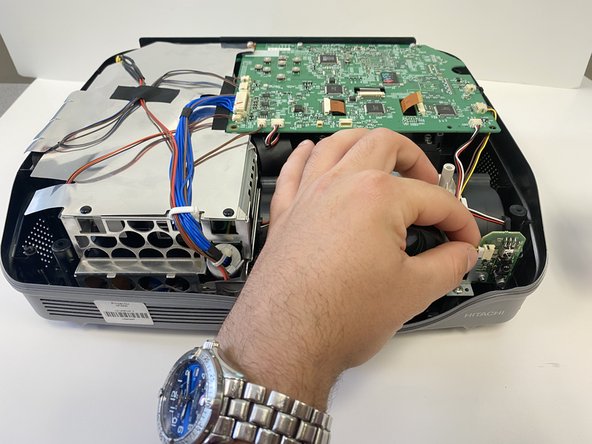
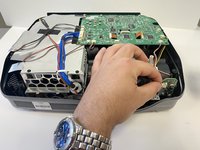
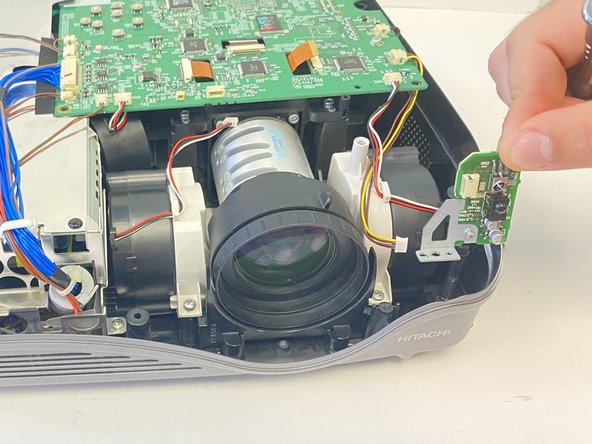
With front of projector now facing you, the sensor can be found on the left of the lens.
-
-
-
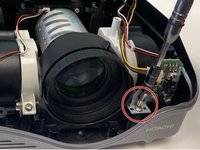
The sensor will be held into the projector by a silver screw on the lower left side of lens. This single 2 mm screw will need to be unscrewed and removed. This will allow you to remove the sensor piece completely out of the projector.
-
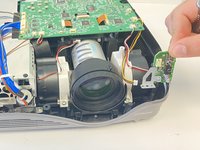
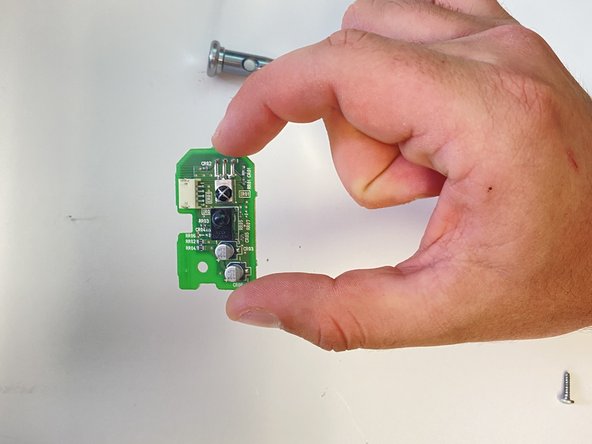
You now will remove the sensor piece completely.
-
-
-
-
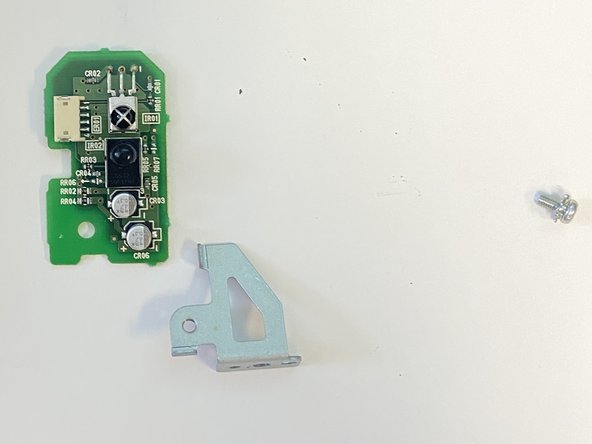
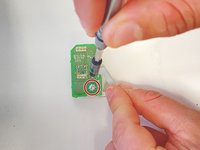
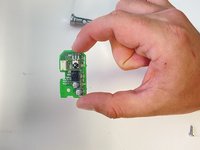
To get the sensor piece alone, you will unscrew the single 3 mm silver screw.
-
-




To reassemble your device, follow these instructions in reverse order.

Team

University of Alabama, Team 2-2, Bedsole Spring 2022 Member of University of Alabama, Team 2-2, Bedsole Spring 2022
UA-BEDSOLE-S22S2G2
4 Members
72 Guides authored
