Free Shipping on Domestic Orders $75+

Hitachi CP-X2010N Lens Replacement

Views: 518

View statistics:

Past 24 Hours:
2
Past 7 Days:
14
Past 30 Days:
67
All Time:
518
Comments: 0

No one has left comments on this guide. Will you be first?

Go to guide comments
Completed: 4

4 people have marked this guide "completed." Will you be next?

Favorites: 0

No one has favorited (and subscribed to) this guide. Will you be the first?

Time Required: 45 minutes - 1 hour
Difficulty: Moderate
Hitachi CP-X2010N Lens Replacement

Introduction

Go to step 1 ↓

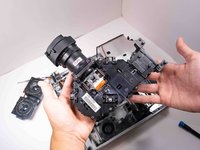
The lens on the Hitachi CP-X2010N is an important part of the projector, able to magnify images and display them onto a surface. If the image is distorted in any way, it may be caused by a dirty or faulty lens. It is necessary to replace the lens if it is cracked or otherwise damaged. Caution should be applied when handling the lens front element, as glass is fragile and easily cracked.

Before beginning the repair be sure to turn off the projector and unplug it from the outlet. Also make sure that the projector has cooled off if it has recently been used as it could become warm after prolonged use.

What you need

Tools

    1. Hitachi CP-X2010N Lens Replacement, Top Panel: step 1, image 1 of 3 Hitachi CP-X2010N Lens Replacement, Top Panel: step 1, image 2 of 3 Hitachi CP-X2010N Lens Replacement, Top Panel: step 1, image 3 of 3
      • Flip the projector upside down to expose the screws on the underside.

      Ask FixBot

      Add Comment

    2. Hitachi CP-X2010N Lens Replacement: step 2, image 1 of 3 Hitachi CP-X2010N Lens Replacement: step 2, image 2 of 3 Hitachi CP-X2010N Lens Replacement: step 2, image 3 of 3
      • Use a Phillips #2 screwdriver to remove eight black 14 mm screws holding the top panel to the main projector body.

      Ask FixBot

      Add Comment

    3. Hitachi CP-X2010N Lens Replacement: step 3, image 1 of 1
      • Flip projector right side up and orient it so you are facing the rear panel.

      Ask FixBot

      Add Comment

    4. Hitachi CP-X2010N Lens Replacement: step 4, image 1 of 3 Hitachi CP-X2010N Lens Replacement: step 4, image 2 of 3 Hitachi CP-X2010N Lens Replacement: step 4, image 3 of 3
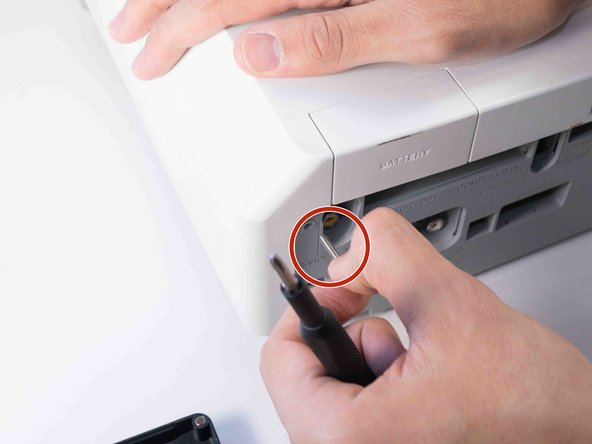
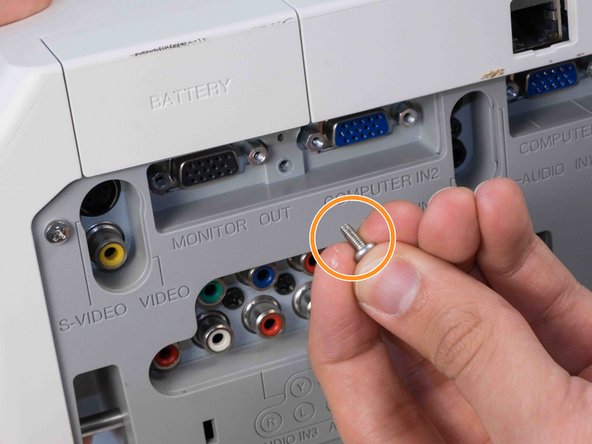
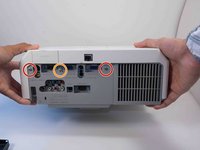
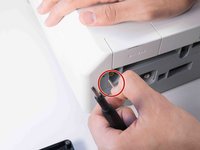
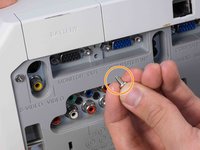
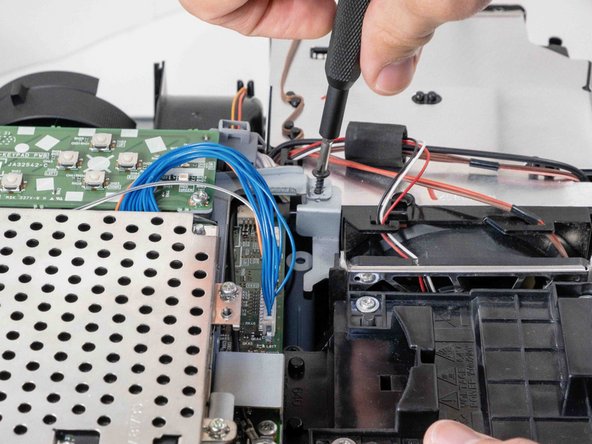
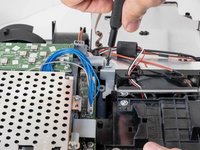
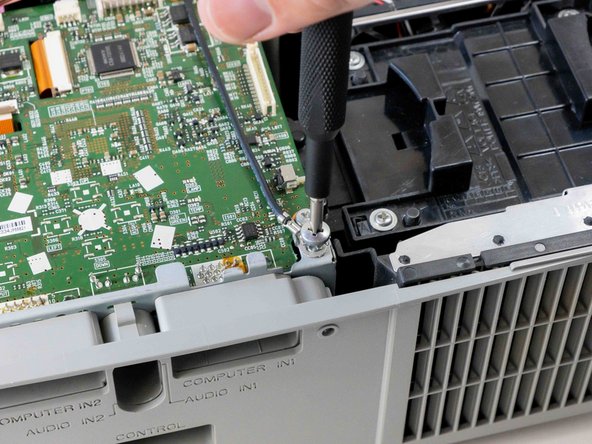
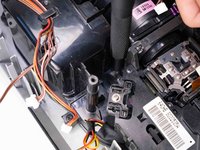
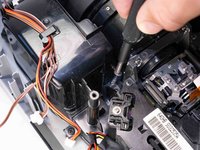
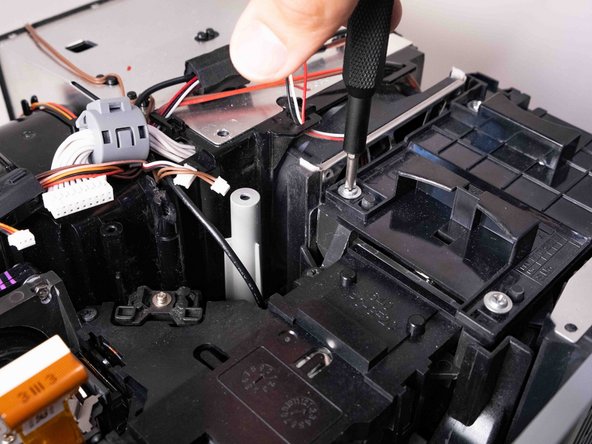
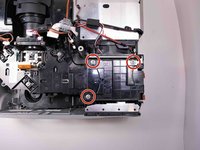
      • Use a Phillips #2 screwdriver to remove two silver 22 mm long screws.

      • Use a Phillips #2 screwdriver to remove the short silver 10 mm screw.

      Ask FixBot

      Add Comment

    5. Hitachi CP-X2010N Lens Replacement: step 5, image 1 of 3 Hitachi CP-X2010N Lens Replacement: step 5, image 2 of 3 Hitachi CP-X2010N Lens Replacement: step 5, image 3 of 3
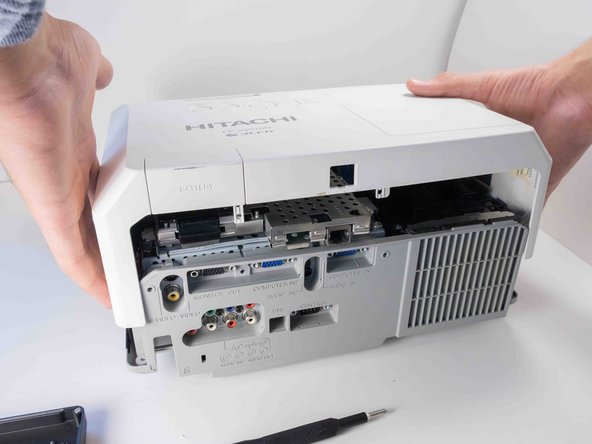
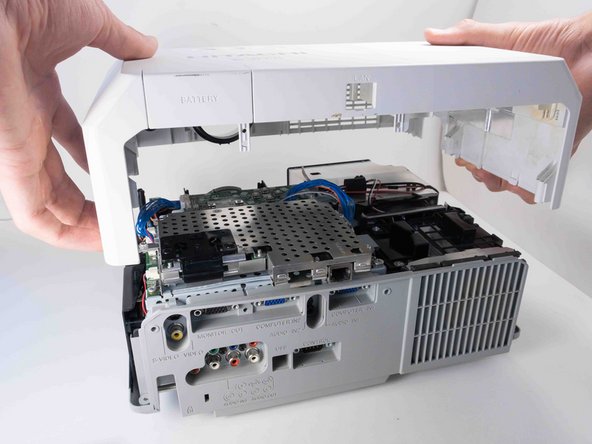
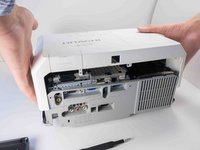
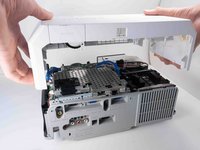
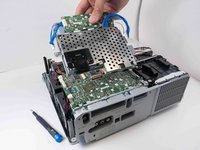
      • Carefully lift the top panel from the body of the projector, making sure it doesn't catch on anything.

      • Remove the panel from the body of the projector.

      Ask FixBot

      Add Comment

    1. Hitachi CP-X2010N Lens Replacement, Motherboard: step 6, image 1 of 3 Hitachi CP-X2010N Lens Replacement, Motherboard: step 6, image 2 of 3 Hitachi CP-X2010N Lens Replacement, Motherboard: step 6, image 3 of 3
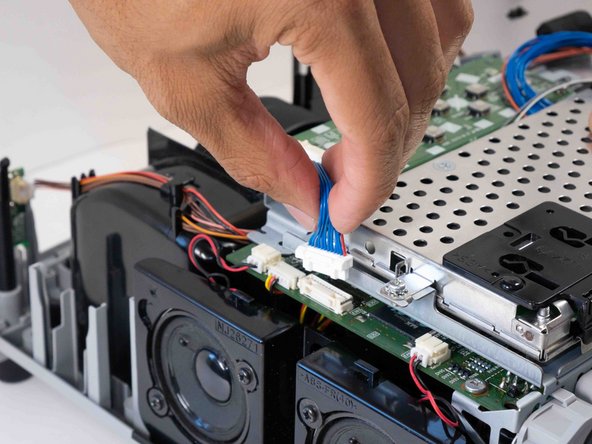
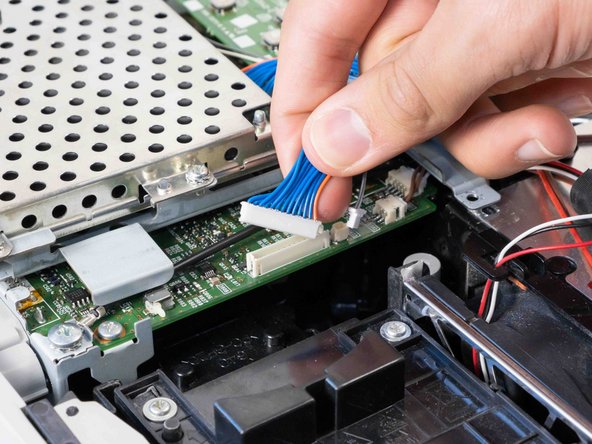
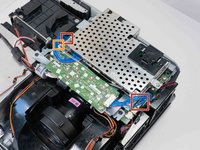
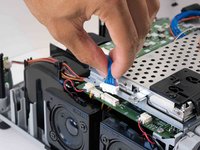
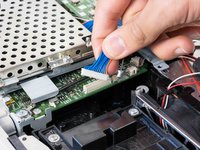
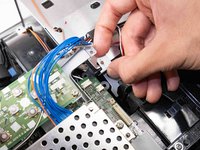
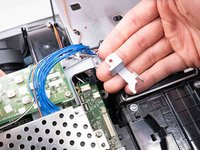
      • Carefully pinch the edges of the two blue connectors and pull upwards to remove them from the motherboard.

      • Carefully pinch and remove the small gray connector next to the blue wire opposite the speakers.

      Ask FixBot

      Add Comment

    2. Hitachi CP-X2010N Lens Replacement: step 7, image 1 of 3 Hitachi CP-X2010N Lens Replacement: step 7, image 2 of 3 Hitachi CP-X2010N Lens Replacement: step 7, image 3 of 3
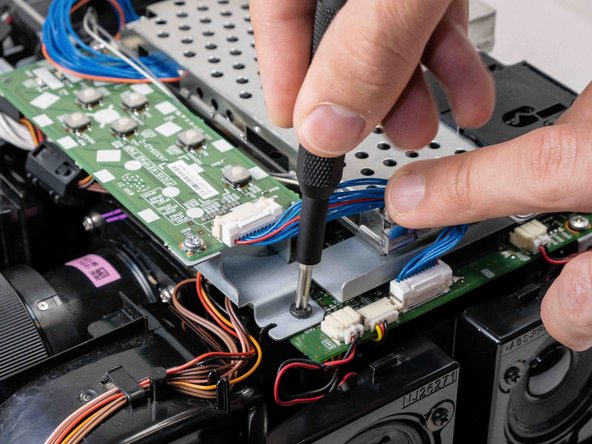
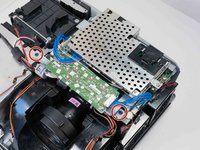
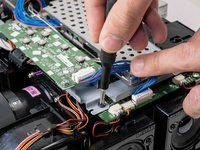
      • Use a Phillips #2 screwdriver to remove the two black 14 mm screws securing the button array.

      • Move the wires for better access to the screws if needed.

      Ask FixBot

      Add Comment

    3. Hitachi CP-X2010N Lens Replacement: step 8, image 1 of 3 Hitachi CP-X2010N Lens Replacement: step 8, image 2 of 3 Hitachi CP-X2010N Lens Replacement: step 8, image 3 of 3
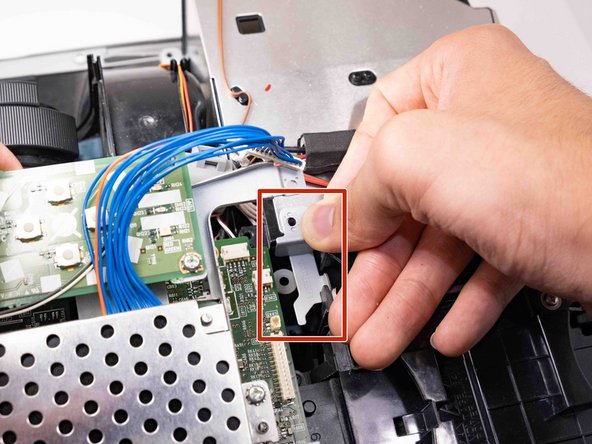
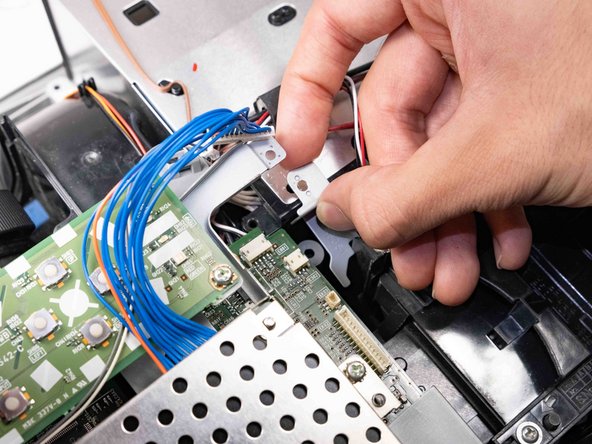
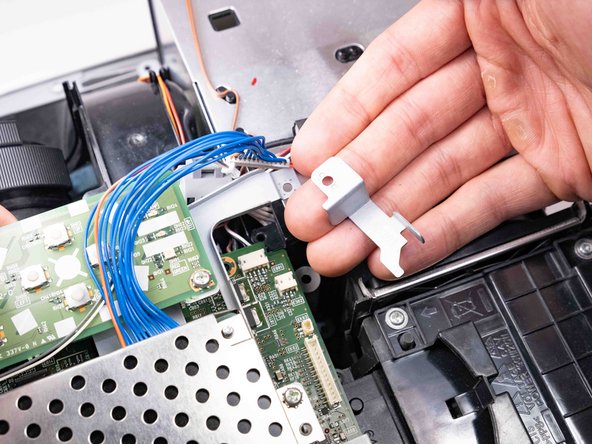
      • Remove the bracket that was being held by the screw.

      • Take a picture or memorize its orientation for easier reinstallation.

      Ask FixBot

      Add Comment

    4. Hitachi CP-X2010N Lens Replacement: step 9, image 1 of 2 Hitachi CP-X2010N Lens Replacement: step 9, image 2 of 2
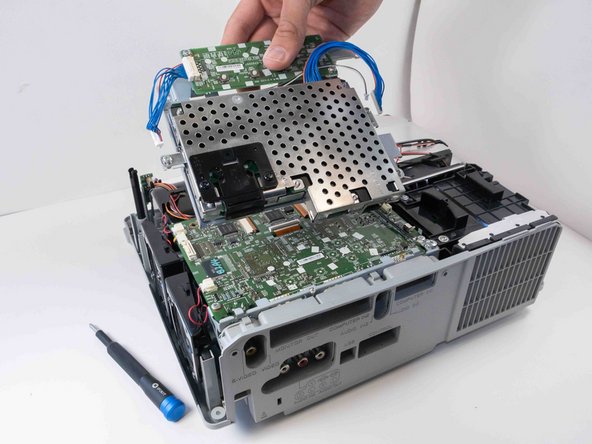
      • Pull the button array and network adapter out carefully.

      • Make sure all the wires connected to the array are unplugged.

      Ask FixBot

      Add Comment

    5. Hitachi CP-X2010N Lens Replacement: step 10, image 1 of 2 Hitachi CP-X2010N Lens Replacement: step 10, image 2 of 2
      • Use a Phillips #2 screwdriver to remove the silver 10 mm screw securing the ground wire.

      • Keep the screw and washer in an easily accessible place.

      Ask FixBot

      Add Comment

    6. Hitachi CP-X2010N Lens Replacement: step 11, image 1 of 1
      • Use a Phillips #2 screwdriver to remove the black 14 mm screw securing the motherboard to the case.

      Ask FixBot

      Add Comment

    7. Hitachi CP-X2010N Lens Replacement: step 12, image 1 of 3 Hitachi CP-X2010N Lens Replacement: step 12, image 2 of 3 Hitachi CP-X2010N Lens Replacement: step 12, image 3 of 3
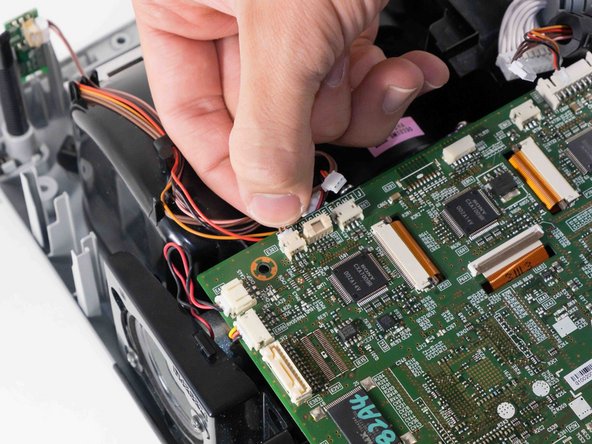
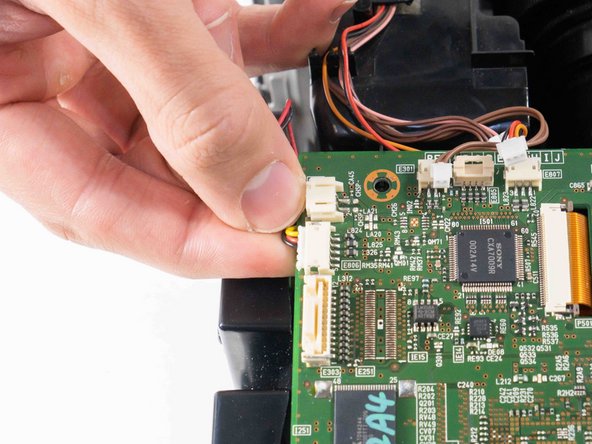
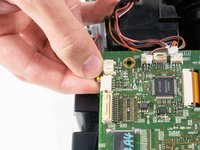
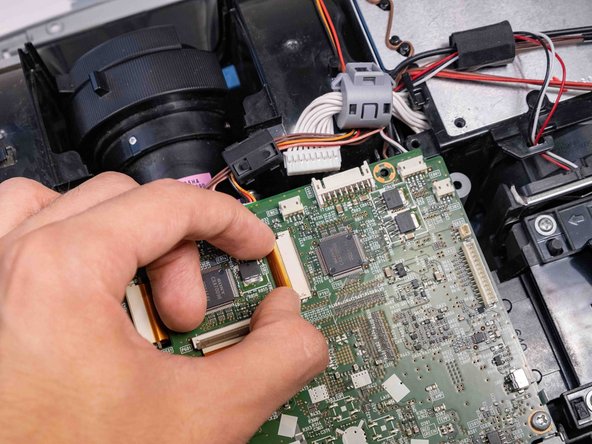
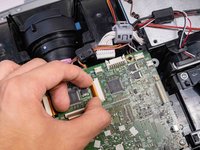
      • Delicately pinch and pull off all the wired connections surrounding the outside of the motherboard.

      Ask FixBot

      Add Comment

    8. Hitachi CP-X2010N Lens Replacement: step 13, image 1 of 3 Hitachi CP-X2010N Lens Replacement: step 13, image 2 of 3 Hitachi CP-X2010N Lens Replacement: step 13, image 3 of 3
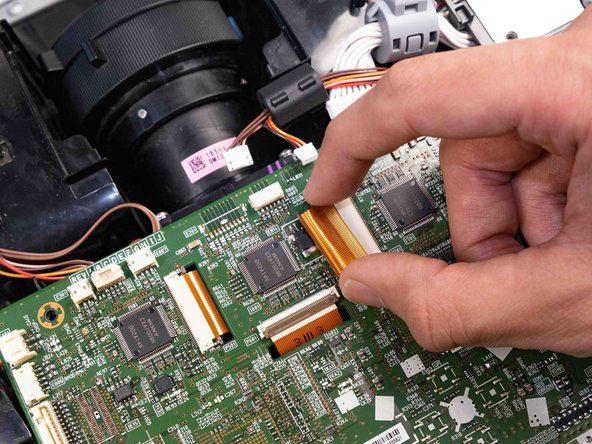
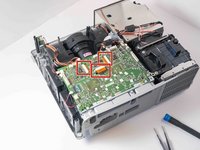
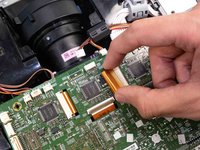
      • Use the tip of a spudger or your fingernail to flip up the small locking flap on the three orange cable locks. Then, you can safely pull the cables out.

      • Too much force could break the ribbon cable.

      Ask FixBot

      Add Comment

    9. Hitachi CP-X2010N Lens Replacement: step 14, image 1 of 2 Hitachi CP-X2010N Lens Replacement: step 14, image 2 of 2
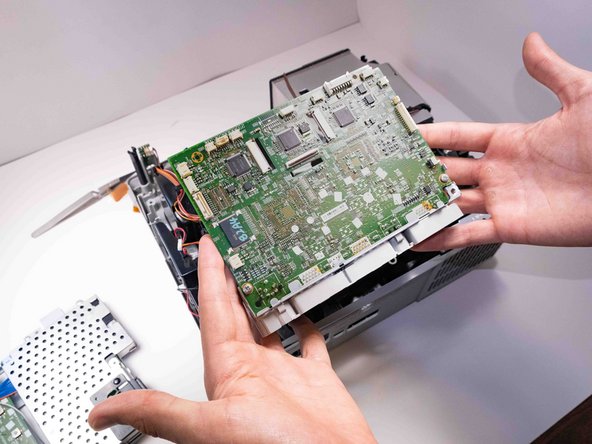
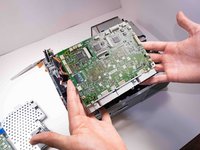
      • Lift the motherboard out from the projector carefully so that it doesn't catch on any other components.

      Ask FixBot

      Add Comment

    1. Hitachi CP-X2010N Lens Replacement, Lens: step 15, image 1 of 3 Hitachi CP-X2010N Lens Replacement, Lens: step 15, image 2 of 3 Hitachi CP-X2010N Lens Replacement, Lens: step 15, image 3 of 3
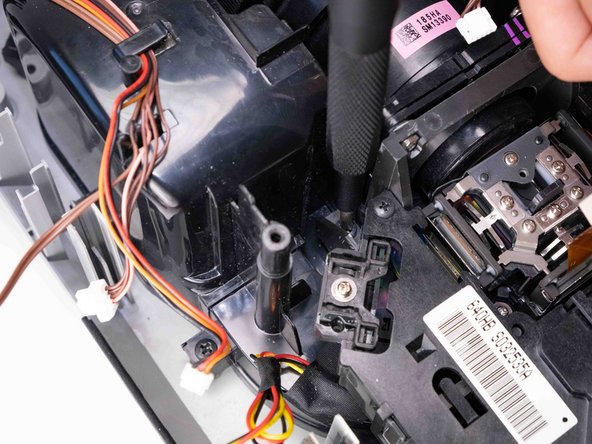
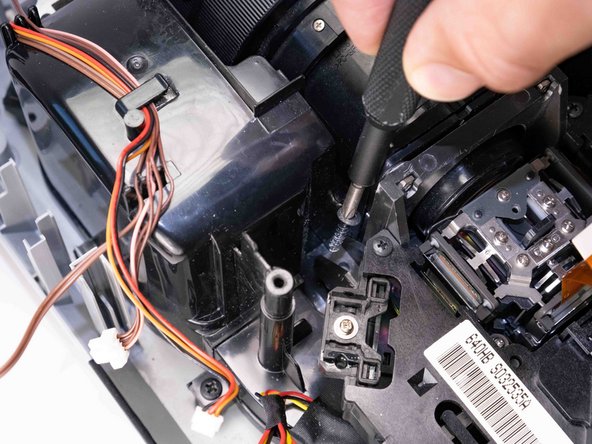
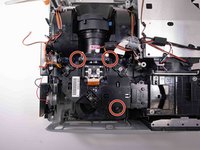
      • Use a Phillips #2 screwdriver to remove the three black 14 mm screws holding down the projector housing.

      Ask FixBot

      Add Comment

    2. Hitachi CP-X2010N Lens Replacement: step 16, image 1 of 2 Hitachi CP-X2010N Lens Replacement: step 16, image 2 of 2
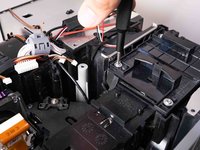
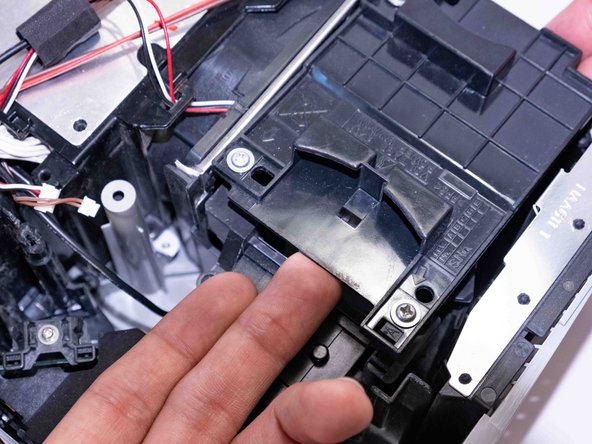
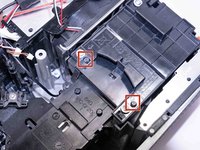
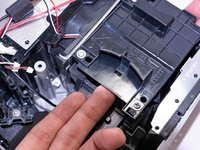
      • Loosen the three silver Phillips #2 screws that secure the lamp housing.

      • The screws are captive and do not need to be removed from the lamp housing.

      Ask FixBot

      Add Comment

    3. Hitachi CP-X2010N Lens Replacement: step 17, image 1 of 2 Hitachi CP-X2010N Lens Replacement: step 17, image 2 of 2
      • Work the projector housing loose from the two pins on the lamp housing.

      Ask FixBot

      Add Comment

    4. Hitachi CP-X2010N Lens Replacement: step 18, image 1 of 3 Hitachi CP-X2010N Lens Replacement: step 18, image 2 of 3 Hitachi CP-X2010N Lens Replacement: step 18, image 3 of 3
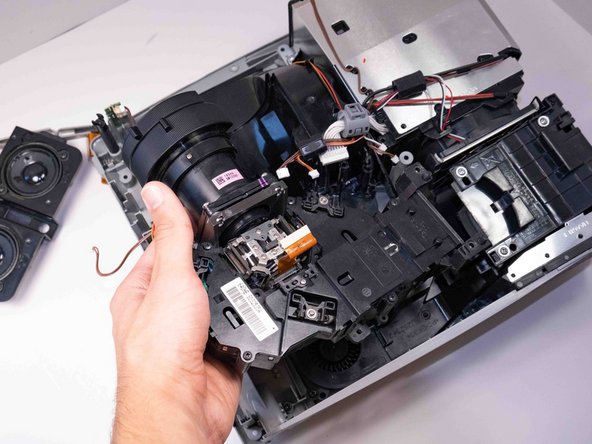
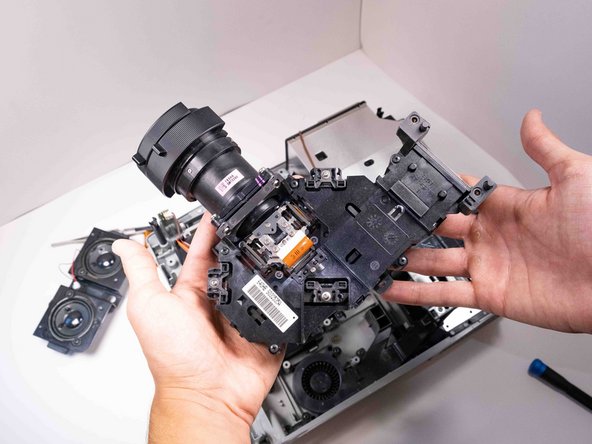
      • Lift the projector housing up from the left side and remove it from the case.

      Ask FixBot

      Add Comment

    5. Hitachi CP-X2010N Lens Replacement: step 19, image 1 of 3 Hitachi CP-X2010N Lens Replacement: step 19, image 2 of 3 Hitachi CP-X2010N Lens Replacement: step 19, image 3 of 3
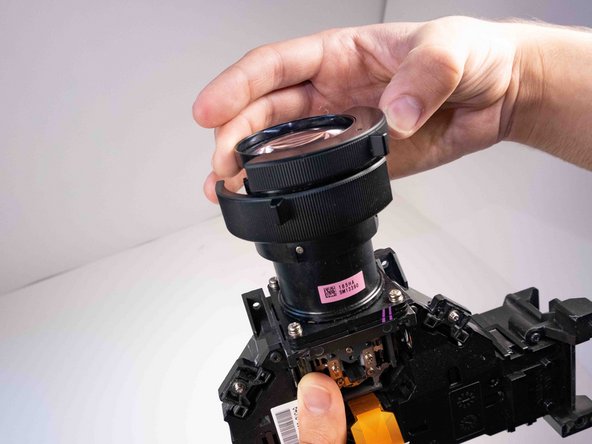
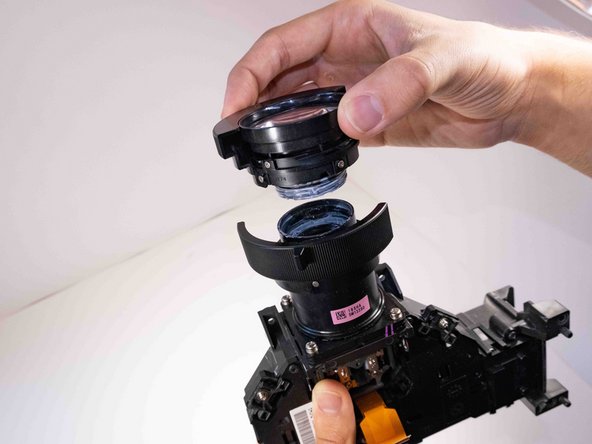
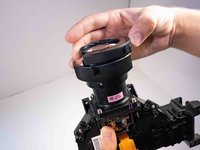
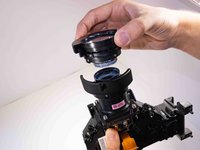
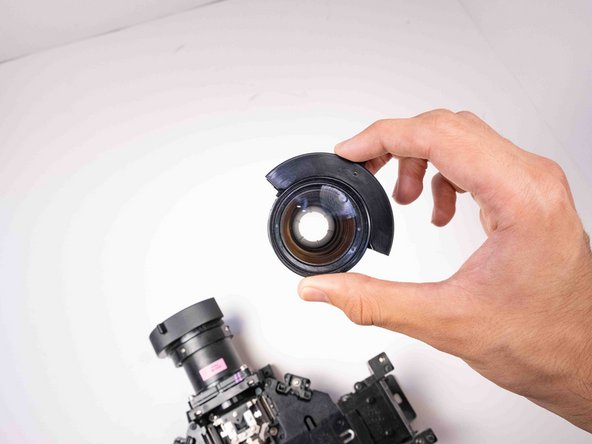
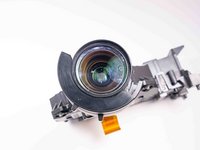
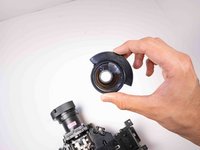
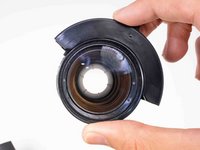
      • Turn the front lens element counterclockwise and lift it off the projector housing.

      • The front element will have lubricant on the inside shaft. Take care not to rub any of it off.

      Ask FixBot

      Add Comment

    6. Hitachi CP-X2010N Lens Replacement: step 20, image 1 of 3 Hitachi CP-X2010N Lens Replacement: step 20, image 2 of 3 Hitachi CP-X2010N Lens Replacement: step 20, image 3 of 3
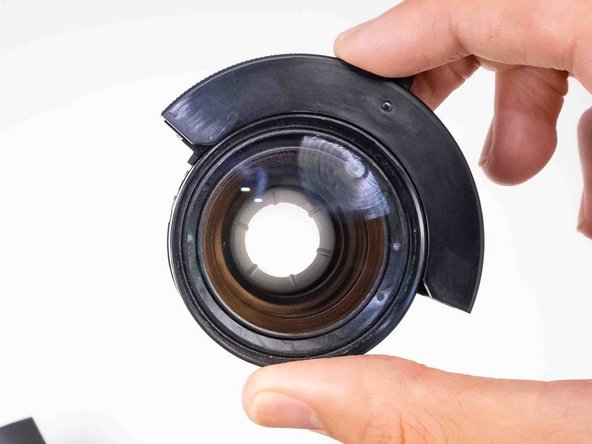
      • Inspect all glass elements for debris or damage.

      • Clean or replace the lens as needed.

      Ask FixBot

      Add Comment

Conclusion

To reassemble your device, follow these instructions in reverse order.

Cancel: I did not complete this guide.

4 other people completed this guide.

Chance Kidd

Member since: 09/20/22

1,184 Reputation

6 Guides authored

0 Guide Comments

Add Comment

View Statistics:

Past 24 Hours: 2

Past 7 Days: 14

Past 30 Days: 67

All Time: 518