
Hitachi CP-X2010N Motherboard Replacement

Chance Kidd and 4 other contributors
Last updated on Dec 22, 2022
Views: 654
View statistics:
- Past 24 Hours:
- 3
- Past 7 Days:
- 19
- Past 30 Days:
- 70
- All Time:
- 654
Comments: 0
No one has left comments on this guide. Will you be first?
Go to guide commentsCompleted: 4 5
4 people have marked this guide "completed." Will you be next?
5 people have marked this guide "completed." Including you — great job!
Favorites: 0 1
No one has favorited (and subscribed to) this guide. Will you be the first?
1 person has favorited (and subscribed to) this guide — and that's you!
Introduction
Go to step 1 ↓The motherboard is the backbone that ties the projector's components together at one spot and allows them to talk to each other. If you're having a hard time diagnosing the problem and it's not one of the other components, the motherboard might be at fault.
Follow this guide to remove the motherboard for the Hitachi CP-X2010N if a replacement and/or servicing is needed.
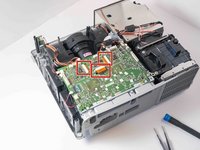
The trickiest part of this job is removing the three ribbon cables without damaging them.
Before handling the motherboard, ensure the device is powered off and unplugged.
What you need
Tools

-
-
-
Flip the projector upside down to expose the screws on the underside.
 Ask FixBot
-
-
-
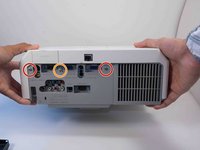
Use a Phillips #2 screwdriver to remove eight black 14 mm screws holding the top panel to the main projector body.
-
-
-
Use a Phillips #2 screwdriver to remove two silver 22 mm long screws.
-
Use a Phillips #2 screwdriver to remove the short silver 10 mm screw.
-
-
-
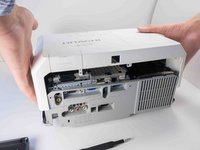
Carefully lift the top panel from the body of the projector, making sure it doesn't catch on anything.
-
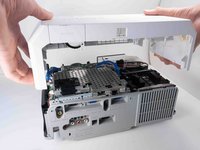
Remove the panel from the body of the projector.
-
-
-
-
-
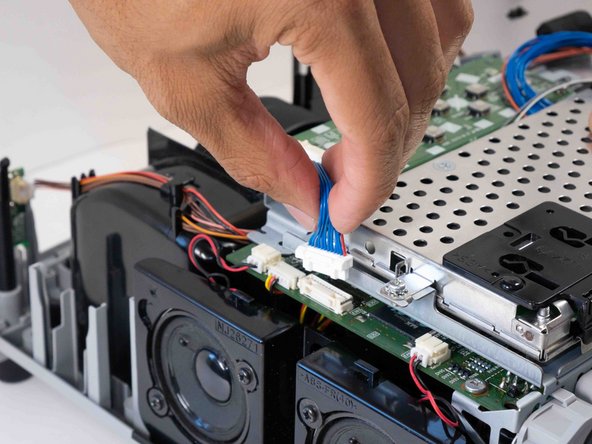
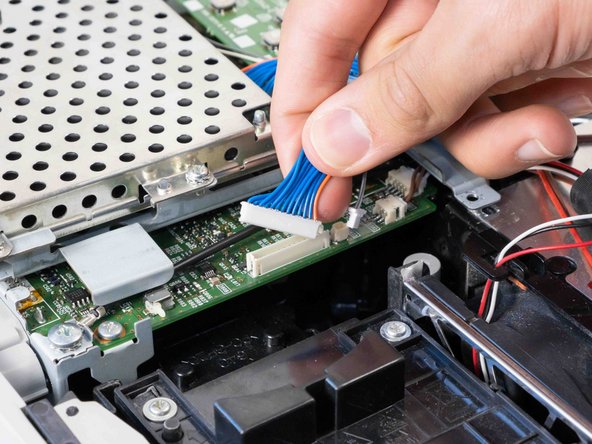
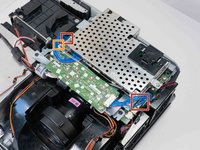
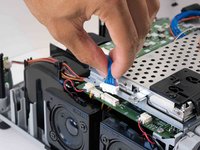
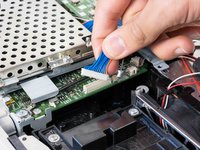
Carefully pinch the edges of the two blue connectors and pull upwards to remove them from the motherboard.
-
Carefully pinch and remove the small gray connector next to the blue wire opposite the speakers.
-
-
-
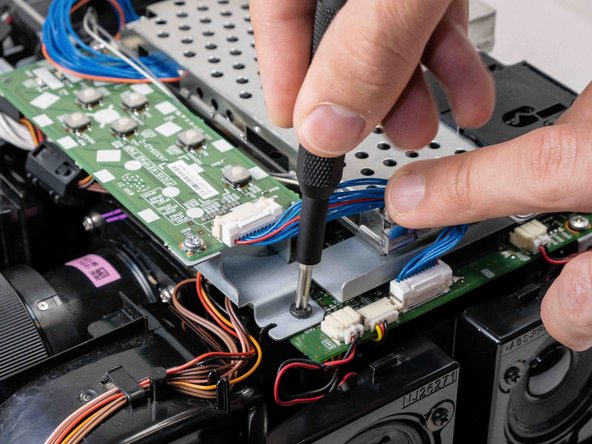
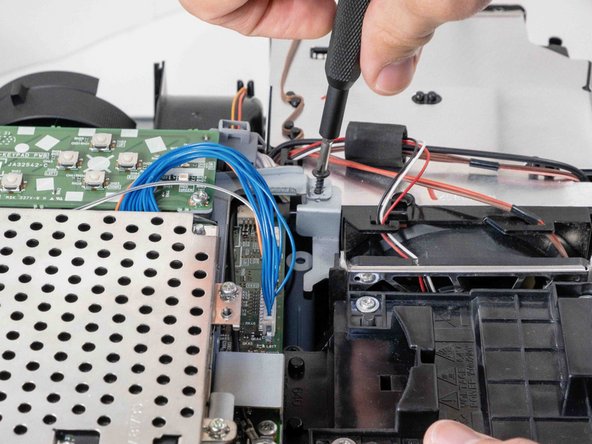
Use a Phillips #2 screwdriver to remove the two black 14 mm screws securing the button array.
-
-
-
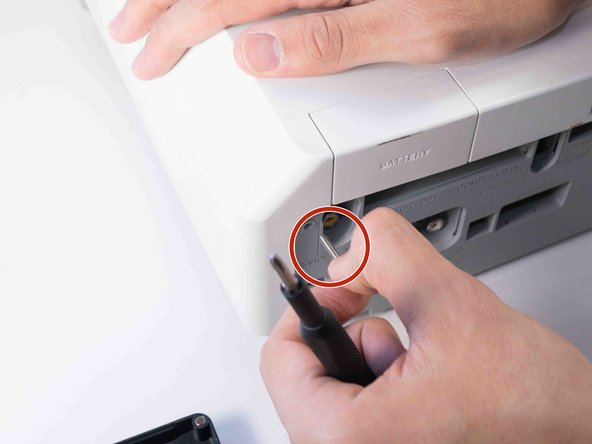
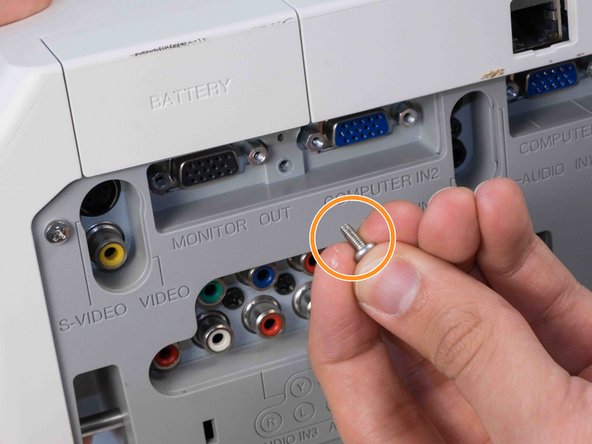
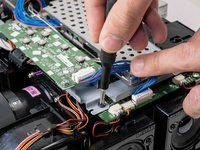
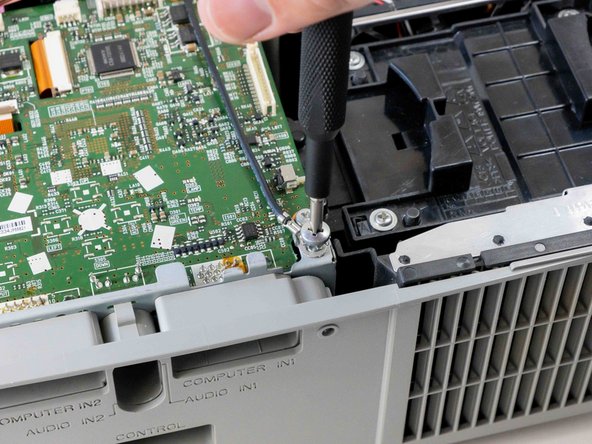
Use a Phillips #2 screwdriver to remove the silver 10 mm screw securing the ground wire.
-
-
-
-
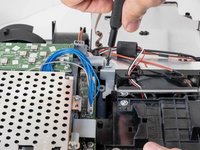
Use a Phillips #2 screwdriver to remove the black 14 mm screw securing the motherboard to the case.
-
-
-
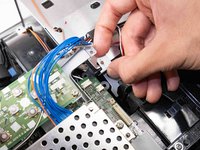
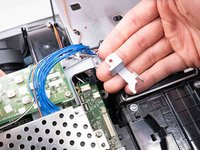
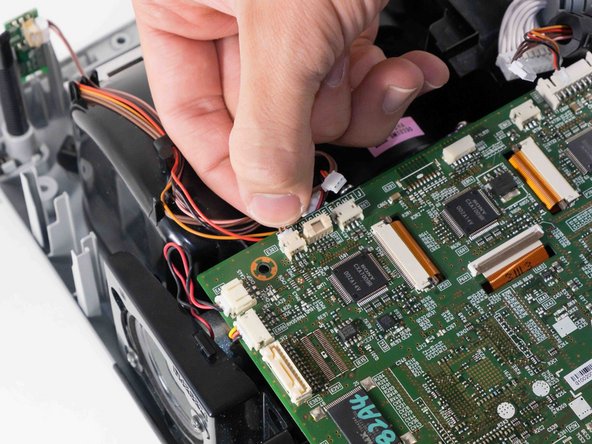
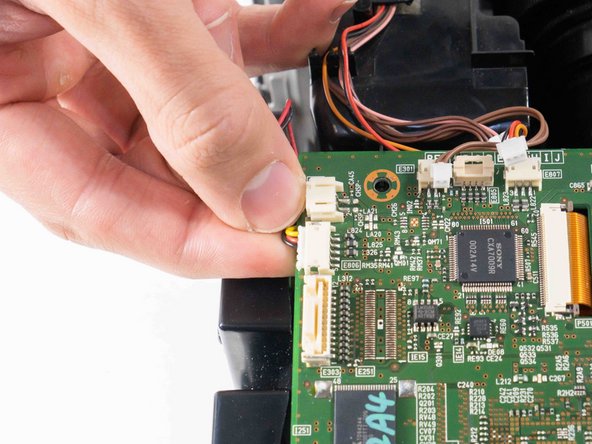
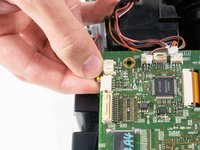
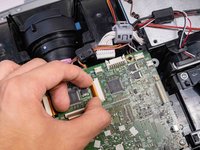
Delicately pinch and pull off all the wired connections surrounding the outside of the motherboard.
-
-
-
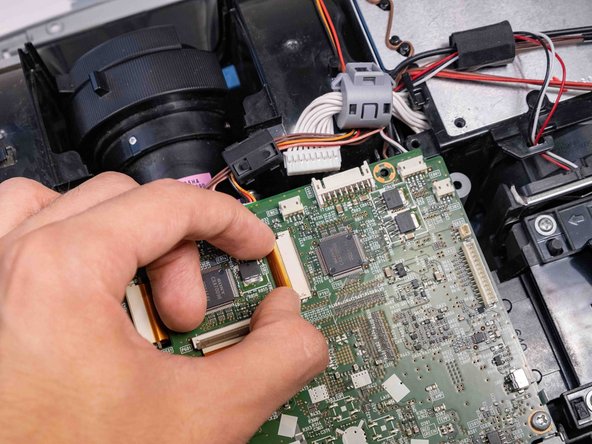
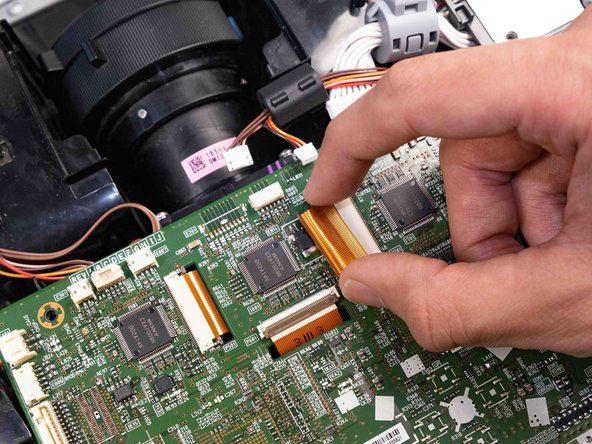
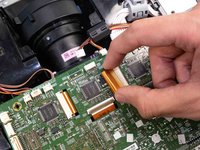
Use the tip of a spudger or your fingernail to flip up the small locking flap on the three orange cable locks. Then, you can safely pull the cables out.
-
-
-
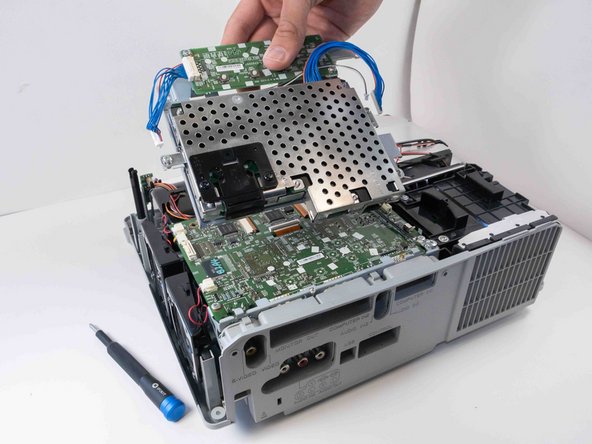
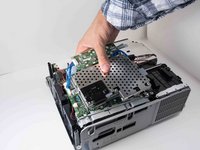
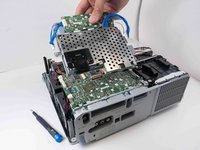
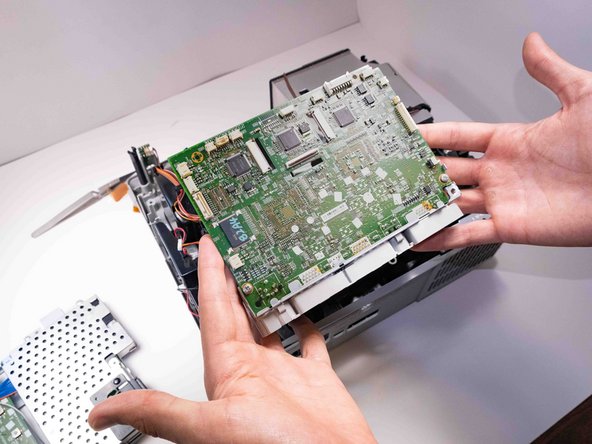
Lift the motherboard out from the projector carefully so that it doesn't catch on any other components.
-
-


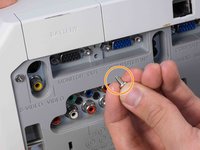

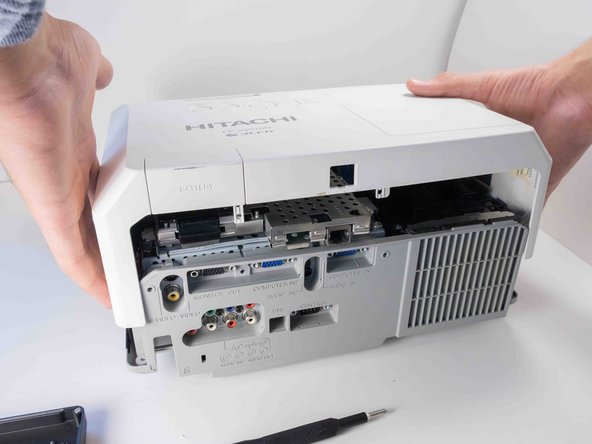
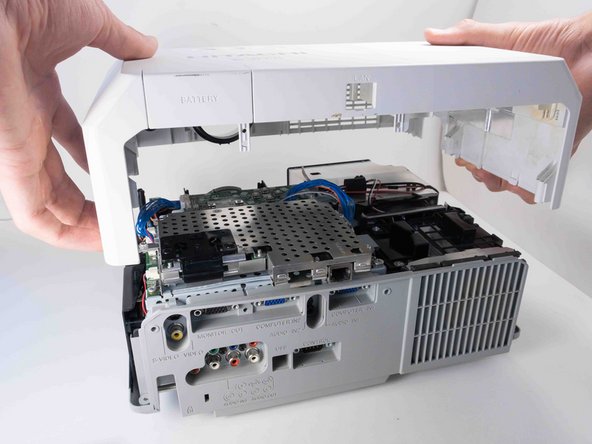


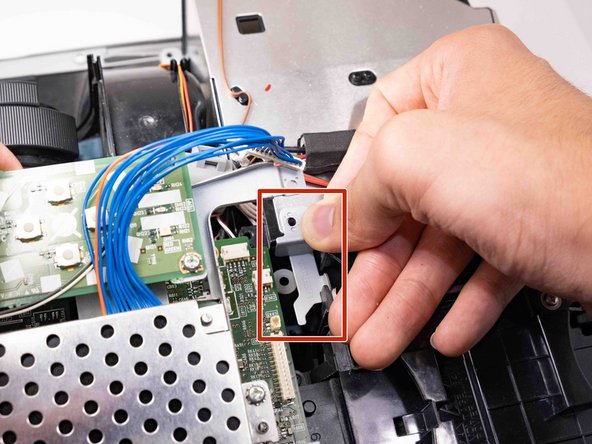
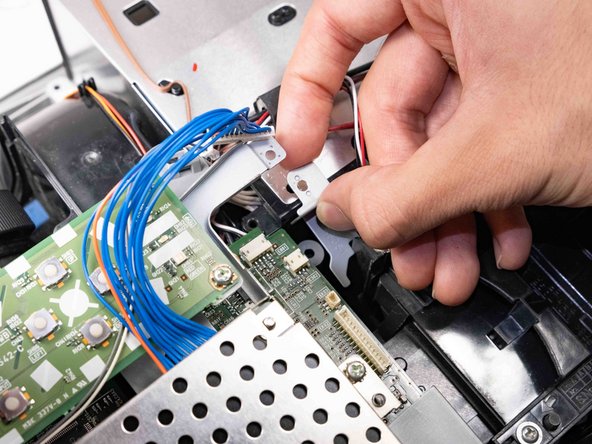
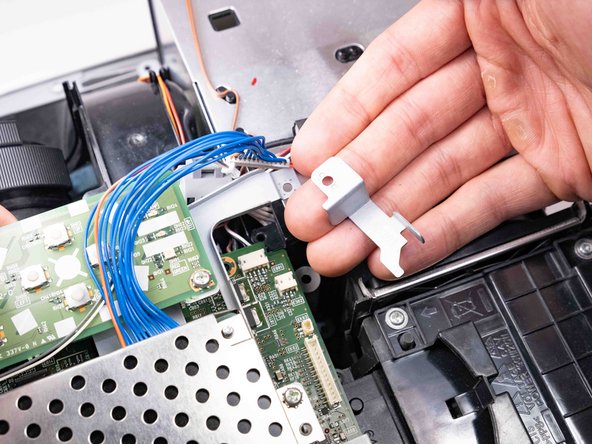






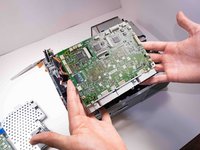
To reassemble your device, follow these instructions in reverse order.
Cancel: I did not complete this guide.
4 other people completed this guide.

Team

Austin Community College, Team 9-2, Watkins Fall 2022 Member of Austin Community College, Team 9-2, Watkins Fall 2022
AUSTINCC-WATKINS-F22S9G2
4 Members
72 Guides authored
