
Headphone Jack Replacement

Chi Chung Yung and 3 other contributors
Last updated on Jun 19, 2025
Views: 2.2K
View statistics:
- Past 24 Hours:
- 14
- Past 7 Days:
- 69
- Past 30 Days:
- 227
- All Time:
- 2,190
Comments: 0
No one has left comments on this guide. Will you be first?
Go to guide commentsCompleted: 2 3
2 people have marked this guide "completed." Will you be next?
3 people have marked this guide "completed." Including you — great job!
Favorites: 0 1
No one has favorited (and subscribed to) this guide. Will you be the first?
1 person has favorited (and subscribed to) this guide — and that's you!
Introduction
Go to step 1 ↓Have you ever had a loose wire or bad jack on your headphone? This guide will help you repair your headphone jack like a new one.
Before proceeding with the replacement, you need to be familiar with the parts as this will involve connecting the right parts with the right cables.
What you need
Parts

Tools


-
-
-
Cut off the old faulty headphone jack.
-
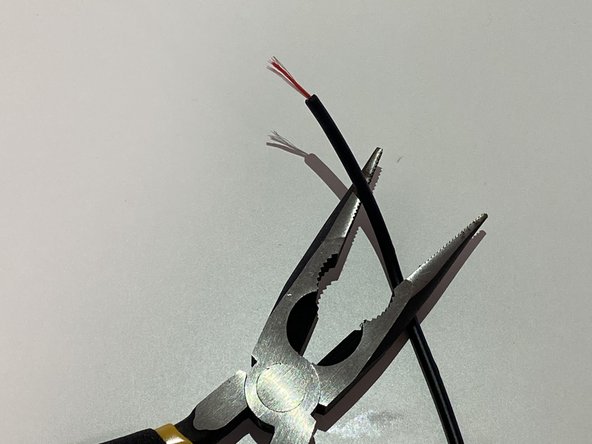
Use the wire strippers to strip off the outermost rubber sheathing to expose the individual cords inside.
-
-
-
Begin adding solder to each of the contacts of the headphone jack.
-
Every so often wipe off the soldering iron on a piece of sponge/cloth.
-
-
-
Take the casing and thread it to the wire, make sure to put it right way around.
-
Trim excess wire. (optional)
-
-
-
Add solder to the ends of each of the wires.
-
Give it a few seconds to make sure it gets through the coating.
-
-
-
Solder the wire to the headphone jack.
-
Make sure each wire goes to the right connector.
-
Red and white wires connect to the signal. The remaining one connects the ground connector.
-
-
-
-
Use pliers to crimp the ground connection onto the wire to make it nice and secured.
-
-
-
Wrap around the contacts with electric tape to prevent shorts.
-
Move up the outer casing and screw it to the jack with pliers.
-

 Ask FixBot



Cancel: I did not complete this guide.
2 other people completed this guide.

