Free Shipping on Domestic Orders $75+

Handspring Visor Deluxe PDA Touch Screen Replacement

What you need

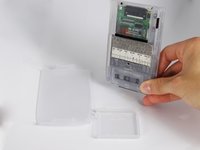
    1. Handspring Visor Deluxe PDA Touch Screen Replacement, Outside cover and stylus: step 1, image 1 of 2 Handspring Visor Deluxe PDA Touch Screen Replacement, Outside cover and stylus: step 1, image 2 of 2
      • Remove the outer screen cover by releasing the top clip from the main body of the device.

      Ask FixBot

      Add Comment

    2. Handspring Visor Deluxe PDA Touch Screen Replacement: step 2, image 1 of 3 Handspring Visor Deluxe PDA Touch Screen Replacement: step 2, image 2 of 3 Handspring Visor Deluxe PDA Touch Screen Replacement: step 2, image 3 of 3
      • Pull out the stylus from the top right corner of the device.

      Ask FixBot

      Add Comment

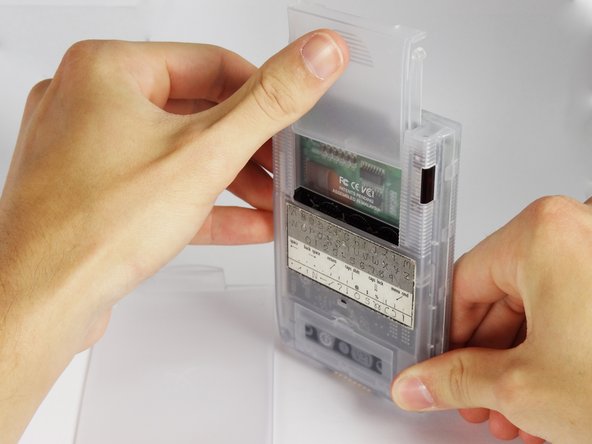
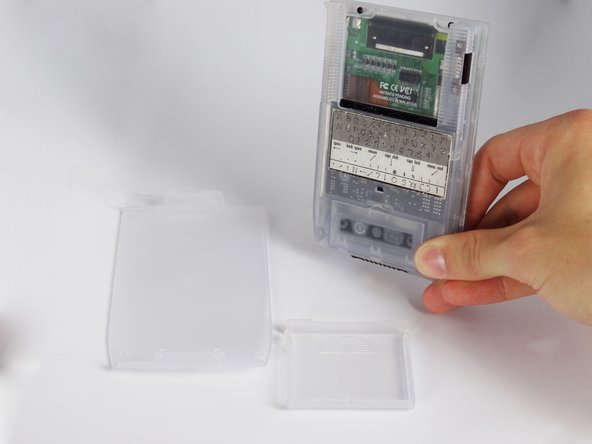
    3. Handspring Visor Deluxe PDA Touch Screen Replacement: step 3, image 1 of 3 Handspring Visor Deluxe PDA Touch Screen Replacement: step 3, image 2 of 3 Handspring Visor Deluxe PDA Touch Screen Replacement: step 3, image 3 of 3
      • Slide the memory cartridge cover up and off the device.

      Ask FixBot

      Add Comment

    1. Handspring Visor Deluxe PDA Touch Screen Replacement, Batteries: step 4, image 1 of 2 Handspring Visor Deluxe PDA Touch Screen Replacement, Batteries: step 4, image 2 of 2
      • Remove the battery cover by releasing the clip from the main body of the device.

      Ask FixBot

      Add Comment

    2. Handspring Visor Deluxe PDA Touch Screen Replacement: step 5, image 1 of 1
      • Remove the batteries from the device.

      Ask FixBot

      Add Comment

    1. Handspring Visor Deluxe PDA Touch Screen Replacement, Back Cover: step 6, image 1 of 1
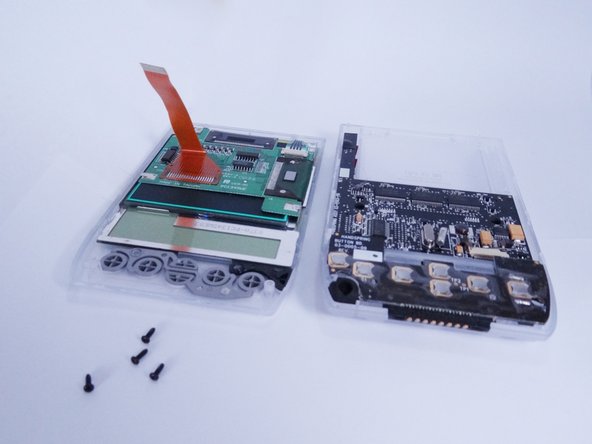
      • Unscrew the four 2.94mm screws with a #00 Phillips screwdriver.

      • One end of the OEM stylus can unscrew and contains a mini #00 Phillips screwdriver.

      Ask FixBot

      Add Comment

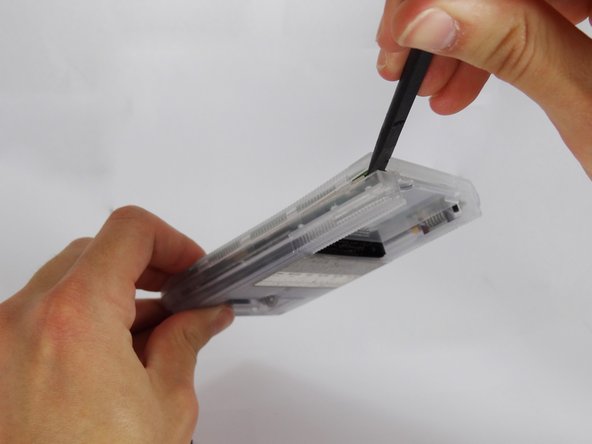
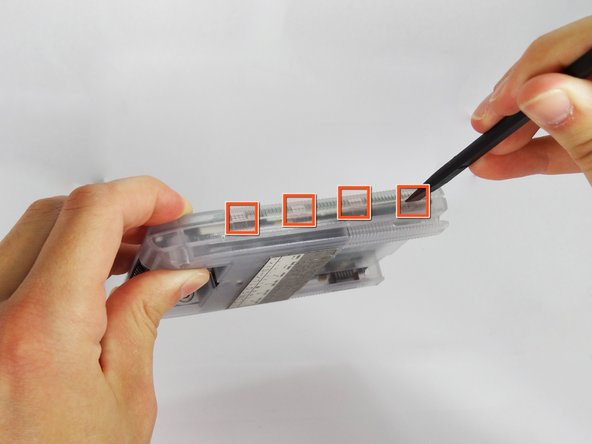
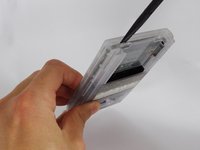
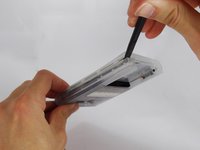
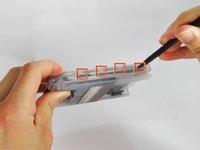
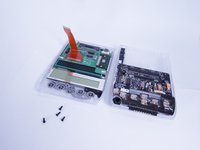
    2. Handspring Visor Deluxe PDA Touch Screen Replacement: step 7, image 1 of 3 Handspring Visor Deluxe PDA Touch Screen Replacement: step 7, image 2 of 3 Handspring Visor Deluxe PDA Touch Screen Replacement: step 7, image 3 of 3
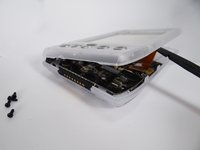
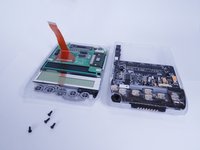
      • Use the spudger to pry open the casing by applying pressure at 4 clips on both sides of the device.

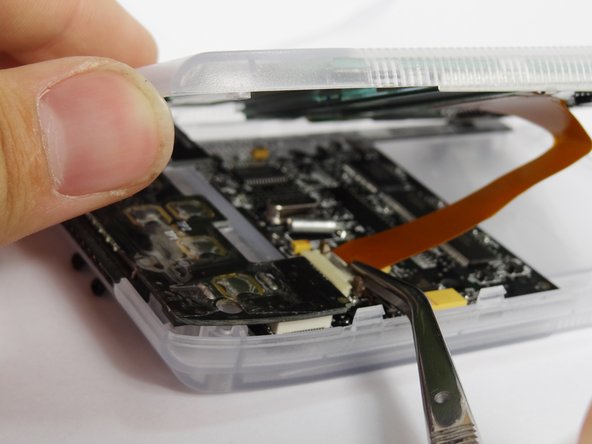
      • Be careful while opening the casing as there is a flex strip connecting the two halves.

      Ask FixBot

      Add Comment

    3. Handspring Visor Deluxe PDA Touch Screen Replacement: step 8, image 1 of 3 Handspring Visor Deluxe PDA Touch Screen Replacement: step 8, image 2 of 3 Handspring Visor Deluxe PDA Touch Screen Replacement: step 8, image 3 of 3
      Tool used on this step:
      Tweezers
      $4.99
      Buy
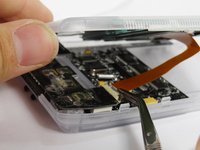
      • Disconnect the flex strip from the motherboard with tweezers.

      Ask FixBot

      Add Comment

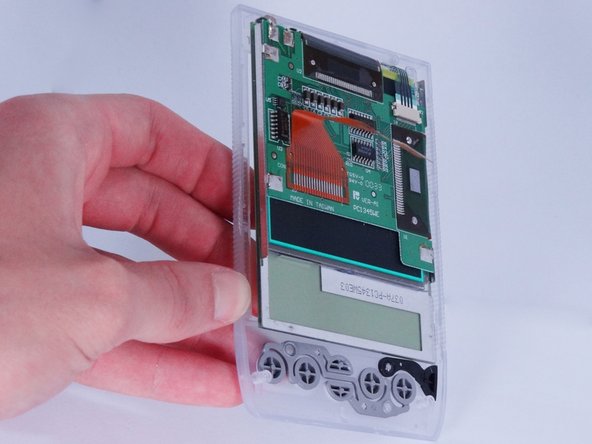
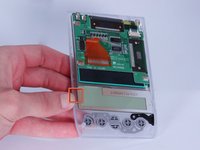
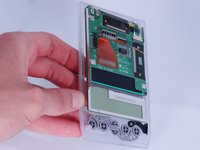
    1. Handspring Visor Deluxe PDA Touch Screen Replacement, Touch Screen: step 9, image 1 of 3 Handspring Visor Deluxe PDA Touch Screen Replacement, Touch Screen: step 9, image 2 of 3 Handspring Visor Deluxe PDA Touch Screen Replacement, Touch Screen: step 9, image 3 of 3
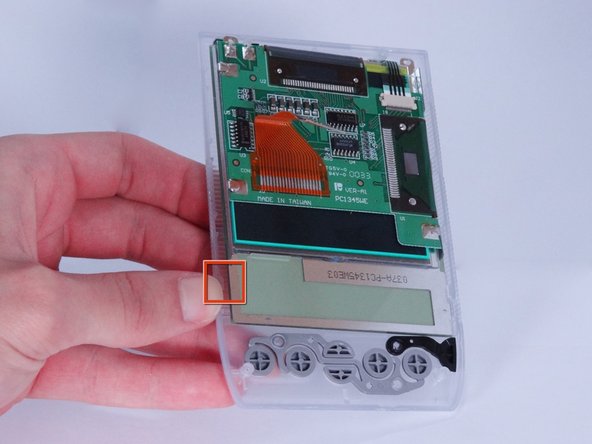
      • Release the latch in bottom right corner of the touchscreen.

      • Use the spudger (if needed) to pry the screen from the front case.

      Ask FixBot

      Add Comment

Conclusion

To reassemble your device, follow these instructions in reverse order.

Cancel: I did not complete this guide.

David Faltemier

Member since: 06/20/12

19 Reputation

5 Guides authored

Team

Cal Poly, Team 1-2, Regan SU 2012 Member of Cal Poly, Team 1-2, Regan SU 2012

CPSU-REGAN-SU12S1G2

4 Members

54 Guides authored

0 Guide Comments

Add Comment

View Statistics:

Past 24 Hours: 2

Past 7 Days: 10

Past 30 Days: 38

All Time: 1,386