
Handheld Shower Head Replacement

Aaliyah Kahoohanohano-Davis and 2 other contributors
Last updated on May 30, 2024
Views: 2K
View statistics:
- Past 24 Hours:
- 6
- Past 7 Days:
- 40
- Past 30 Days:
- 182
- All Time:
- 1,971
Comments: 0
No one has left comments on this guide. Will you be first?
Go to guide commentsCompleted: 0 1
No one has marked this guide "completed." Will you be the first?
1 person has marked this guide "completed." It's you — great job!
Favorites: 0 1
No one has favorited (and subscribed to) this guide. Will you be the first?
1 person has favorited (and subscribed to) this guide — and that's you!
Introduction
Go to step 1 ↓Shower heads must be replaced every 6-8 months to avoid sediment buildup and ensure efficient water flow.
As such, this guide aims to explain how to replace a handheld showerhead where any model is applicable in the procedural steps that follow.
Prior to following this guide, it is important to understand the slight risk of injury with this repair in terms of wet surfaces. Overall, this procedure involves little to no possibility for injury but caution should be advised and shoes with good traction can be utilized to avoid slipping while performing the replacement.
It is also important to note that water should be turned off before following the procedure outlined below.
What you need
Tools
-
-
Smart Wrench4.8
-
Plumbers TapeOptionalFor sale from another site
You may or may not need this, it depends on your showerhead.


-
-
-
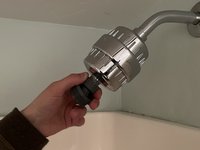
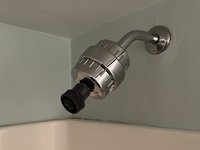
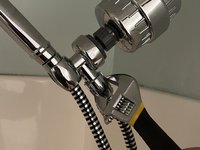
Unscrew the nut attached to the shower head connected to the wall using a wrench.
-
-
-
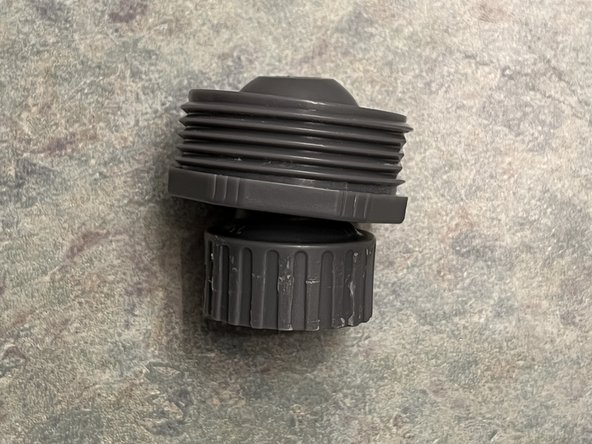
Unpack the new showerhead. Take note of the type of attachment and what tool you might need to tighten it.
-
-
-
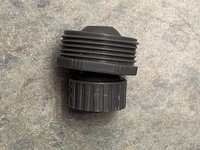
Attach the nut that threads to the arm of the pipe in the wall loosely; hand-tightening everything for now is fine.
-
-
-
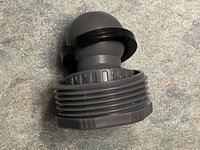
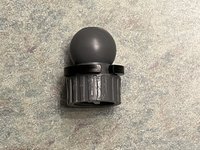
Attach the ball jointed segment to the attaching nut, with the nut’s threaded end towards the shower head, facing away from where the ball component was screwed onto the pipe.
-
-
-
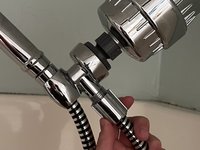
Attach the piece that holds the shower head and attaches to the pipe to the threaded nut over the ball joint.
-
-
-
-
Attach the water hose to the ball joint component, and then to the base of the showerhead.
-
-
-
Finish tightening all components properly with your wrench (do not over-tighten).
-
Tighten down the nut encasing the ball-jointed segment until it will not move or slip on its own, but is loose enough to be gently adjusted with minimal force. This component will most likely not require the wrench, as it is built to be adjusted.
-
-
-
Run the water through the showerhead to test for leaks, and tighten or loosen components as necessary.
-
Ensure the ball joint pivots easily in the socket. If it does not, loosen the nut around the ball until it can move (without adjusting the other components).
-

 Ask FixBot









Team

University of Arizona, Team 2-6, Cools Stephens Spring 2024 Member of University of Arizona, Team 2-6, Cools Stephens Spring 2024
ARIZONA-COOLS STEPHENS-S24S2G6
2 Members
12 Guides authored
