
Hamilton Beach 70740 Motor Replacement

David Gedeon and 5 other contributors
Last updated on Dec 15, 2016
Views: 878
View statistics:
- Past 24 Hours:
- 0
- Past 7 Days:
- 2
- Past 30 Days:
- 23
- All Time:
- 878
Comments: 0
No one has left comments on this guide. Will you be first?
Go to guide commentsCompleted: 2 3
2 people have marked this guide "completed." Will you be next?
3 people have marked this guide "completed." Including you — great job!
Favorites: 0 1
No one has favorited (and subscribed to) this guide. Will you be the first?
1 person has favorited (and subscribed to) this guide — and that's you!
Missing Steps
Oops! This guide is currently missing one or more important steps.
Confusing Text
Some of this guide's text is confusing, duplicated, or off-topic. Clarify it by editing!
Needs Better Images
Better photos will improve this guide. Help out by taking, editing, or uploading new ones!
Action Shots
Be an action hero! This guide needs images that better demonstrate how to perform specific actions.
Better Introduction
Improve this guide by completing or revising its introduction.
Missing Details
Some of this guide's details are missing. Help users by adding tools, difficulty, or time.
Introduction
Go to step 1 ↓This guide is used to replace the motor.
What you need
Tools
-
Spudger4.9
-
-


-
-
-
Hold the food processor upside down and remove the two screws indicated with a screwdriver. Once unscrewed, remove the two rubber suction pads.
 Ask FixBot
-
-
-
Use a spudger to remove the 4 rubber base pads located at the corners of the device.
-
-
-
Unscrew all 4 screws that are located beneath the pads with a screwdriver and remove the plastic grey base.
-
-
-
-
-
Use a regular nylon spudger to remove the plastic caps at these locations with moderate pressure.
-
-
-
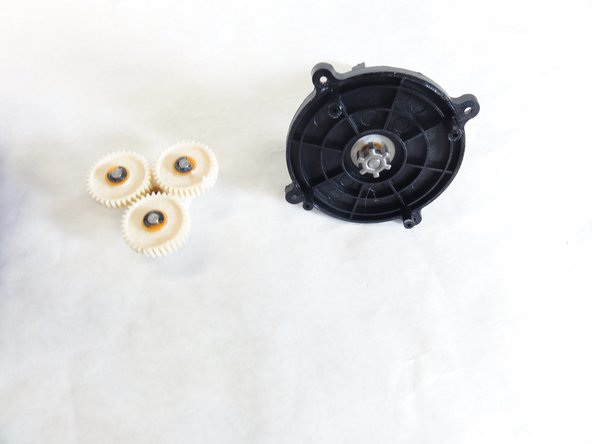
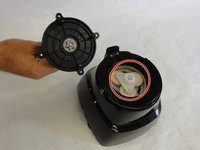
Lift and remove the plastic gears at the center of the device.
-
Remove any grease residue underneath the plastic gears.
-
-
-
-
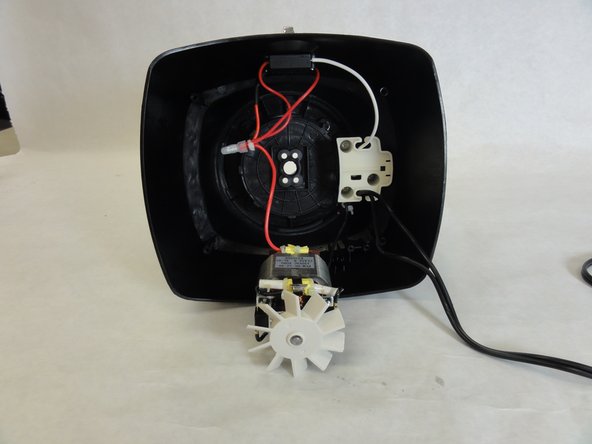
Remove the remaining screws to unhinge the motor located at the center of the device using a screw driver.
-
-
-
-
-
Remove to electrical cap to the positive terminal(black terminal), and undo the wiring.
-
-
-
Remove the electrical cap to the negative end(red wire), and undo the wiring. Once this is complete reconstruct the wiring with the new motor.
-
-



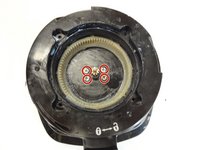
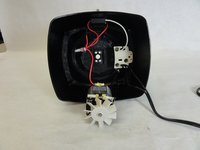


To reassemble your device, follow these instructions in reverse order.
Cancel: I did not complete this guide.
2 other people completed this guide.

Team

IUPUI, Team 1-1, Baechle Fall 2015 Member of IUPUI, Team 1-1, Baechle Fall 2015
IUPUI-BAECHLE-F15S1G1
4 Members
72 Guides authored
