Free Shipping on Domestic Orders $75+

Hamilton Beach 64650 Quick Burst Button Replacement

Views: 1.1K

View statistics:

Past 24 Hours:
2
Past 7 Days:
16
Past 30 Days:
84
All Time:
1,147
Comments: 0

No one has left comments on this guide. Will you be first?

Go to guide comments
Completed: 1

1 person has marked this guide "completed." Will you be next?

Favorites: 0

No one has favorited (and subscribed to) this guide. Will you be the first?

Time Required: 30 - 50 minutes
Difficulty: Difficult
Hamilton Beach 64650 Quick Burst Button Replacement

Introduction

Go to step 1 ↓

This page will guide you through the replacement of the quick burst button on your Hamilton Beach Classic Stand Mixer 64650. This guide is helpful if you are experiencing any problems with using the quick burst button on your device. It is possible that either the button assembly is broken or the spring keeping the button in place is broken, so you'll have to open it to check it out!

What you need

Tools

    1. Hamilton Beach 64650 Quick Burst Button Replacement, Motor: step 1, image 1 of 3 Hamilton Beach 64650 Quick Burst Button Replacement, Motor: step 1, image 2 of 3 Hamilton Beach 64650 Quick Burst Button Replacement, Motor: step 1, image 3 of 3
      • Flip the handle on its side. Remove five 3.8 mm Philips #2 screws shown and set aside them aside.

      Ask FixBot

      Add Comment

    2. Hamilton Beach 64650 Quick Burst Button Replacement: step 2, image 1 of 3 Hamilton Beach 64650 Quick Burst Button Replacement: step 2, image 2 of 3 Hamilton Beach 64650 Quick Burst Button Replacement: step 2, image 3 of 3
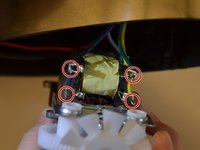
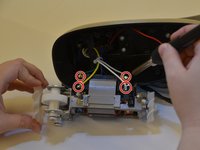
      • Remove the four 8.6 mm Philips #2 screws securing the motor mount and place them aside.

      Ask FixBot

      Add Comment

    3. Hamilton Beach 64650 Quick Burst Button Replacement: step 3, image 1 of 3 Hamilton Beach 64650 Quick Burst Button Replacement: step 3, image 2 of 3 Hamilton Beach 64650 Quick Burst Button Replacement: step 3, image 3 of 3
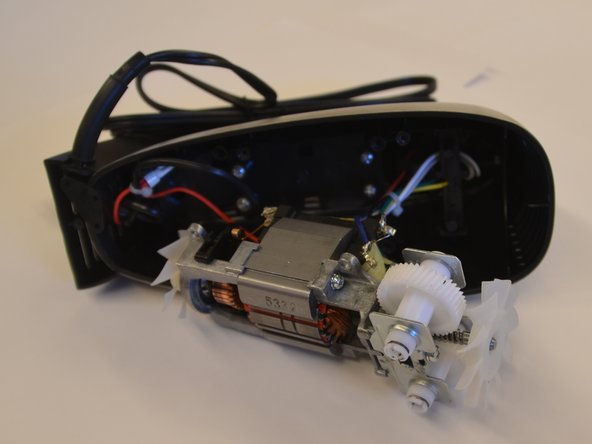
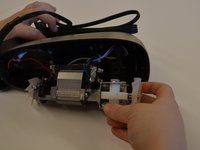
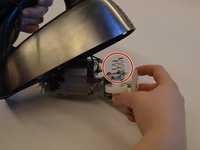
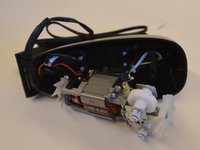
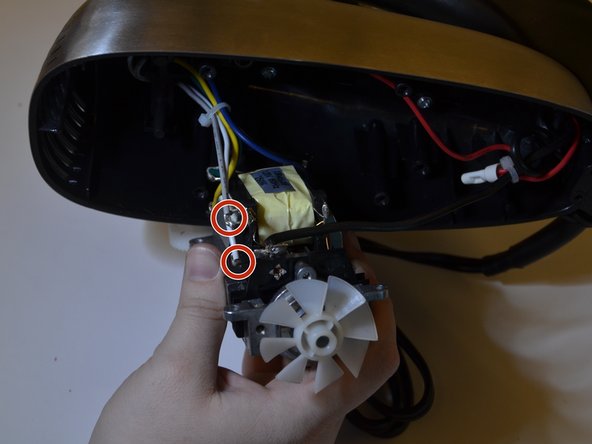
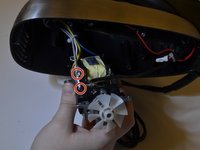
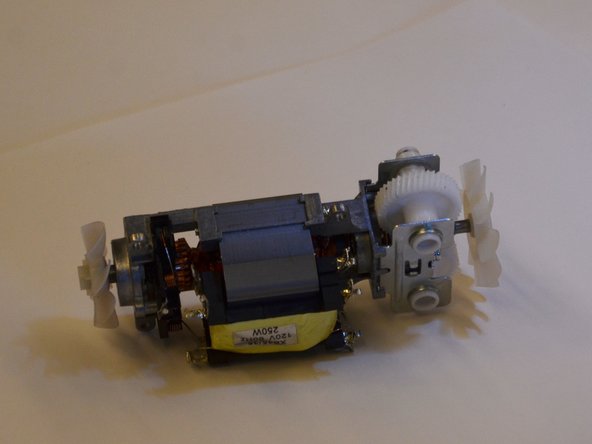
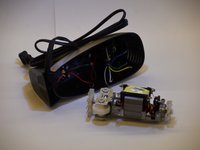
      • Carefully pull the motor block out of the case.

      • Collect the two spring located on top of the white beater gears. The springs are held in place with compression, and may fall into the case when the motor is moved.

      • Handle the wires with care to ensure you do not break any of them.

      Ask FixBot

      Add Comment

    4. Hamilton Beach 64650 Quick Burst Button Replacement: step 4, image 1 of 3 Hamilton Beach 64650 Quick Burst Button Replacement: step 4, image 2 of 3 Hamilton Beach 64650 Quick Burst Button Replacement: step 4, image 3 of 3
      • Desolder the six wires connected to the motor using this guide.

      • Make sure to note colors when you disconnect them and remember where to reconnect them later.

      Ask FixBot

      Add Comment

    5. Hamilton Beach 64650 Quick Burst Button Replacement: step 5, image 1 of 2 Hamilton Beach 64650 Quick Burst Button Replacement: step 5, image 2 of 2
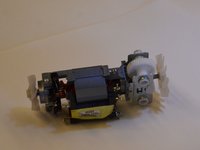
      • Once disconnected, the motor will slide out easily.

      Ask FixBot

      Add Comment

    1. Hamilton Beach 64650 Quick Burst Button Replacement, Quick Burst Button: step 6, image 1 of 3 Hamilton Beach 64650 Quick Burst Button Replacement, Quick Burst Button: step 6, image 2 of 3 Hamilton Beach 64650 Quick Burst Button Replacement, Quick Burst Button: step 6, image 3 of 3
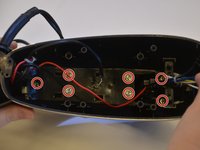
      • Remove the seven 1.3 mm Philips #2 screws that attach the motor casing to the mixer handle and set them aside.

      Ask FixBot

      Add Comment

    2. Hamilton Beach 64650 Quick Burst Button Replacement: step 7, image 1 of 3 Hamilton Beach 64650 Quick Burst Button Replacement: step 7, image 2 of 3 Hamilton Beach 64650 Quick Burst Button Replacement: step 7, image 3 of 3
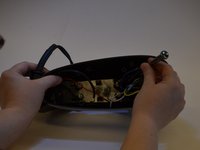
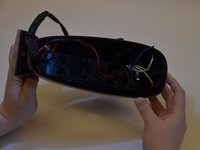
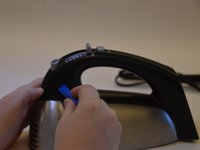
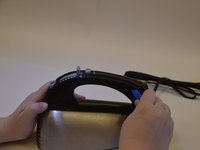
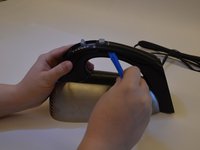
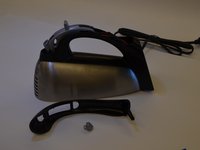
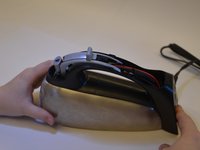
      • Use a plastic opening tool to take off the handle's cap by loosening both ends and then sliding the tool to the middle of the handle.

      Ask FixBot

      Add Comment

    3. Hamilton Beach 64650 Quick Burst Button Replacement: step 8, image 1 of 2 Hamilton Beach 64650 Quick Burst Button Replacement: step 8, image 2 of 2
      • Lift the handle cap upward once it is loose.

      • Be careful when you remove the handle cap as the quick burst button likes to fly away.

      • Replace the button assembly as needed.

      Ask FixBot

      Add Comment

Conclusion

To reassemble your device, follow these instructions in reverse order.

Cancel: I did not complete this guide.

One other person completed this guide.

Gwen Davis

Member since: 03/24/16

519 Reputation

5 Guides authored

Team

0 Guide Comments

Add Comment

View Statistics:

Past 24 Hours: 2

Past 7 Days: 16

Past 30 Days: 84

All Time: 1,147