
Hamilton Beach 64650 Motor Replacement

Gwen Davis and 3 other contributors
Last updated on May 19, 2016
Views: 3.1K
View statistics:
- Past 24 Hours:
- 1
- Past 7 Days:
- 15
- Past 30 Days:
- 84
- All Time:
- 3,051
Comments: 0
No one has left comments on this guide. Will you be first?
Go to guide commentsCompleted: 0 1
No one has marked this guide "completed." Will you be the first?
1 person has marked this guide "completed." It's you — great job!
Favorites: 0 1
No one has favorited (and subscribed to) this guide. Will you be the first?
1 person has favorited (and subscribed to) this guide — and that's you!
Introduction
Go to step 1 ↓This page will guide you through the replacement of the motor block in your Hamilton Beach Classic Stand Mixer 64650. You may also find this guide useful to access many other parts in your mixer that you may be experiencing problems with. Although this guide will require the use of a soldering iron, there is a link provided to walk through the process step-by-step.
What you need
Tools


-
-
-
Flip the handle on its side. Remove five 3.8 mm Philips #2 screws shown and set aside them aside.
 Ask FixBot
-
-
-
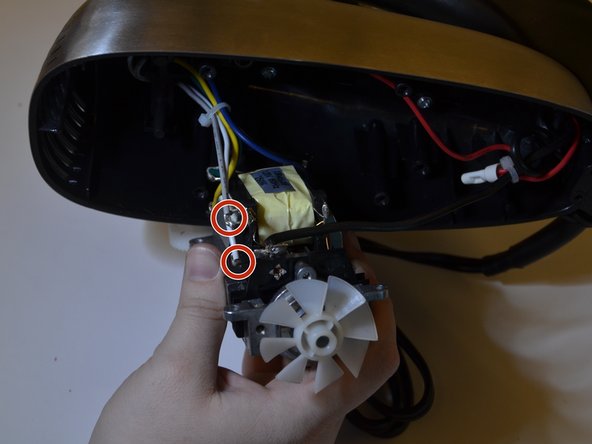
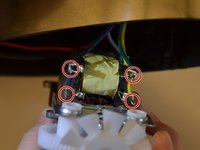
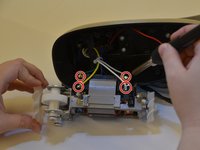
Remove the four 8.6 mm Philips #2 screws securing the motor mount and place them aside.
-
-
-
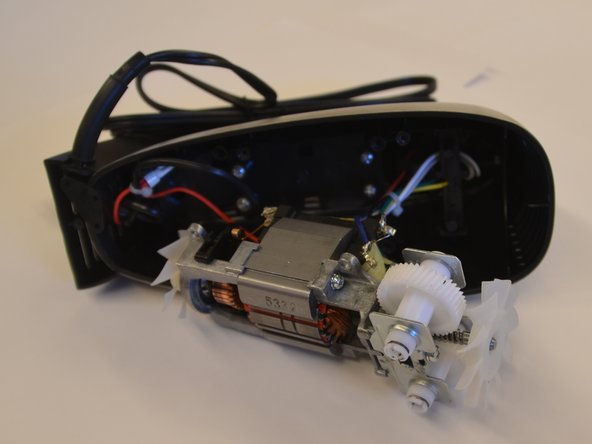
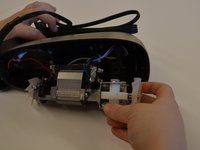
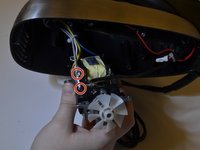
Carefully pull the motor block out of the case.
-
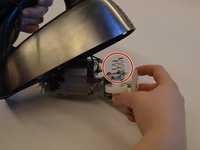
Collect the two spring located on top of the white beater gears. The springs are held in place with compression, and may fall into the case when the motor is moved.
-
-
-


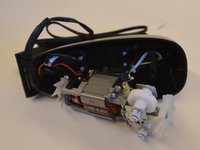



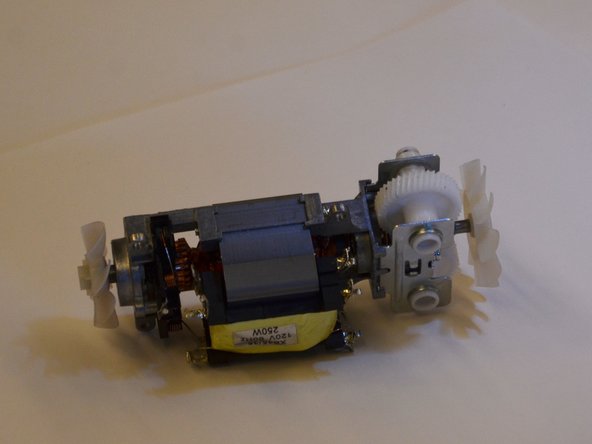
To reassemble your device, follow these instructions in reverse order.

Team

UMass Dartmouth, Team 7-3, Catania Spring 2016 Member of UMass Dartmouth, Team 7-3, Catania Spring 2016
UMASSD-CATANIA-S16S7G3
3 Members
60 Guides authored
