Free Shipping on Domestic Orders $75+

Hamilton Beach 51101BA Motor Replacement

Views: 9.2K

View statistics:

Past 24 Hours:
4
Past 7 Days:
29
Past 30 Days:
149
All Time:
9,183
Comments: 3

1 comment on steps, 2 guide comments.

Go to guide comments
Completed: 1

1 person has marked this guide "completed." Will you be next?

Favorites: 2

2 people have favorited (and subscribed to) this guide. Will you be next?

Time Required: 10 minutes
Difficulty: Difficult
Hamilton Beach 51101BA Motor Replacement

Introduction

Go to step 1 ↓

After using this guide you will have learned how to replace the motor to your blender. You will need to use basic tools and soldering to complete this guide.

What you need

Tools

    1. Hamilton Beach 51101BA Motor Replacement, Rotor: step 1, image 1 of 3 Hamilton Beach 51101BA Motor Replacement, Rotor: step 1, image 2 of 3 Hamilton Beach 51101BA Motor Replacement, Rotor: step 1, image 3 of 3
      • Remove the container from the blender.

      • Hold the blender and the container, then twist the container in a clockwise motion.

      • Make sure to follow the lock and unlock markings on the container.

      Ask FixBot

      Add Comment

    2. Hamilton Beach 51101BA Motor Replacement: step 2, image 1 of 1
      • Turn the blender so the bottom is facing you.

      • Using a Phillips #2 screwdriver, remove the two 5 mm Phillips screws from the base.

      Ask FixBot

      Add Comment

    3. Hamilton Beach 51101BA Motor Replacement: step 3, image 1 of 1
      • Using a Phillips #2 screwdriver, remove the two 5 mm Phillips screws from the motor platform.

      Ask FixBot

      Add Comment

    4. Hamilton Beach 51101BA Motor Replacement: step 4, image 1 of 1
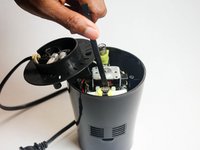
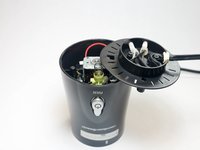
      • Unhinge the plastic motor platform from the blender.

      • You may need a plastic spudger to unhinge the motor platform from the blender.

      Ask FixBot

      Add Comment

    5. Hamilton Beach 51101BA Motor Replacement: step 5, image 1 of 2 Hamilton Beach 51101BA Motor Replacement: step 5, image 2 of 2
      • Using a spudger, carefully insert the tip into the coil of wire around motor.

      • This is used to hold the rotating piece of the motor still.

      Ask FixBot

      Add Comment

    6. Hamilton Beach 51101BA Motor Replacement: step 6, image 1 of 1
      • Remove the white rotor piece by rotating it counter-clockwise.

      • While rotating, make sure the rotating piece of the motor remains still.

      Ask FixBot

      Add Comment

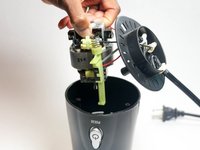
    1. Hamilton Beach 51101BA Motor Replacement, Motor: step 7, image 1 of 2 Hamilton Beach 51101BA Motor Replacement, Motor: step 7, image 2 of 2
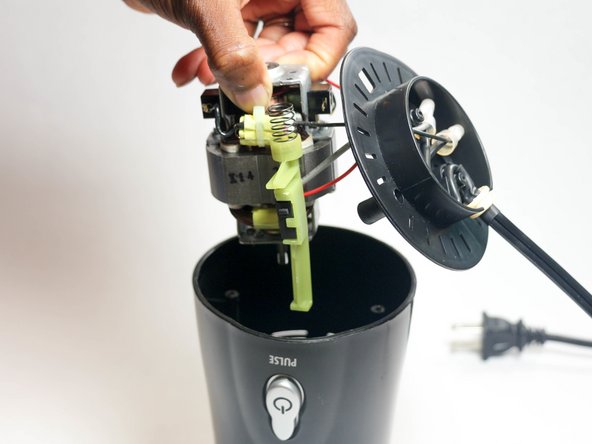
      • Move the motor platform to the side.

      • Lift up the motor and remove it from the blender.

      Ask FixBot

      Add Comment

    2. Hamilton Beach 51101BA Motor Replacement: step 8, image 1 of 1
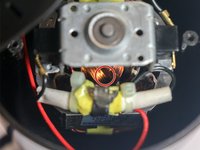
      • Some soldering experience required!

      • Desolder the red wire from the green plastic piece.

      Ask FixBot

      Add Comment

    3. Hamilton Beach 51101BA Motor Replacement: step 9, image 1 of 1
      • Cut the thin black wire from the wire cap.

      Ask FixBot

      Add Comment

Conclusion

To reassemble your device, follow these instructions in reverse order.

Cancel: I did not complete this guide.

One other person completed this guide.

Andrew Huff

Member since: 09/04/15

616 Reputation

3 Guides authored

Team

USF Tampa, Team 2-5, Sullivan Fall 2015 Member of USF Tampa, Team 2-5, Sullivan Fall 2015

USFT-SULLIVAN-F15S2G5

4 Members

60 Guides authored

2 Guide Comments

This article appears to be unfinished. You cut 2 wires at the end... then what? Reconnecting them doesn't make any sense.

Geo Jack Jack - Reply Share

Que tipo de motor tengo que comprar?

hugoalex521 - Reply Share

Add Comment

View Statistics:

Past 24 Hours: 4

Past 7 Days: 29

Past 30 Days: 149

All Time: 9,183