
Hamilton Beach 43253R Disassembly

Sean Beaver and 2 other contributors
Last updated on Dec 28, 2023
Views: 2K
View statistics:
- Past 24 Hours:
- 4
- Past 7 Days:
- 18
- Past 30 Days:
- 81
- All Time:
- 2,015
Comments: 0
No one has left comments on this guide. Will you be first?
Go to guide commentsCompleted: 1 2
1 person has marked this guide "completed." Will you be next?
2 people have marked this guide "completed." Including you — great job!
Favorites: 1 2
1 person has favorited (and subscribed to) this guide. Will you be next?
2 people have favorited (and subscribed to) this guide — including you!
Introduction
Go to step 1 ↓Is your coffee maker sputtering out like an old train? Is your coffee lukewarm after too many minutes? Start here, with this disassembly guide to learn the inner workings of your good for nothing (but soon to be better coffee maker)!
This disassembly will help expose parts that can allow you to repair clogs and the machine’s heating element. We will highlight how the spout and heating work. However, if you’re here to fix issues with the top circuit board, buttons, and display, just know that to access the parts, you will damage the exterior. The manufacturer designed this machine so that it is unable to be accessed without damaging the body!
This guide is of medium difficulty and can be accomplished by most experience levels. Make sure the device is unplugged from the wall and has not been in use for several hours before disassembling in order to ensure there are no hazards to your body and face.
What you need


-
-
-
Flip the coffee maker upside down and use the Spanner-8 bit, found in the Mako Driver Kit to remove the four 13 mm security screws.
-
Once the bottom is loose, take it off, and put it to the side with the security screw.
 Ask FixBot
-
-
-
Pull the three-pin JST connector connected to the white and red wires out of the circuit board.
-
-
-
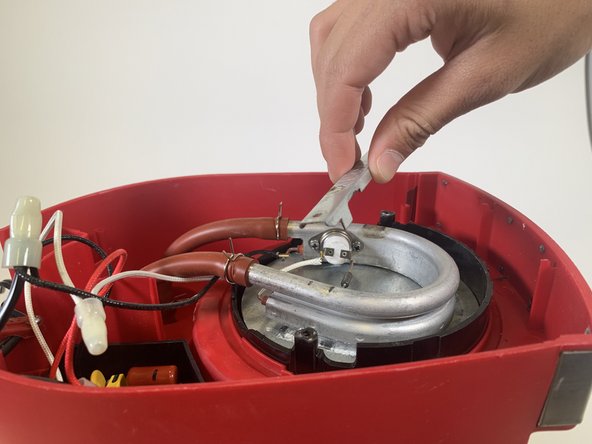
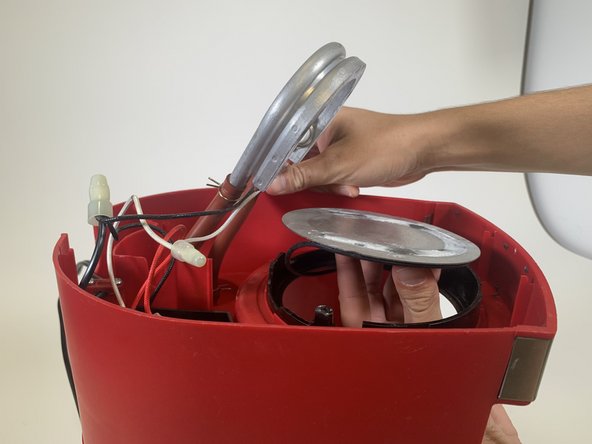
Unscrew the two 12 mm screws from the bar that holds the heating element in place using the Phillips #1 screwdriver.
-
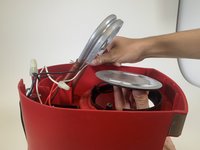
Use your other hand to push the heating plate out of its place.
-
-
-
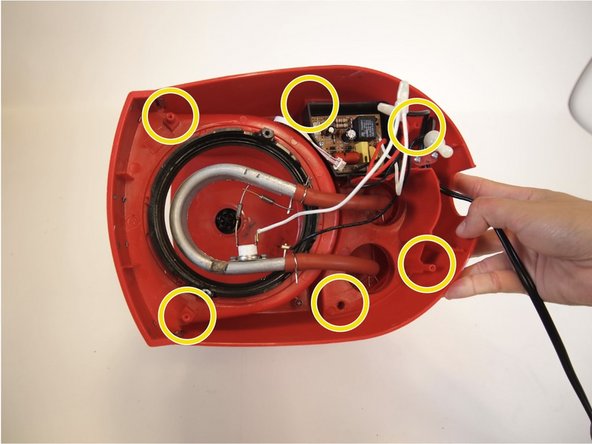
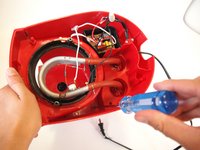
Remove the ten 13 mm Phillips #2 screws that connect the base of the machine to the upper segment.
-
-
-
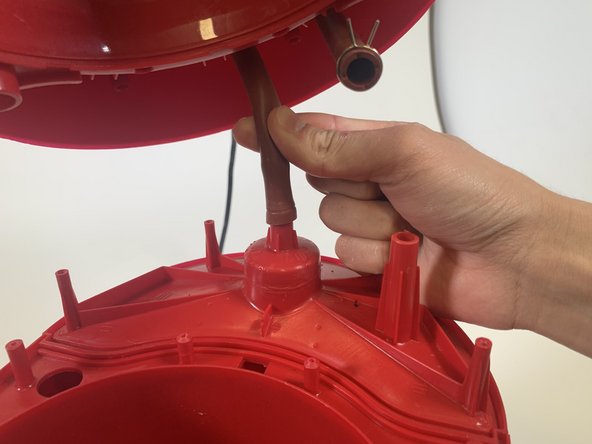
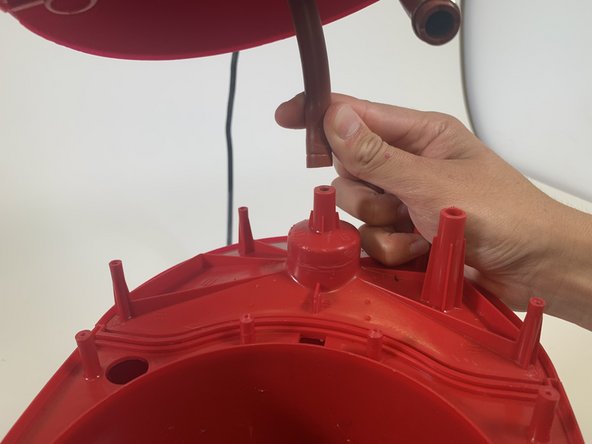
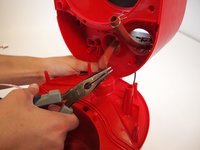
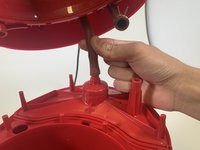
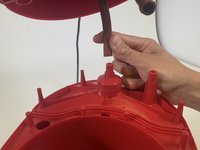
Separate the two halves. Use large needle-nose pliers to untwist the wires that secure the heating tubes. Then use a moderate amount of force to pluck the tubes off the spokes.
-
-
-
Once the two parts are fully separated, take the top element of the machine, and flip it right side up.
-
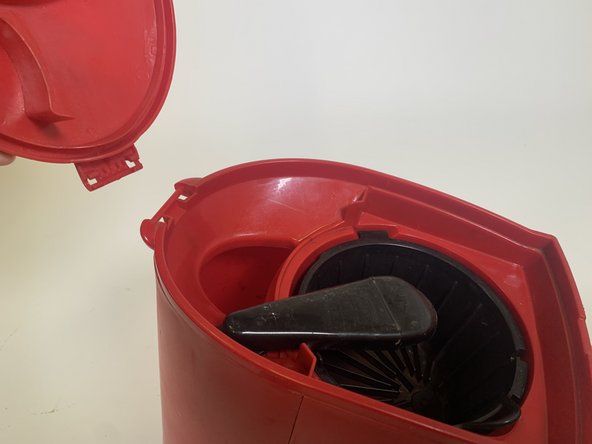
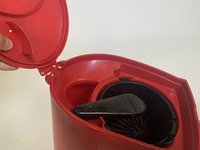
Remove the coffee maker’s lid by rotating it 180 degrees and gently popping it off of the hinge.
-
-
-
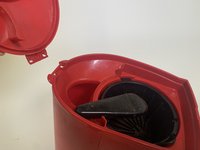
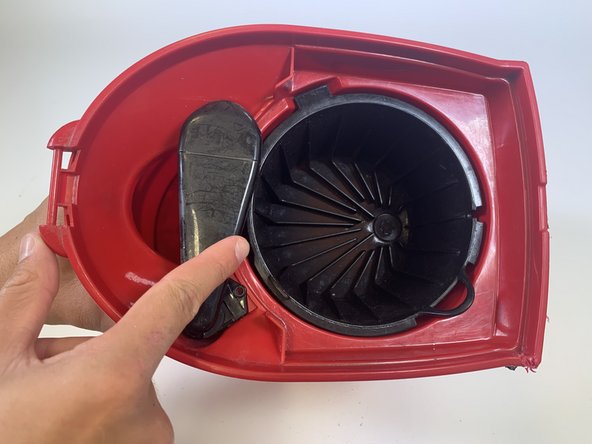
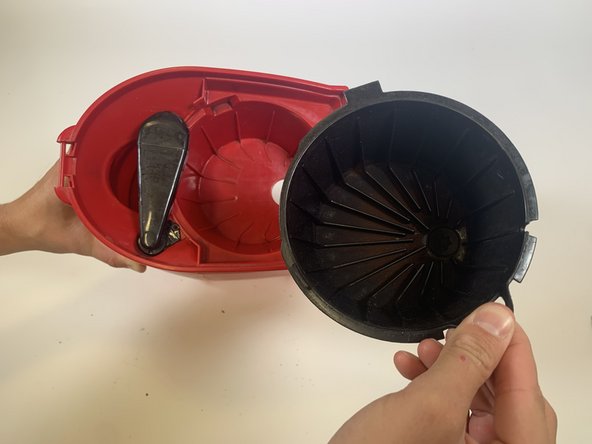
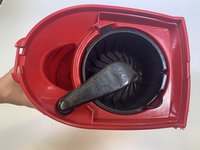
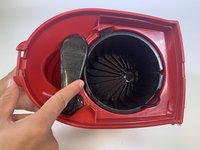
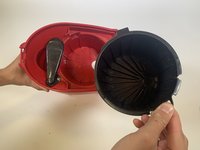
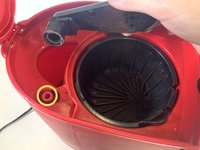
Rotate the spout to the back of the machine and take the coffee ground cup out.
-
-
-
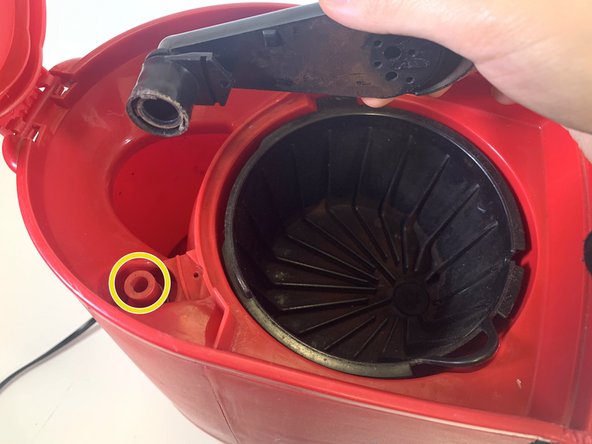
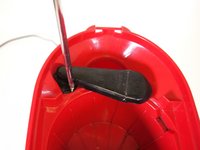
Remove the 8 mm Phillips #1 screw that connects the spout to the machine.
-
This will allow access to the hot water tube.
-
-
-
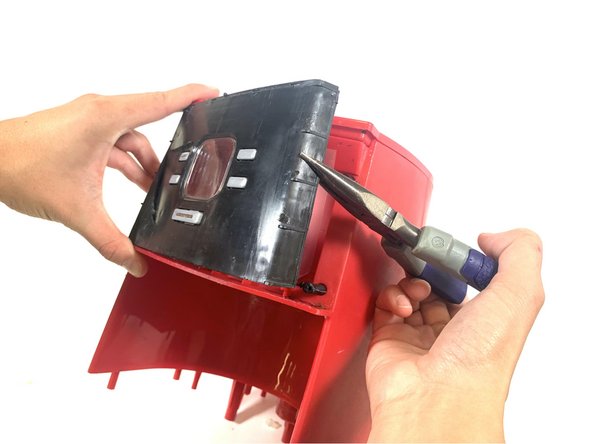
Use the ifixit opening too, or any wedge to ply the metal cover off. As you do so, four metal tabs will pop out. These tabs won’t go back in cleanly, and the cover will bend as you pull it off.
-
-
-
-
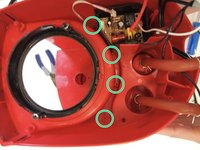
Once the plastic covering comes off, remove the four 9mm screws that attach the circuit board to the cover using the Phillips #0 screwdriver.
-
-
-
This is the front of the circuit board. The switches the buttons control are circled.
-
-












To reassemble your device, follow these instructions in reverse order.
Cancel: I did not complete this guide.
One other person completed this guide.

Team

Tufts University School of Engineering, Team 1-10, Bell Fall 2023 Member of Tufts University School of Engineering, Team 1-10, Bell Fall 2023
TUFTS-BELL-F23S1G10
2 Members
12 Guides authored
