Introduction
When your Haiboxing 18859 isn't responding to inputs from the remote properly, it's likely that the remote's receiver is broken. In order to replace the receiver of the remote, the motherboard inside of the remote will need to be replaced. This is due to the fact that the receiver is directly incorporated in the motherboard. It is also important to note that in order to remove the motherboard, it must be desoldered.
What you need
-
-
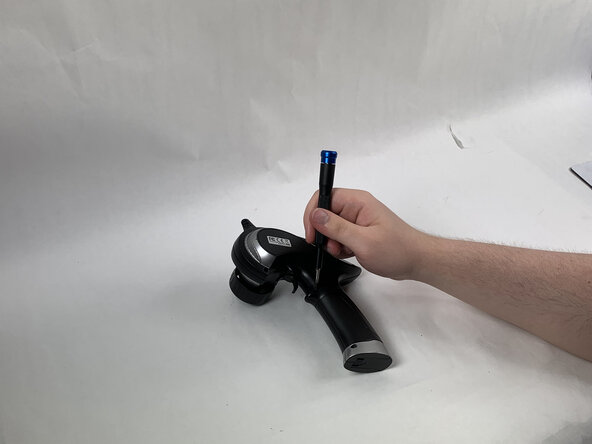
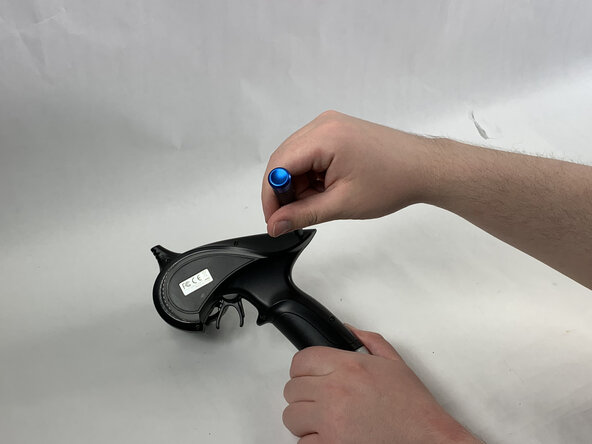
Remove all of five 8 mm Phillips #0 screws holding the back of the plastic shell of the remote in place.
 Ask FixBot
-
-
-
-
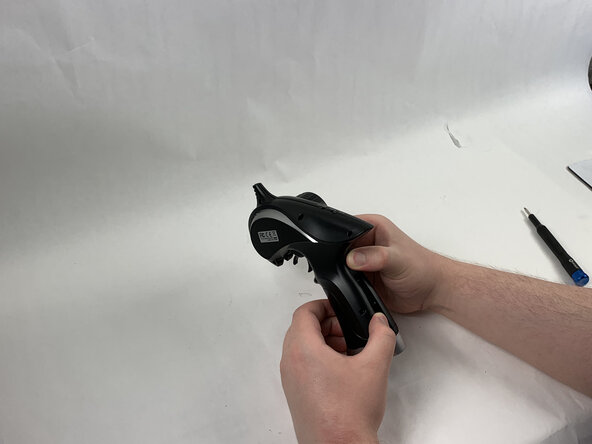
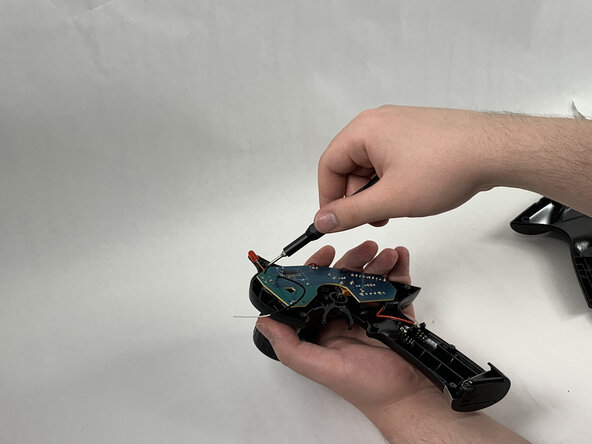
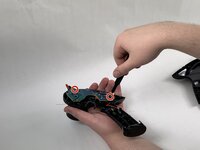
Remove the two 6 mm Phillips #00 screws holding the motherboard in place.
-
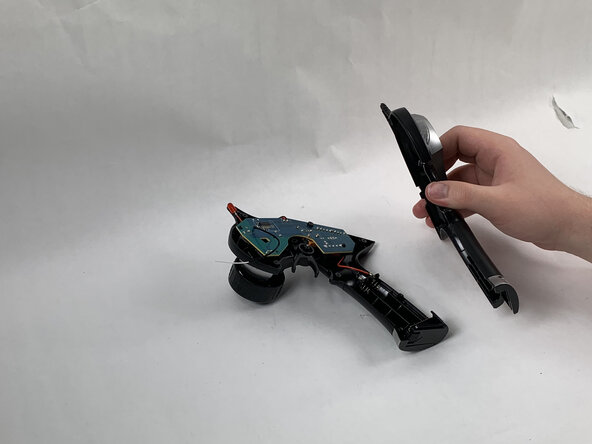
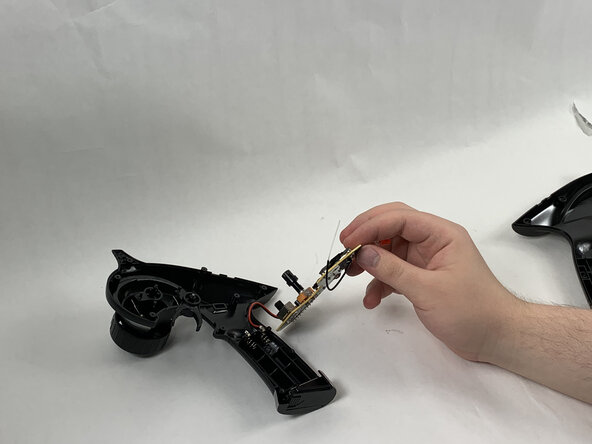
Remove the motherboard by desoldering it.
-


To reassemble your device, follow these instructions in reverse order.
Team

UMass Dartmouth, Team 6-3, Botvin Spring 2025 Member of UMass Dartmouth, Team 6-3, Botvin Spring 2025
UMASSD-BOTVIN-S25S6G3
3 Members
5 Guides authored