
Haiboxing 18859 Battery Replacement

NMiedema and 2 other contributors
Last updated on Jun 19, 2025
Views: 790
View statistics:
- Past 24 Hours:
- 2
- Past 7 Days:
- 25
- Past 30 Days:
- 109
- All Time:
- 790
Comments: 0
No one has left comments on this guide. Will you be first?
Go to guide commentsCompleted: 1 2
1 person has marked this guide "completed." Will you be next?
2 people have marked this guide "completed." Including you — great job!
Favorites: 0 1
No one has favorited (and subscribed to) this guide. Will you be the first?
1 person has favorited (and subscribed to) this guide — and that's you!
Featured Student Guide
This guide has been the hard work of our awesome students and is found to be exceptionally cool by the iFixit staff.
Introduction
Go to step 1 ↓Use this guide if your RC car is not holding a charge and you need to replace the battery. No tools are needed for this guide.
-
-
-
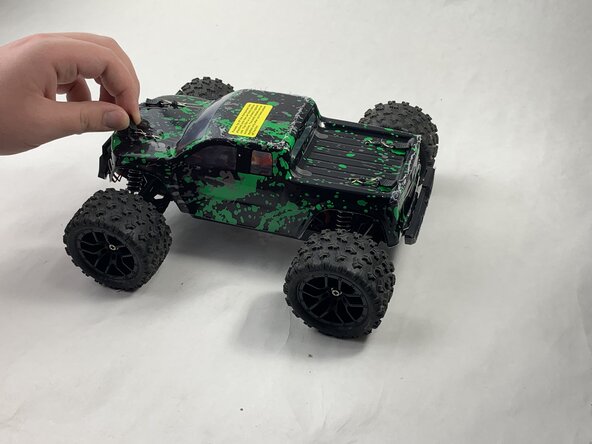
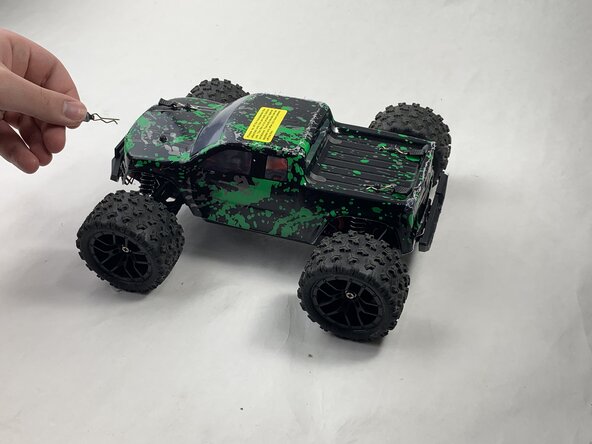
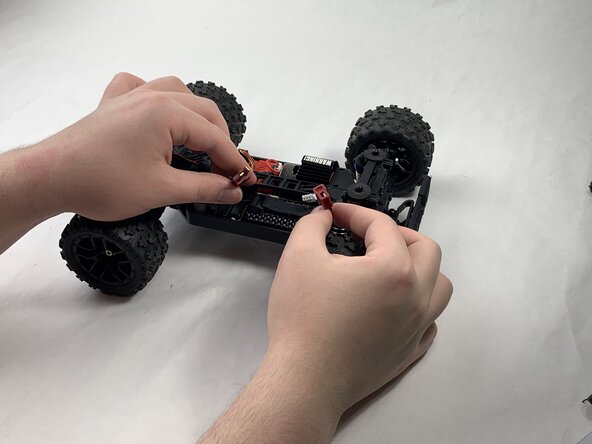
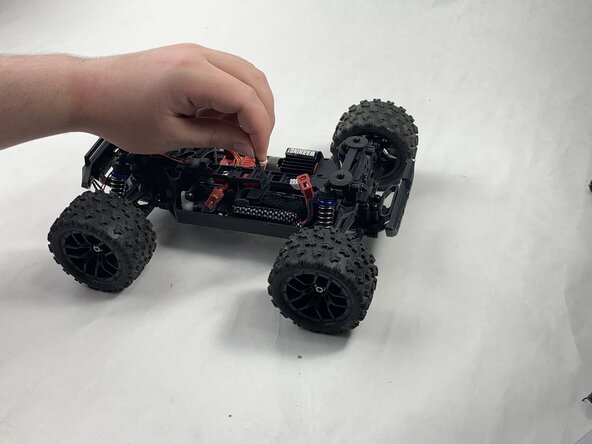
Remove the 4 clips holding down the hard plastic shell of the RC car. Do this by pinching them with your thumb and index finger and pulling away.
 Ask FixBot
-
-
-
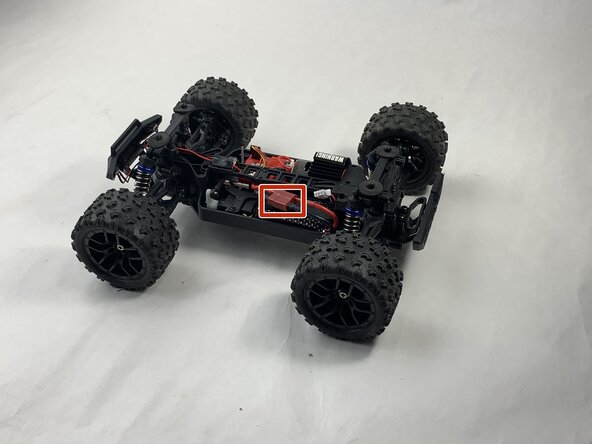
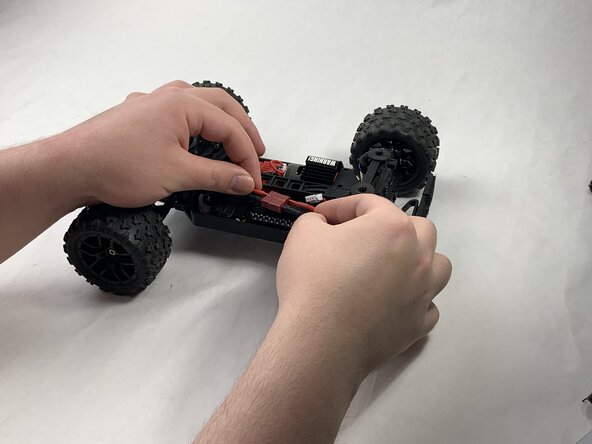
Disconnect the Lego-style battery connector by gripping either side and pulling them away from each other, slowly and consistently.
-
-
-





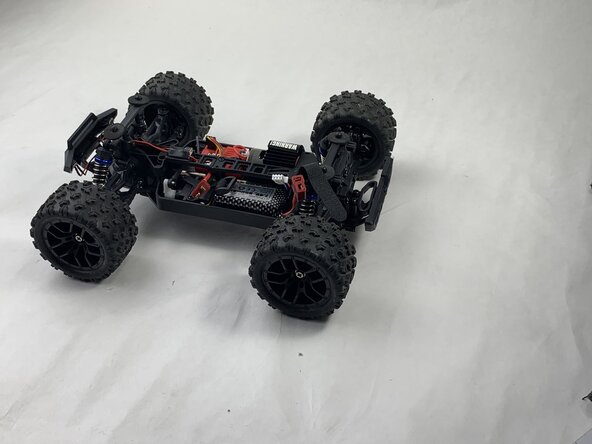


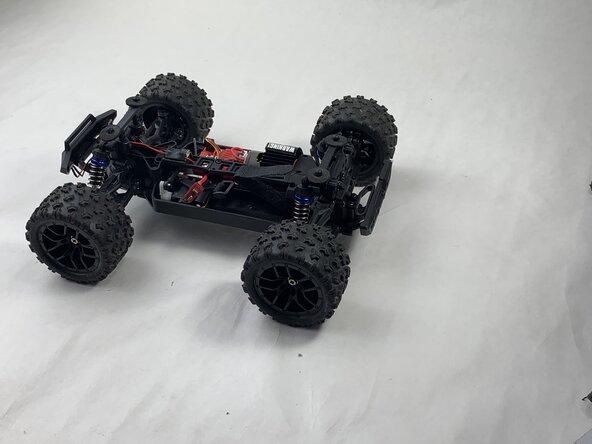
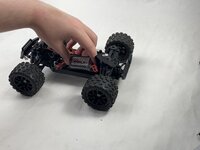

To reassemble your device, follow the above steps in reverse order.
For optimal performance, after completing this guide, calibrate your newly installed battery.
Take your e-waste to an R2 or e-Stewards certified recycler.
Repair didn’t go as planned? Try some basic troubleshooting or ask our Answers community for help.
Cancel: I did not complete this guide.
One other person completed this guide.

Team

UMass Dartmouth, Team 6-3, Botvin Spring 2025 Member of UMass Dartmouth, Team 6-3, Botvin Spring 2025
UMASSD-BOTVIN-S25S6G3
3 Members
60 Guides authored
