Free Shipping on Domestic Orders $75+

HTC Windows Phone 8S Logic Board Replacement

What you need

Video Overview

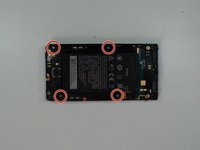
  1. HTC Windows Phone 8S Logic Board Replacement, Loudspeaker: step 1, image 1 of 3 HTC Windows Phone 8S Logic Board Replacement, Loudspeaker: step 1, image 2 of 3 HTC Windows Phone 8S Logic Board Replacement, Loudspeaker: step 1, image 3 of 3
    • Switch off the phone.

    • Remove the SIM / memory card cover.

    • Remove any SIM and memory cards.

    • Use screwdriver torx T5 and unscrew the two screws at the bottom of the battery / back cover.

    Ask FixBot

    Add Comment

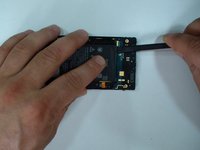
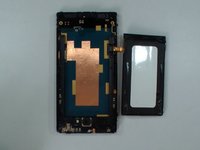
  2. HTC Windows Phone 8S Logic Board Replacement: step 2, image 1 of 3 HTC Windows Phone 8S Logic Board Replacement: step 2, image 2 of 3 HTC Windows Phone 8S Logic Board Replacement: step 2, image 3 of 3
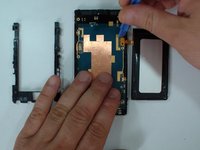
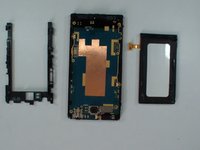
    • Use a plastic tool and slowly separate the back cover.

    • The loudspeaker is inside on the back cover.

    Ask FixBot

    Add Comment

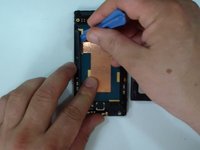
  3. HTC Windows Phone 8S Logic Board Replacement, Battery: step 3, image 1 of 3 HTC Windows Phone 8S Logic Board Replacement, Battery: step 3, image 2 of 3 HTC Windows Phone 8S Logic Board Replacement, Battery: step 3, image 3 of 3
    • Use a Phillips #0 screwdriver and remove the 4x silver screws.

    • With a plastic tool carefully separate the battery from the logic board.

    Ask FixBot

    Add Comment

  4. HTC Windows Phone 8S Logic Board Replacement: step 4, image 1 of 3 HTC Windows Phone 8S Logic Board Replacement: step 4, image 2 of 3 HTC Windows Phone 8S Logic Board Replacement: step 4, image 3 of 3
    • The battery connector is under the middle frame. Remove it and disconnect the battery.

    • Model: BM59100 / 3,8VDC / 1700mAh

    Ask FixBot

    Add Comment

  5. HTC Windows Phone 8S Logic Board Replacement, Flex Cables: step 5, image 1 of 3 HTC Windows Phone 8S Logic Board Replacement, Flex Cables: step 5, image 2 of 3 HTC Windows Phone 8S Logic Board Replacement, Flex Cables: step 5, image 3 of 3
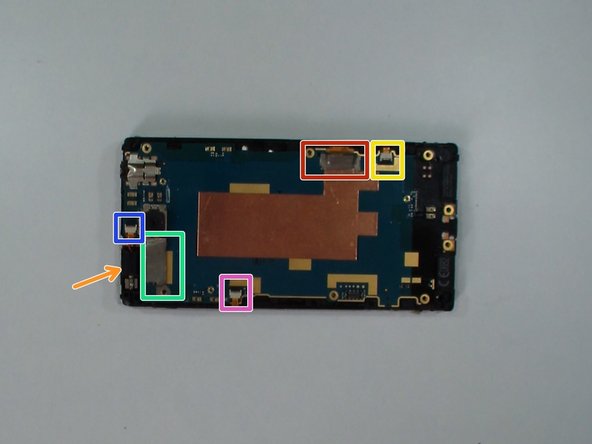
    • Remove the USB dock connector metal plate.

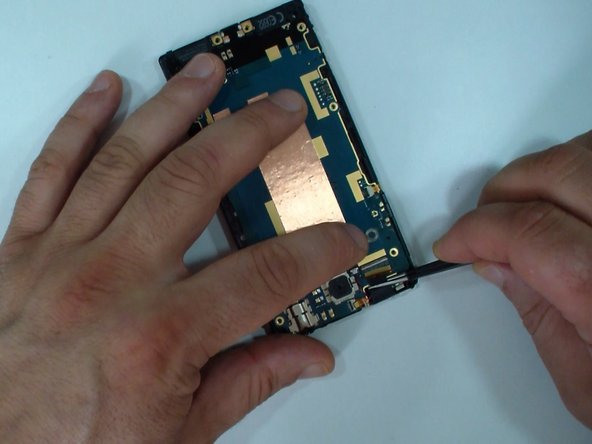
    • Open flex cable connectors:

    • LCD display flex cable

    • Menu buttons flex cable

    • Volume buttons flex cable

    • Touch screen flex cable

    • Power button flex cable

    • Pick up the vibrating motor and take out all flex cables except the LCD display flex cable.

    Ask FixBot

    Add Comment

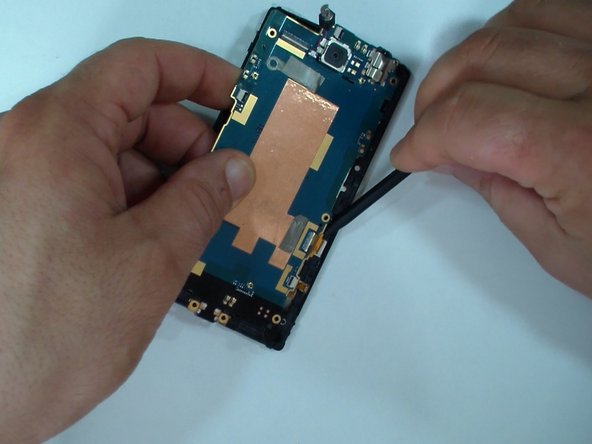
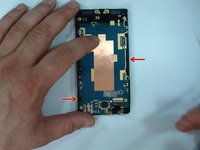
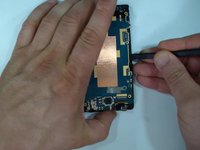
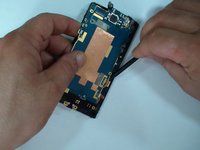
  6. HTC Windows Phone 8S Logic Board Replacement, Logic Board Removal: step 6, image 1 of 3 HTC Windows Phone 8S Logic Board Replacement, Logic Board Removal: step 6, image 2 of 3 HTC Windows Phone 8S Logic Board Replacement, Logic Board Removal: step 6, image 3 of 3
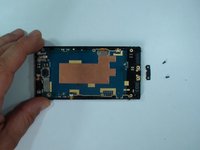
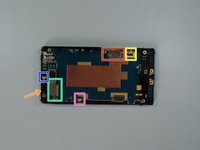
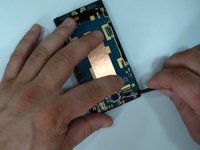
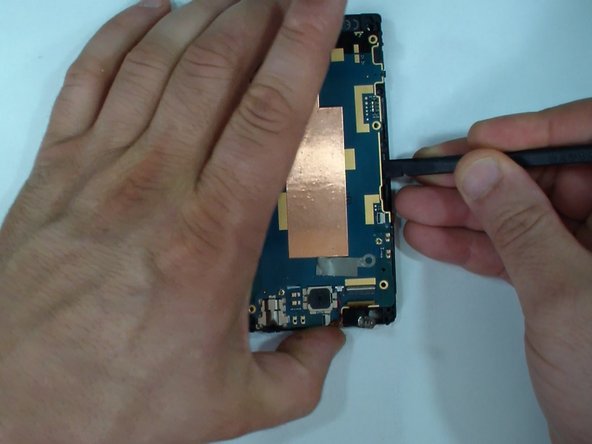
    • The logic board is secured to the display frame by two locking clips.

    • Use a plastic tool to release it.

    • Now remove the LCD display flex cable from its connector.

    Ask FixBot

    Add Comment

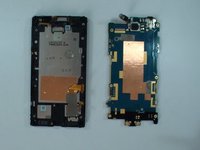
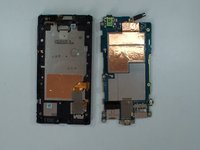
  7. HTC Windows Phone 8S Logic Board Replacement, Logic Board / Main Board: step 7, image 1 of 2 HTC Windows Phone 8S Logic Board Replacement, Logic Board / Main Board: step 7, image 2 of 2
    • HTC Windows Phone 8S Logic Board.

    Ask FixBot

    Add Comment

Conclusion

To reassemble your device, follow these instructions in reverse order.

Cancel: I did not complete this guide.

One other person completed this guide.

ZFix

Member since: 12/09/13

197,270 Reputation

330 Guides authored

Team

Master Techs Member of Master Techs

Community

333 Members

1,522 Guides authored

0 Guide Comments

Add Comment

View Statistics:

Past 24 Hours: 0

Past 7 Days: 7

Past 30 Days: 38

All Time: 1,309