
HTC Warhawk Screen Replacement

Meuwissenm and 9 other contributors
Last updated on Jan 14, 2026
Views: 1.8K
View statistics:
- Past 24 Hours:
- 3
- Past 7 Days:
- 14
- Past 30 Days:
- 50
- All Time:
- 1,781
Comments: 0
No one has left comments on this guide. Will you be first?
Go to guide commentsCompleted: 0 1
No one has marked this guide "completed." Will you be the first?
1 person has marked this guide "completed." It's you — great job!
Favorites: 2 3
2 people have favorited (and subscribed to) this guide. Will you be next?
3 people have favorited (and subscribed to) this guide — including you!
Mismatched Prerequisites
This guide does not have a proper prerequisite guide. Help match it to its ideal partner by finding it or writing one!
Incorrect Tools
Help make this guide better by using the correct tools in images and/or text.
Needs Better Images
Better photos will improve this guide. Help out by taking, editing, or uploading new ones!
What you need
Tools
-
Spudger4.9


-
-
-
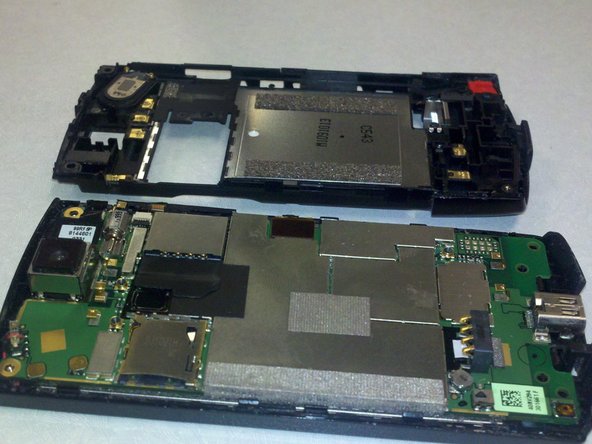
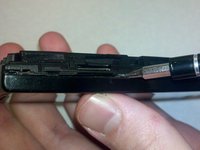
Take the SL#2.5 screwdriver and pry off the back cover
-
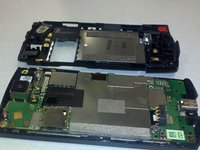
The phone should now look like the second picture
-
-
-
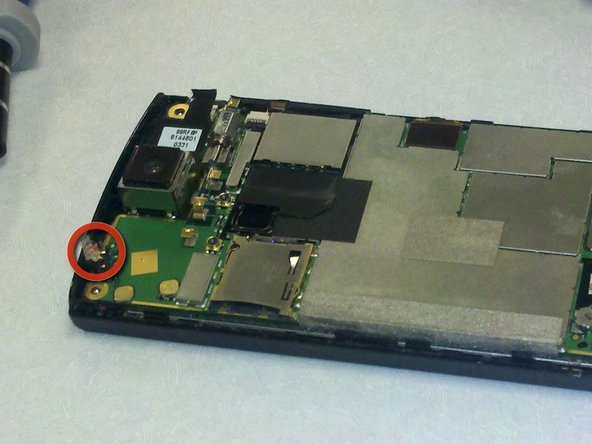
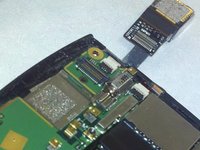
Next lift up the camera lens from the board.
-
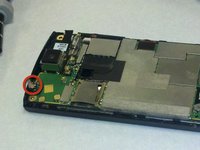
Then pry off the circuit circled in red on the second picture
-
-
-
Take the SL#2.5 screwdriver and pry off the volume buttons on the side of the phone
-
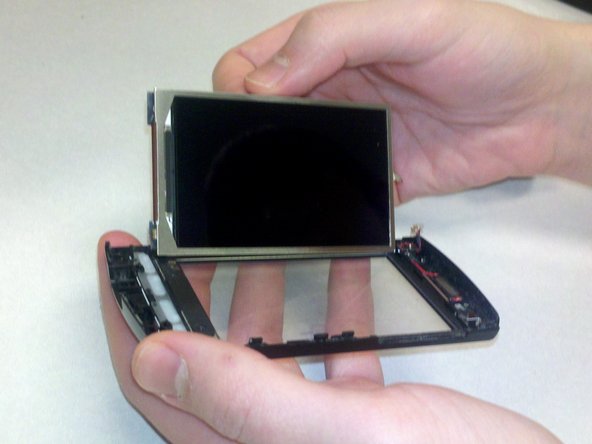
The circuit board should now be detached from the LCD part of the phone
-
-
-
-
Next take the SL#2.5 screwdriver and pry the grey fabric sticker off on the LCD side of the phone
-
-
-
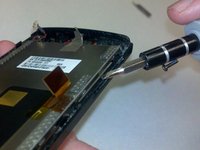
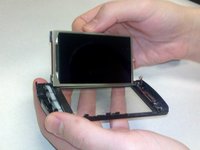
Next take the SL#2.5 screwdriver and pry the screen from the front plastic cover
-
The screen should come out with ease and be completely detached from the rest of the cover.
-

 Ask FixBot





To reassemble your device, follow these instructions in reverse order.

Team

UW Stout, Team 5-3, Zhou Fall 2011 Member of UW Stout, Team 5-3, Zhou Fall 2011
UWSTOUT-ZHOU-F11S5G3
4 Members
36 Guides authored
