Free Shipping on Domestic Orders $75+

HTC Vive Pro 2 Outer Shell Replacement

Views: 447

View statistics:

Past 24 Hours:
3
Past 7 Days:
10
Past 30 Days:
71
All Time:
447
Comments: 0

No one has left comments on this guide. Will you be first?

Go to guide comments
Completed: 0

No one has marked this guide "completed." Will you be the first?

Favorites: 0

No one has favorited (and subscribed to) this guide. Will you be the first?

Time Required: 1 - 2 hours
Difficulty: Moderate
HTC Vive Pro 2 Outer Shell Replacement

Introduction

Go to step 1 ↓

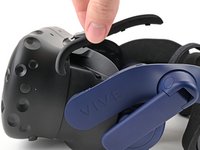
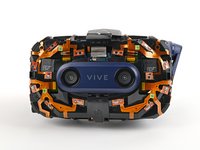
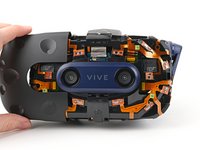
Use this guide to replace the outer shell on your HTC Vive Pro 2 headset.

Some photos in this guide are from a different model and may contain slight visual discrepancies, but they won't affect the procedure.

Power off and unplug your headset before you begin your repair.

What you need

Parts

Tools

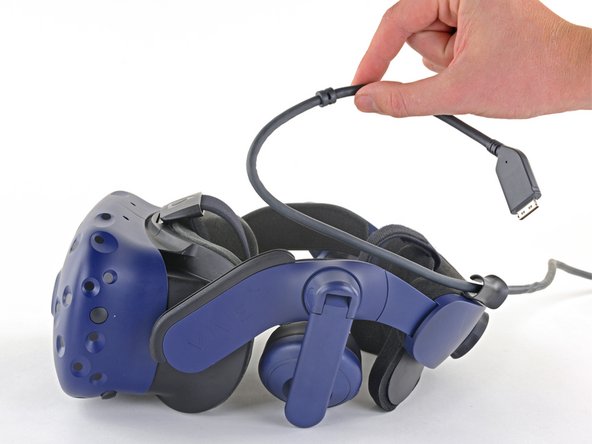
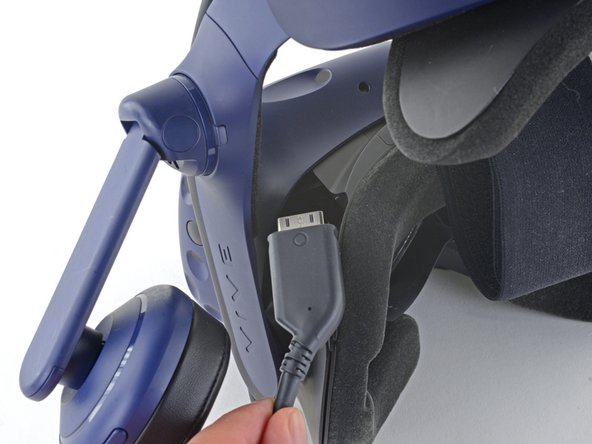
    1. HTC Vive Pro 2 Outer Shell Replacement, Unplug the All-In-One Cable: step 1, image 1 of 3 HTC Vive Pro 2 Outer Shell Replacement, Unplug the All-In-One Cable: step 1, image 2 of 3 HTC Vive Pro 2 Outer Shell Replacement, Unplug the All-In-One Cable: step 1, image 3 of 3
      • Unplug the All-In-One Cable from your headset.

      Ask FixBot

      Add Comment

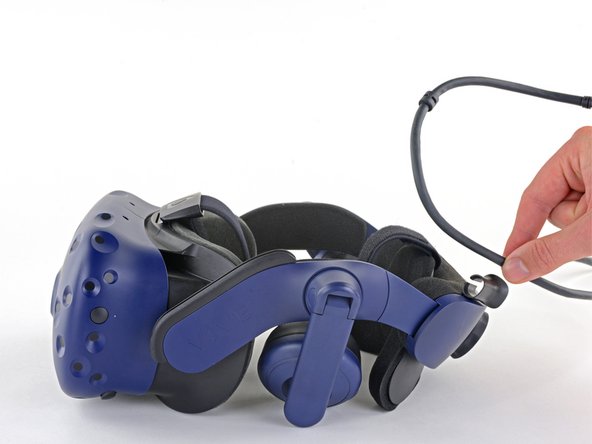
    2. HTC Vive Pro 2 Outer Shell Replacement, Remove the All-In-One Cable: step 2, image 1 of 2 HTC Vive Pro 2 Outer Shell Replacement, Remove the All-In-One Cable: step 2, image 2 of 2
      • Remove the All-In-One Cable from the cable guides along the left side of the head strap.

      • During reassembly, connect the All-In-One Cable to the headset before routing it through the cable guides. This will ensure it has the right amount of slack.

      Ask FixBot
      Add Comment

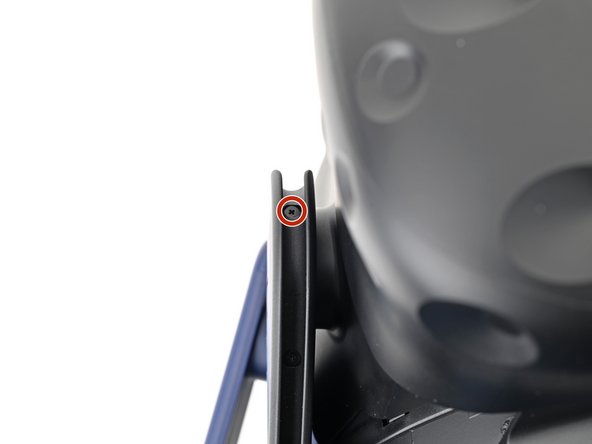
    3. HTC Vive Pro 2 Outer Shell Replacement, Remove the All-in-One cable bracket screws: step 3, image 1 of 2 HTC Vive Pro 2 Outer Shell Replacement, Remove the All-in-One cable bracket screws: step 3, image 2 of 2
      • Use a Phillips screwdriver to remove the three 2.4 mm‑long screws securing the All-in-One cable bracket.

      Ask FixBot
      Add Comment

    4. HTC Vive Pro 2 Outer Shell Replacement, Remove the All-in-One cable bracket: step 4, image 1 of 2 HTC Vive Pro 2 Outer Shell Replacement, Remove the All-in-One cable bracket: step 4, image 2 of 2
      • Lift the All-in-One cable bracket straight off the headset and remove it.

      • The bracket is aligned on the headset with pegs. During reassembly, make sure the pegs align properly and the bracket sits flush on the headset.

      Ask FixBot
      Add Comment

    5. HTC Vive Pro 2 Outer Shell Replacement, Remove the outer shell: step 5, image 1 of 3 HTC Vive Pro 2 Outer Shell Replacement, Remove the outer shell: step 5, image 2 of 3 HTC Vive Pro 2 Outer Shell Replacement, Remove the outer shell: step 5, image 3 of 3
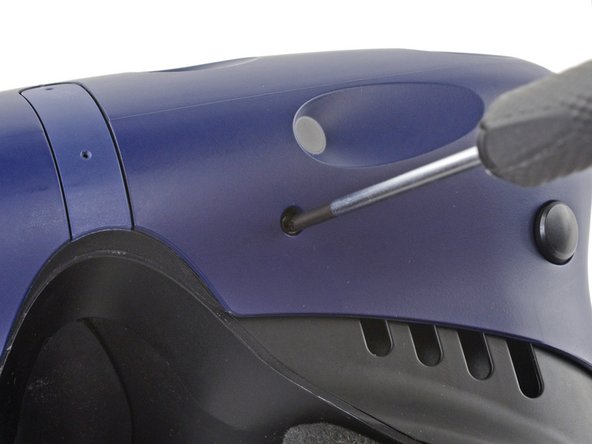
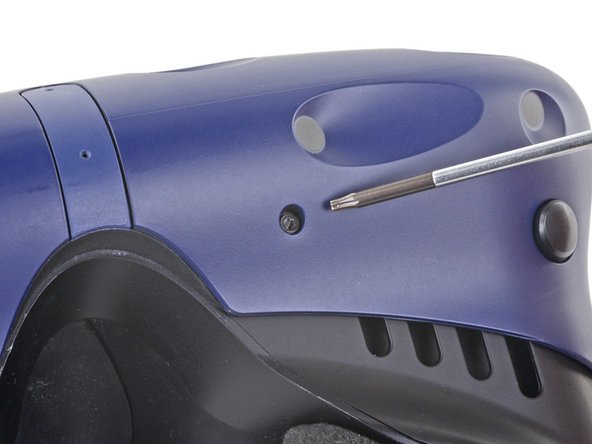
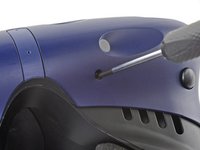
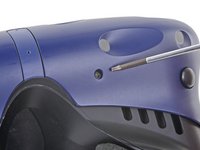
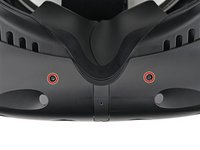
      • The four screws securing the outer shell are covered with black stickers. If the stickers are difficult to remove, simply press your T6 Torx driver through them.

      Ask FixBot
      Add Comment

    6. HTC Vive Pro 2 Outer Shell Replacement: step 6, image 1 of 2 HTC Vive Pro 2 Outer Shell Replacement: step 6, image 2 of 2
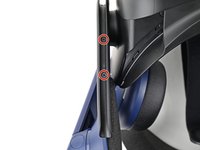
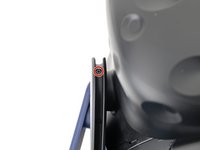
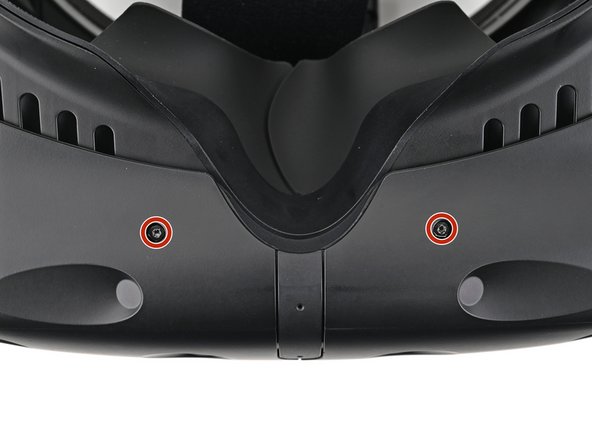
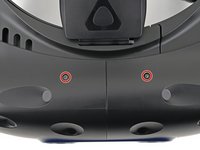
      • Use a T6 Torx screwdriver to remove the four 3.9 mm screws (two on top, two on bottom) securing the outer shell to the headset.

      Ask FixBot
      Add Comment

    7. HTC Vive Pro 2 Outer Shell Replacement: step 7, image 1 of 3 HTC Vive Pro 2 Outer Shell Replacement: step 7, image 2 of 3 HTC Vive Pro 2 Outer Shell Replacement: step 7, image 3 of 3
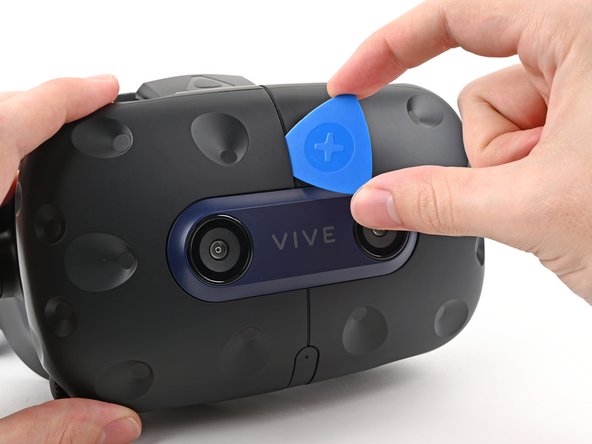
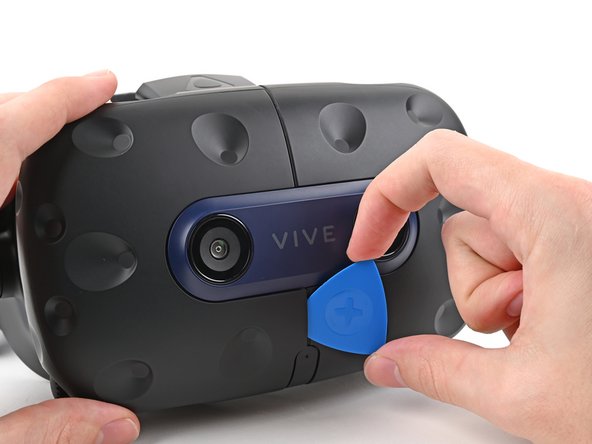
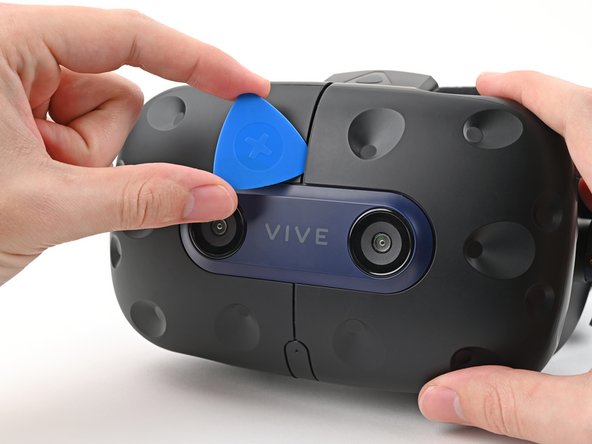
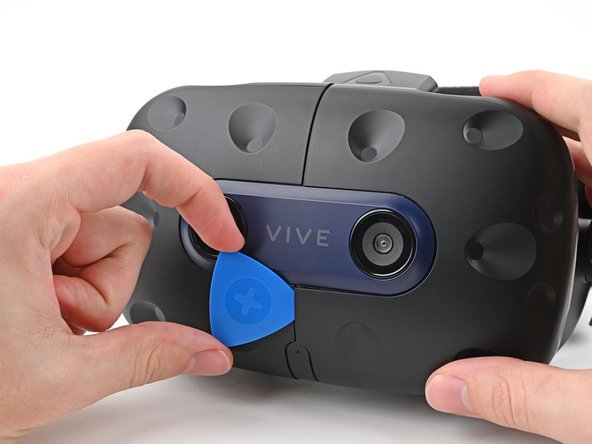
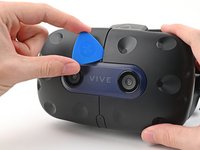
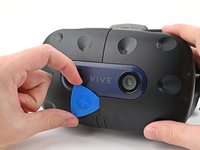
      • Insert an opening pick into the seam between the two halves of the outer shell.

      • Slide the opening pick through the seam to dislodge the clips securing it to the headset.

      • Only insert the opening pick as far as necessary. There are ribbon cables underneath the outer shell.

      Ask FixBot

      Add Comment

    8. HTC Vive Pro 2 Outer Shell Replacement: step 8, image 1 of 3 HTC Vive Pro 2 Outer Shell Replacement: step 8, image 2 of 3 HTC Vive Pro 2 Outer Shell Replacement: step 8, image 3 of 3
      • Continue sliding the opening pick through each seam until all clips have been dislodged.

      Ask FixBot
      Add Comment

    9. HTC Vive Pro 2 Outer Shell Replacement: step 9, image 1 of 3 HTC Vive Pro 2 Outer Shell Replacement: step 9, image 2 of 3 HTC Vive Pro 2 Outer Shell Replacement: step 9, image 3 of 3
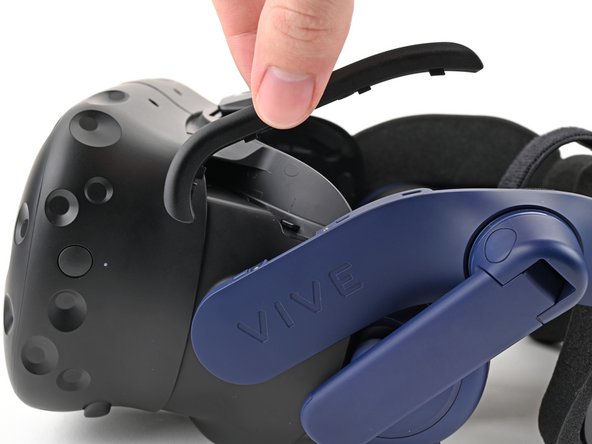
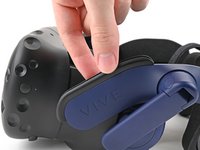
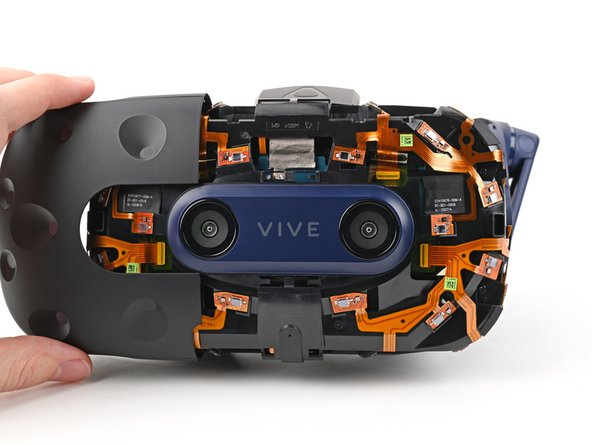
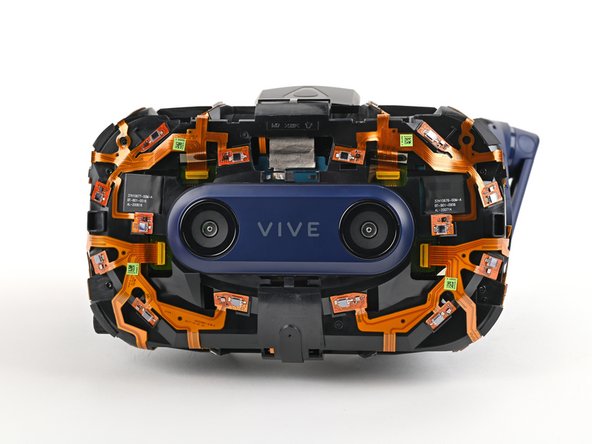
      • Carefully slide each half of the outer shell off of the sensor array.

      • Be careful not to snag any of the ribbon cables underneath.

      Ask FixBot
      Add Comment

Conclusion

To reassemble your device, follow the above steps in reverse order.

Repair didn’t go as planned? Try some basic troubleshooting, or ask our Answers community for help.

Cancel: I did not complete this guide.

Alex Diaz-Kokaisl

Member since: 01/16/22

250,996 Reputation

1,200 Guides authored

Team

Guide Team Member of Guide Team

Staff

10 Members

62,142 Guides authored

0 Guide Comments

Add Comment
View Statistics:

Past 24 Hours: 3

Past 7 Days: 10

Past 30 Days: 71

All Time: 447