
HTC Touch Motherboard Replacement

callum rowland and 8 other contributors
Last updated on Jan 14, 2026
Views: 8.4K
View statistics:
- Past 24 Hours:
- 1
- Past 7 Days:
- 13
- Past 30 Days:
- 94
- All Time:
- 8,354
Comments: 0
No one has left comments on this guide. Will you be first?
Go to guide commentsCompleted: 0 1
No one has marked this guide "completed." Will you be the first?
1 person has marked this guide "completed." It's you — great job!
Favorites: 11 12
11 people have favorited (and subscribed to) this guide. Will you be next?
12 people have favorited (and subscribed to) this guide — including you!
Introduction
Go to step 1 ↓If your HTC Touch isn't powering on, freezing, or showing display issues, the motherboard may need a replacement. This guide will walk you through each step of removing and replacing the motherboard safely. With a few simple tools and careful handling, you can restore your device to its former glory without a costly repair shop visit.
Be sure to power off your device, remove the battery, and ground yourself before beginning to prevent static damage!
What you need
Tools


-
-
-
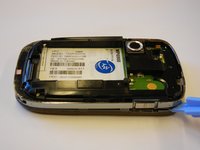
Remove the 4 torx-head screws in the corners of the phone using the T5 Torx Screwdriver.
-
-
-
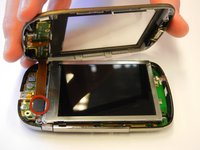
Use the plastic opening tool to remove the front panel from the phone.
-
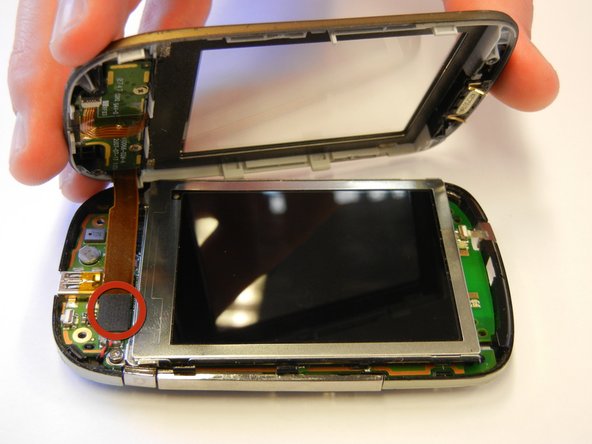
Unplug the front button cable from the inside of the phone.
-
-
-
Unscrew the 2 torx-head screws at the base of the LCD screen using the T5 Torx Screwdriver.
-
-
-
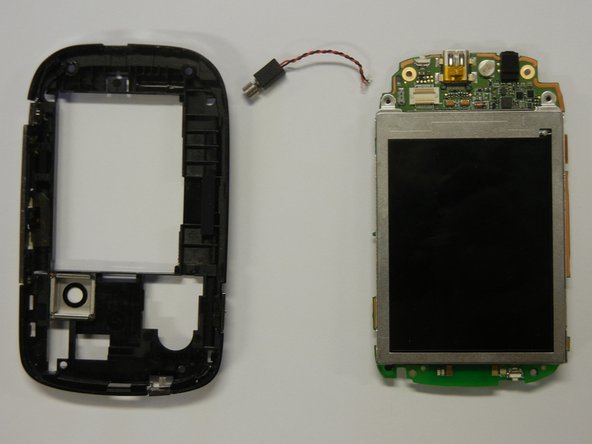
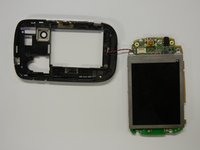
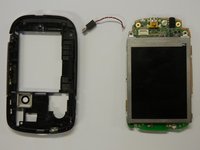
Separate the motherboard from the black plastic casing.
-
Unplug the black and red wire from the motherboard.
-
Unplug the black and red wire from the black plastic casing.
-
-
-
-
Lift the black lever next to the orange ribbon cable to remove the LCD screen.
-

 Ask FixBot






To reassemble your device, follow these instructions in reverse order.

Team

Cal Poly, Team 15-12, Regan Spring 2011 Member of Cal Poly, Team 15-12, Regan Spring 2011
CPSU-REGAN-S11S15G12
4 Members
60 Guides authored
