Free Shipping on Domestic Orders $75+

HTC SMT 6175 Display Screen Replacement

What you need

  1. HTC SMT 6175 Display Screen Replacement, Back Case: step 1, image 1 of 1
    • First, flip the phone over so that the back is facing upwards.

    Ask FixBot

    Add Comment

  2. HTC SMT 6175 Display Screen Replacement: step 2, image 1 of 2 HTC SMT 6175 Display Screen Replacement: step 2, image 2 of 2
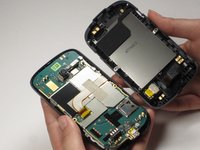
    • Using both thumbs, push the back side of the phone's exterior up and remove the front face of the phone.

    Ask FixBot

    Add Comment

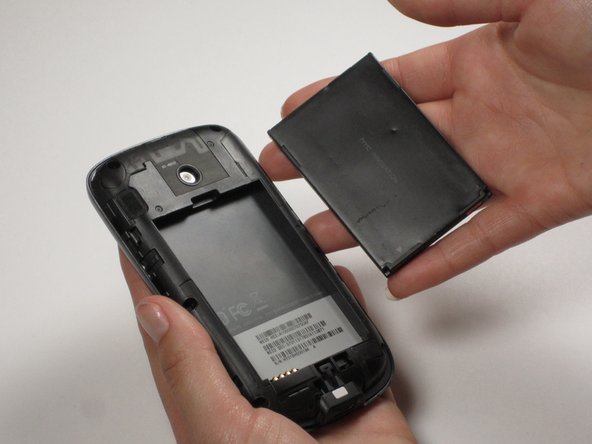
  3. HTC SMT 6175 Display Screen Replacement, Battery: step 3, image 1 of 2 HTC SMT 6175 Display Screen Replacement, Battery: step 3, image 2 of 2
    • Insert your finger or a pry tool into the slot above the battery. Remove it and set aside.

    Ask FixBot

    Add Comment

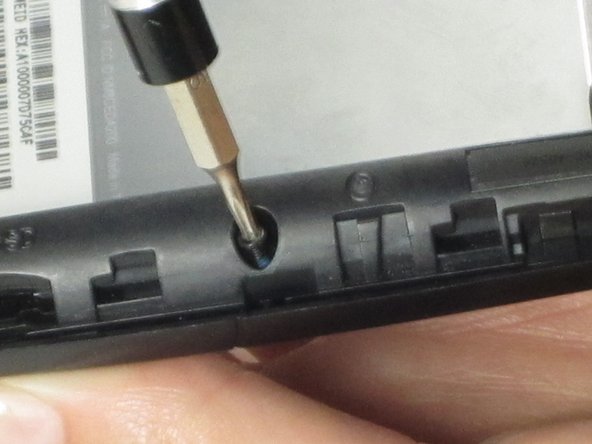
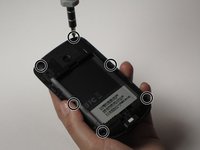
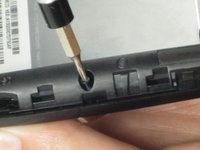
  4. HTC SMT 6175 Display Screen Replacement, Interior Back Case: step 4, image 1 of 2 HTC SMT 6175 Display Screen Replacement, Interior Back Case: step 4, image 2 of 2
    • To remove the case, use a small, pentagonal screwdriver to unscrew the 6 screws that can be found around the edges.

    Ask FixBot

    Add Comment

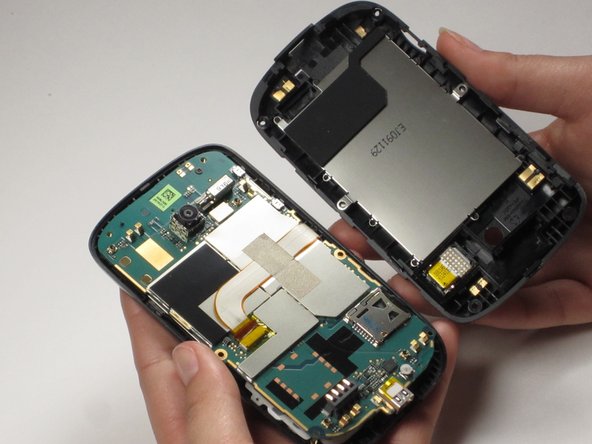
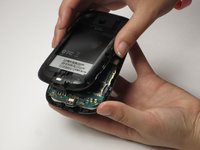
  5. HTC SMT 6175 Display Screen Replacement: step 5, image 1 of 2 HTC SMT 6175 Display Screen Replacement: step 5, image 2 of 2
    • Pull off the case.

    • This can be difficult. Just start pulling the back out from the front shell and, as it starts to lift up, continue moving around the phone until the whole back becomes free.

    Ask FixBot

    Add Comment

  6. HTC SMT 6175 Display Screen Replacement, Taking out the Motherboard: step 6, image 1 of 1
    • Next, unscrew the top screw using a small, Philips screwdriver.

    • Pull back the motherboard.

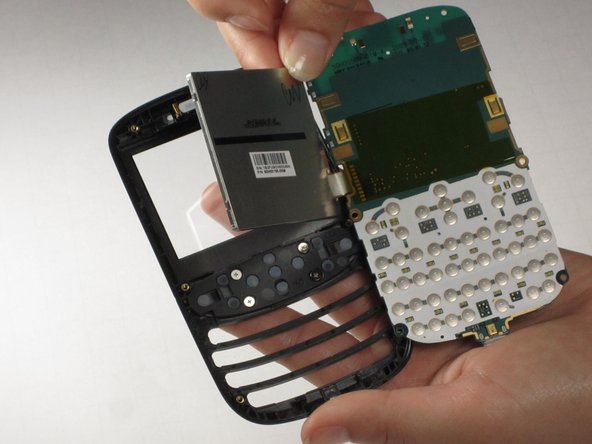
    • The LCD screen is still attached to the front side of the motherboard by a flexible ribbon cable and to the front case by an adhesive.

    Ask FixBot

    Add Comment

  7. HTC SMT 6175 Display Screen Replacement, Taking out the Display Screen: step 7, image 1 of 2 HTC SMT 6175 Display Screen Replacement, Taking out the Display Screen: step 7, image 2 of 2
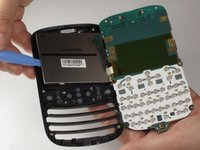
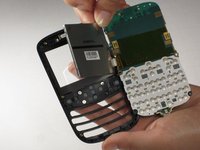
    • Using a spudger, remove the display screen from its cell within the front case. Insert the spudger next to the LCD on the opposite side of where the motherboard is attached.

    • The LCD is attached with a sticky adhesive so it might be difficult to get off.

    Ask FixBot

    Add Comment

  8. HTC SMT 6175 Display Screen Replacement: step 8, image 1 of 1
    Tool used on this step:
    Tweezers
    $4.99
    Buy
    • Place the motherboard down on top of the LCD. Using tweezers, remove the yellow piece of tape covering the end of the flat ribbon cable.

    Ask FixBot

    Add Comment

  9. HTC SMT 6175 Display Screen Replacement: step 9, image 1 of 1
    • Peel off the silver tape covering the flat ribbon cable. The motherboard is now free from the rest of the phone.

    • The sticky gray tape might have to be ripped in order to be removed because of its extreme stickiness.

    Ask FixBot

    Add Comment

Conclusion

To reassemble your device, follow these instructions in reverse order.

Cancel: I did not complete this guide.

One other person completed this guide.

Luke Plewa

Member since: 04/22/11

116 Reputation

4 Guides authored

Team

Cal Poly, Team 25-29, Garner Spring 2011 Member of Cal Poly, Team 25-29, Garner Spring 2011

CPSU-GARNER-S11S25G29

3 Members

10 Guides authored

0 Guide Comments

Add Comment

View Statistics:

Past 24 Hours: 1

Past 7 Days: 8

Past 30 Days: 41

All Time: 2,069